
How to Store Cleaning Supplies in a Small Kitchen Safely

When the countertops are already crowded with dishes, a coffee maker, and a handful of jars, finding a sensible spot for cleaning supplies can feel like solving a puzzle with missing pieces. Yet the kitchen is where most spills happen, so keeping detergents, sprays, and brushes within easy reach—and out of the way of food—makes daily chores smoother and reduces the risk of accidental exposure. Below are seven ideas that blend safety, style, and the realities of limited square footage, so you can keep your kitchen functional without sacrificing its aesthetic.
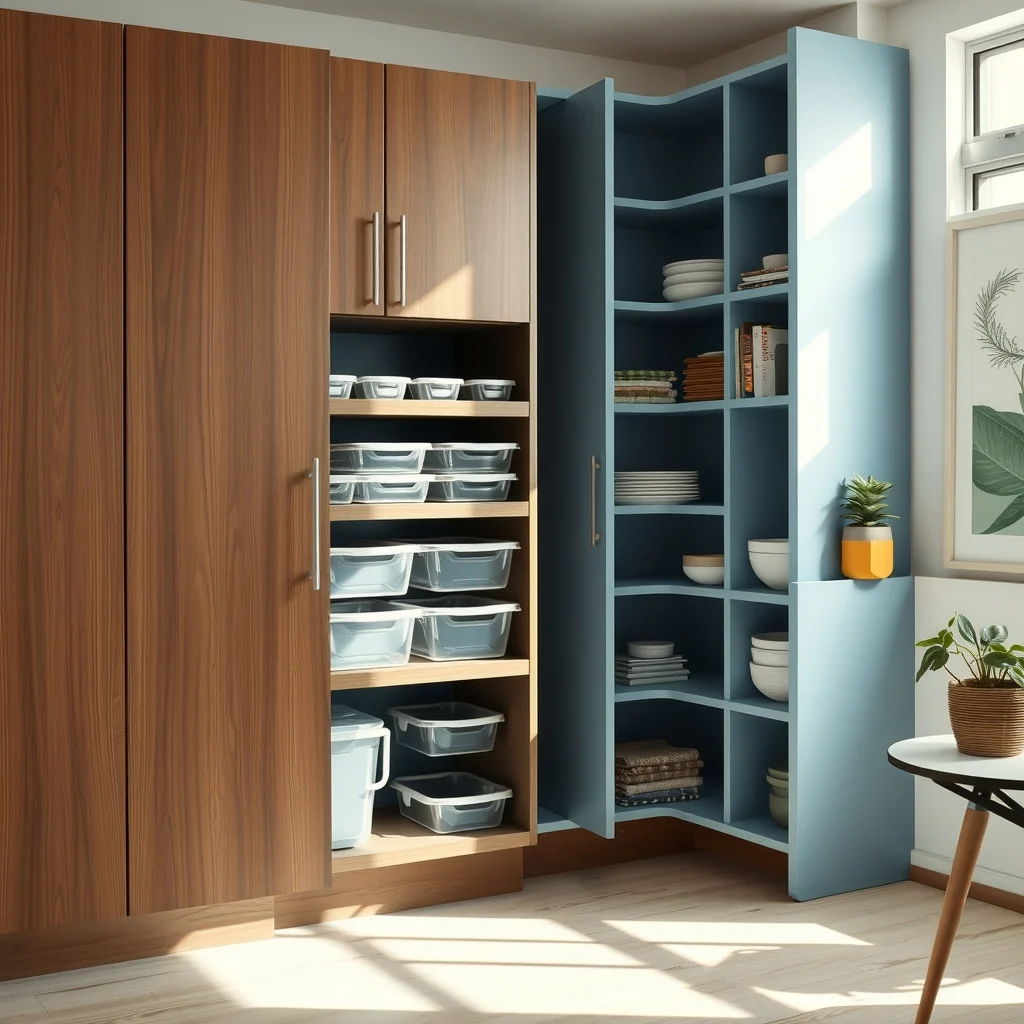
1. Choose a Dedicated Zone Away from Food Prep
This image is by AI for inspiration only.
Start by designating a specific cabinet or pantry shelf that will never hold pantry items or dishes. By separating chemicals from food, you eliminate the chance of cross‑contamination, especially if a bottle tips over. Upper cabinets are often underused; a shallow shelf just above eye level provides a natural barrier while keeping the weight of heavy containers manageable. If you have a narrow pantry, consider a slim pull‑out unit that slides out on rollers; the metal tracks add durability without demanding extra floor space. The key is to pick a location that stays out of children’s reach but remains accessible for you, and to keep the visual line of the kitchen uncluttered.
When you install the zone, think about the surrounding finish. A soft white cabinet contrasts nicely with the darker hues of most cleaning bottles, allowing you to spot a missing item at a glance. Adding a thin strip of LED lighting under the shelf not only highlights the area but also makes it easier to read labels after the lights go out.
2. Use Clear, Labeled Containers for Liquids

This image is by AI for inspiration only.
Most liquid cleaners arrive in opaque plastic jugs that can be hard to identify once they’re stacked. Transferring them into clear, chemical‑resistant bottles gives you instant visual cues and lets you see how much product remains. Choose containers with sturdy, screw‑on caps that seal tightly; a leak in a cramped kitchen can create slippery floors and damage cabinets. Adding a label with a bold, contrasting font—perhaps a deep navy on a light background—helps you locate the right bottle without opening every one.
The material matters, too. Borosilicate glass is resistant to most household chemicals and adds a touch of elegance, while high‑density polyethylene (HDPE) offers a lighter weight and is less likely to shatter if knocked off a shelf. Whichever you pick, make sure the bottle’s mouth is wide enough to accommodate a funnel, which simplifies refilling and reduces spills.
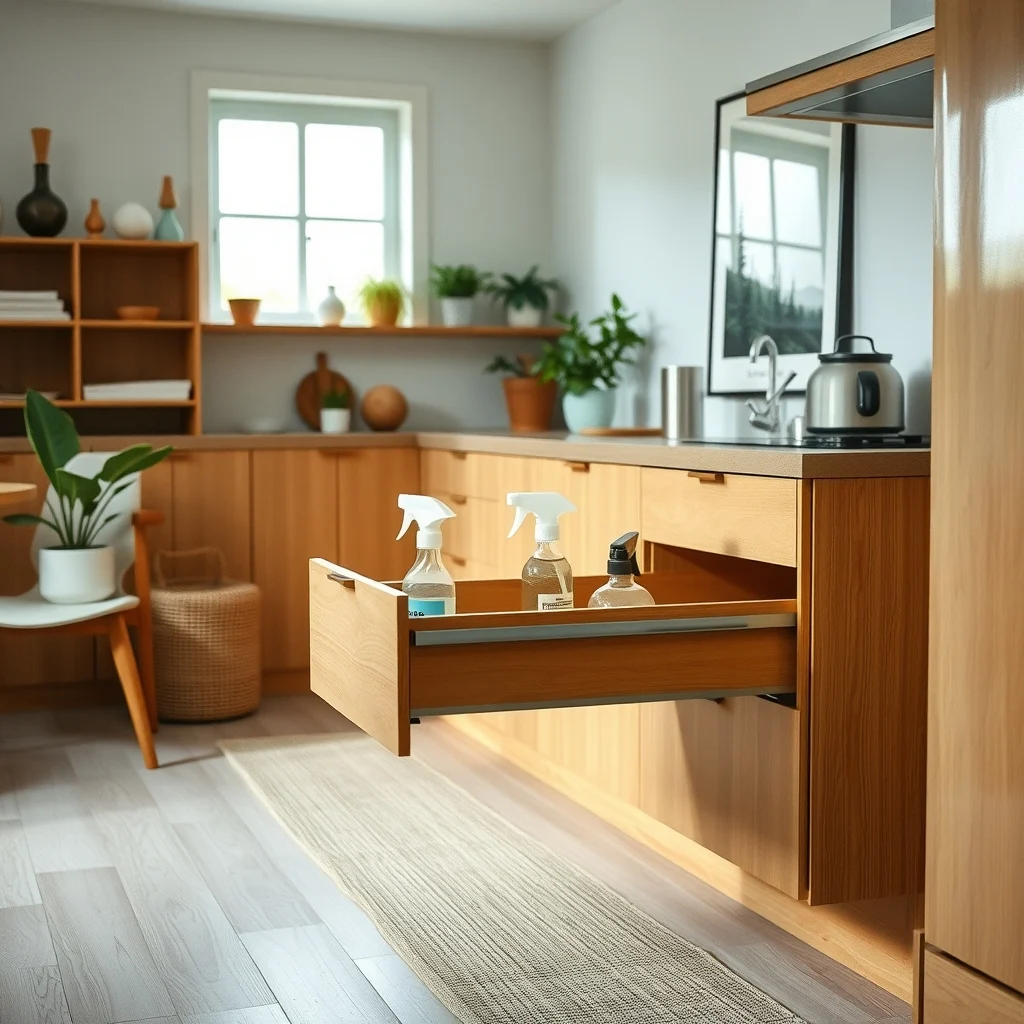
3. Install a Pull‑Out Drawer or Slide‑Out Rack
This image is by AI for inspiration only.
Sliding hardware turns an ordinary cabinet into a mini‑workstation. A shallow pull‑out drawer carved from maple or reclaimed oak can hold spray bottles, scrub brushes, and a small bucket without forcing you to dig through a deep space. The drawer glides on ball‑bearing rails, so you can open it fully even when the cabinet is packed with other items. This design keeps the supplies hidden from view, preserving the kitchen’s clean lines, yet it offers a quick, ergonomic pull that reduces bending.
One trade‑off is that the drawer consumes the full depth of the cabinet, so you’ll need to sacrifice a few plates or bowls. If you’re hesitant to give up that storage, consider a narrower rack that fits beside the pantry door instead. The metal brackets can be painted to match the cabinet finish, ensuring the functional addition blends with the overall décor.
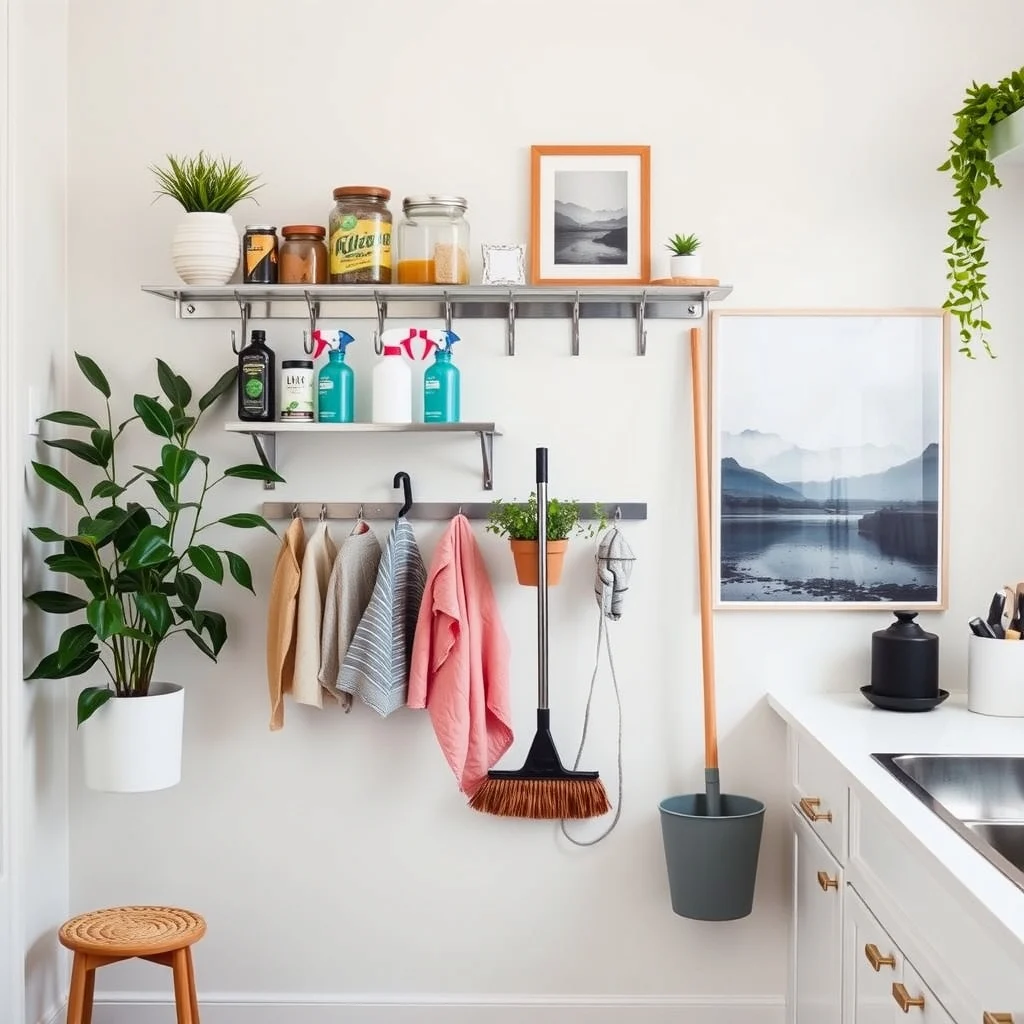
4. Exploit Vertical Space with a Wall‑Mounted Rack
This image is by AI for inspiration only.
When floor area is at a premium, the wall becomes a valuable ally. A stainless‑steel rail with magnetic hooks can hold spray bottles, a small mop bucket, and a compact broom. The magnetic surface grips metal caps securely, preventing bottles from tipping over when the rack is brushed against a cabinet door. Position the rack a few inches below the countertop so the bottles are within arm’s reach but high enough to stay out of children’s curious hands.
The visual impact of a brushed‑nickel rack against a pastel backsplash can be surprisingly stylish, adding a subtle industrial touch without overwhelming the space. If the kitchen’s lighting is dim, a single puck light mounted above the rack can illuminate the area, making it easier to read labels in the evening.
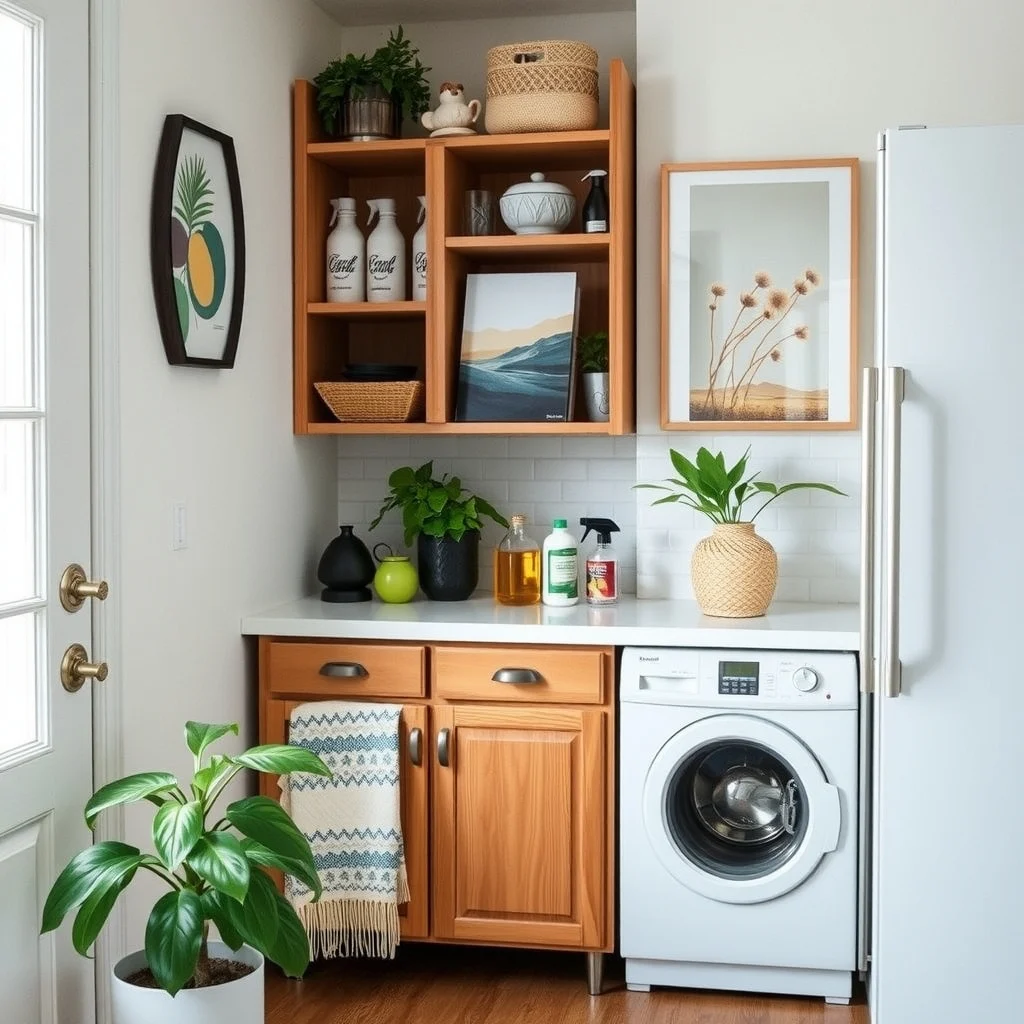
5. Add a Lockable Compartment for Hazardous Chemicals
This image is by AI for inspiration only.
Some cleaners—bleach, oven cleaners, or strong degreasers—should be stored where only adults can access them. A lockable compartment, either a small cabinet with a keyed latch or a child‑proof push‑button lock, provides that extra layer of security. Choose a unit with a smooth, matte finish that doesn’t clash with the surrounding cabinetry; a soft‑touch white or muted gray keeps the look cohesive while signaling that the space is meant for something different.
Keep in mind that locks add a step to your routine. If you use these chemicals frequently, place the compartment near the sink rather than at the far end of the pantry. That way you won’t have to navigate around the kitchen every time you need a quick spray, and the added convenience encourages you to keep the hazardous items stored rather than leaving them out on the counter.
6. Create a Small Waste and Recycling Station Nearby
This image is by AI for inspiration only.
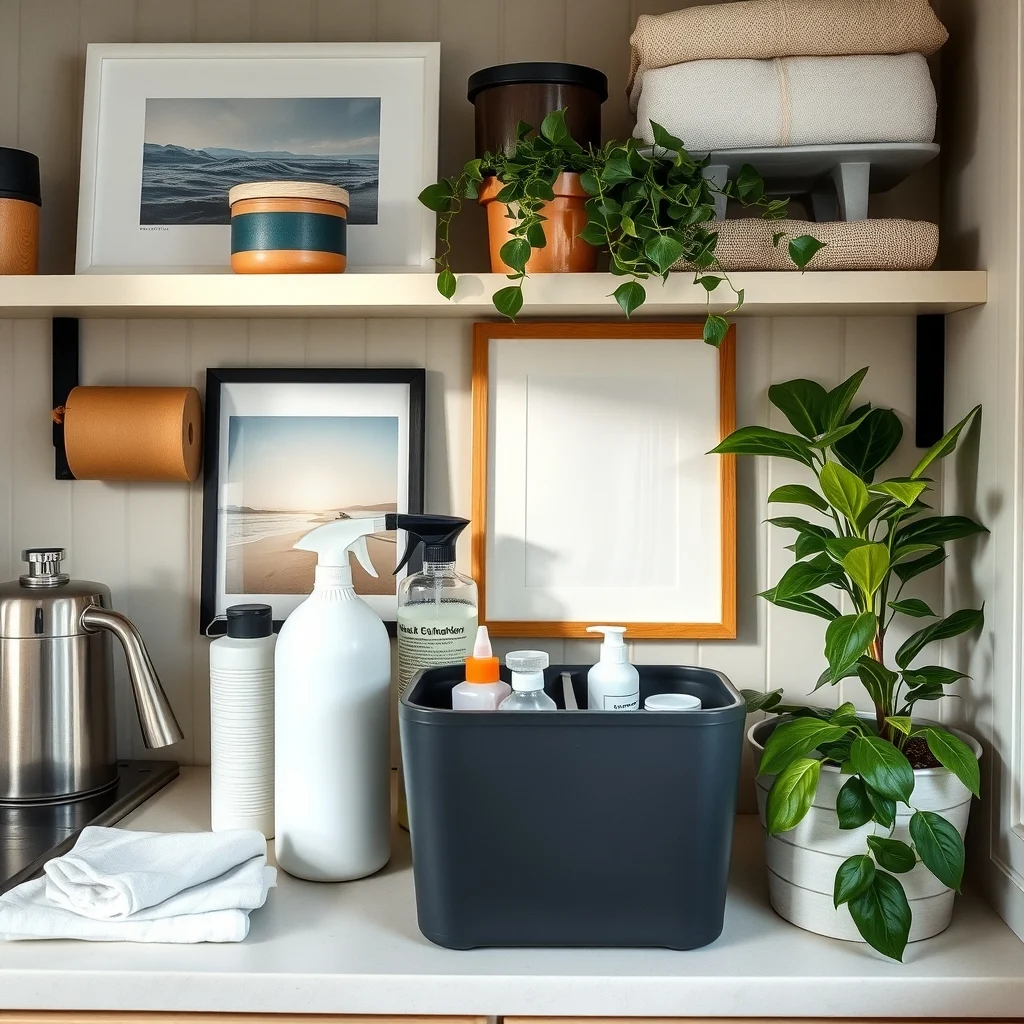
Cleaning often generates empty containers, used wipes, and bits of packaging. A compact, two‑tier bin made of brushed steel or matte black acrylic can sit on the same shelf as your supplies, providing a place to discard waste without having to trek to the main trash can. The lower tier can hold recyclable bottles, while the upper tier catches non‑recyclable debris. Selecting a bin with a tight‑closing lid prevents odors from escaping into the kitchen’s fresh scent.
Because the bin will be opened repeatedly, opt for a material that resists staining and is easy to wipe down—laminated steel works well. Pairing the bin with a small, removable liner makes emptying it a quick chore, and the visual separation of waste streams encourages you to stay organized over the long term.
7. Maintain a Regular Inventory Routine

This image is by AI for inspiration only.
Even the most thoughtfully arranged storage can become unsafe if you lose track of what’s inside. Set a monthly reminder to glance through the cabinet, checking expiration dates, seal integrity, and the amount of product left. If a bottle shows signs of wear—such as a cracked cap or a faded label—replace it before it leaks. This habit also helps you avoid buying duplicates, keeping the kitchen from becoming overstocked.
For added efficiency, keep a small notepad or a magnetic board on the inside of the cabinet door. Write down the last refill date for each product; the visual cue serves as both a safety check and a planning tool for your next shopping trip. While this step requires a few minutes each month, it prevents the larger inconvenience of a sudden spill or an empty bottle during a cleaning emergency.
FAQ
This image is by AI for inspiration only.
Can I store bleach in a kitchen cabinet?
Yes, bleach can be stored in a kitchen cabinet as long as the cabinet is cool, dry, and out of direct sunlight. Choose a sealed, child‑proof container and keep it away from food items to avoid any accidental contact.
What is the best way to keep spray bottles from leaking?
Use bottles with a secure, twist‑lock or snap‑on cap that creates a tight seal. Placing a small absorbent mat or a silicone liner inside the drawer adds an extra layer of protection against drips.
How high should cleaning supplies be stored for safety?
Ideally, keep them above the countertop but below eye level—typically between 48 and 60 inches from the floor. This height keeps them out of reach for most children while remaining comfortable for an adult to retrieve.
Is it okay to mix different cleaning chemicals in one container?
No, mixing chemicals can create hazardous reactions, especially when acids and bases combine. Keep each product in its original container or a clearly labeled, dedicated bottle to maintain safety.
Do I need childproof locks for kitchen cleaning supplies?
If you have young children, childproof locks are strongly recommended. They provide a simple barrier that prevents accidental access while still allowing adults to open the cabinet quickly when needed.
Final Thoughts
This image is by AI for inspiration only.
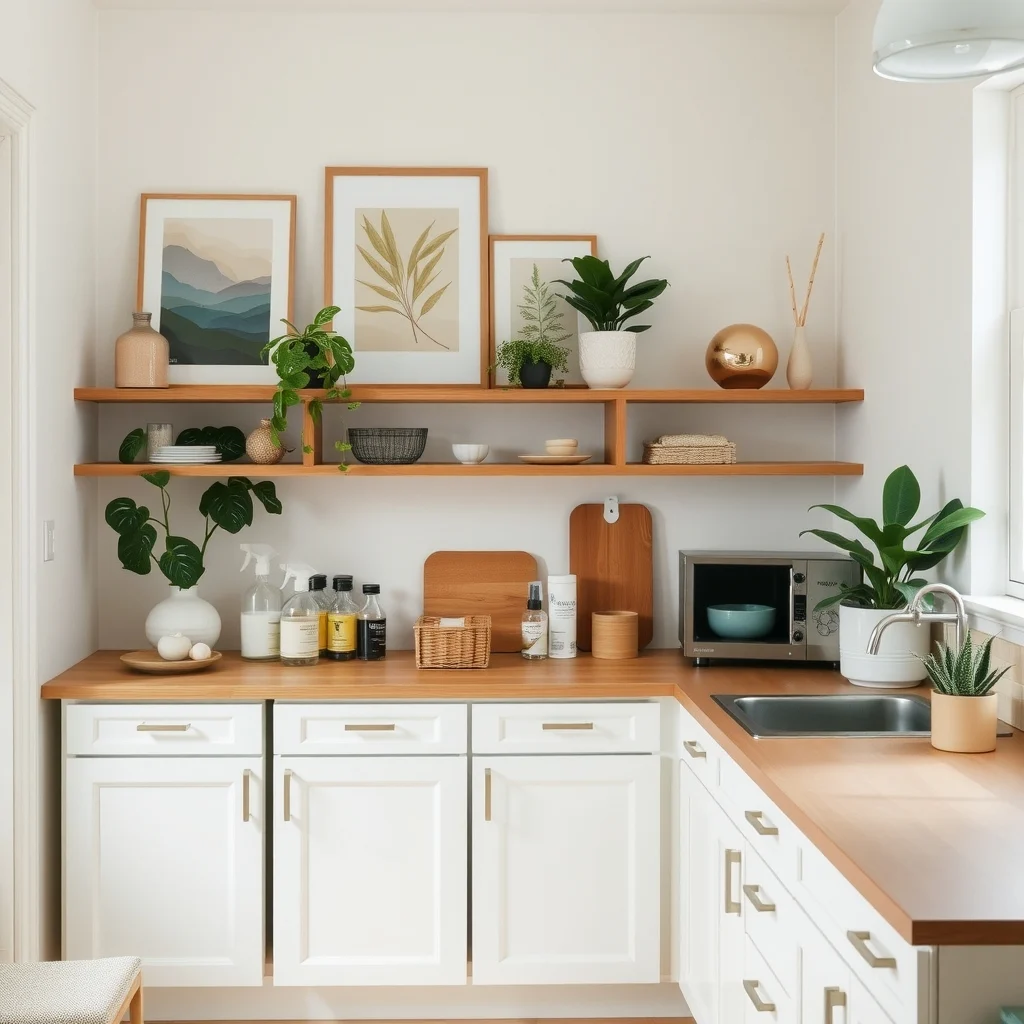
Storing cleaning supplies in a small kitchen is less about finding extra space and more about arranging what you have with safety and style in mind. By designating a dedicated zone, using clear containers, adding pull‑out drawers, exploiting vertical walls, incorporating lockable sections, providing a nearby waste station, and committing to a routine inventory check, you create a system that protects your family and preserves the kitchen’s visual harmony. Small adjustments—like a strip of LED light or a magnetic rack—can make a modest space feel organized and intentional. With these strategies, the clutter disappears, the risks recede, and the kitchen remains the welcoming heart of the home.