How to Organize Snacks in a Small Kitchen Without a Pantry

When a kitchen lacks a dedicated pantry, everyday snack items can quickly become a source of clutter. The challenge is not just to store crackers, nuts, and granola bars, but to do so in a way that respects the limited square footage and still feels welcoming. Below are seven approaches that turn the constraints of a tiny kitchen into an opportunity for thoughtful design. Each idea blends storage with style, so you can keep your favorite bites within reach without sacrificing the visual harmony of the room.
1. Make the most of the space above the cabinets
This image is by AI for inspiration only.
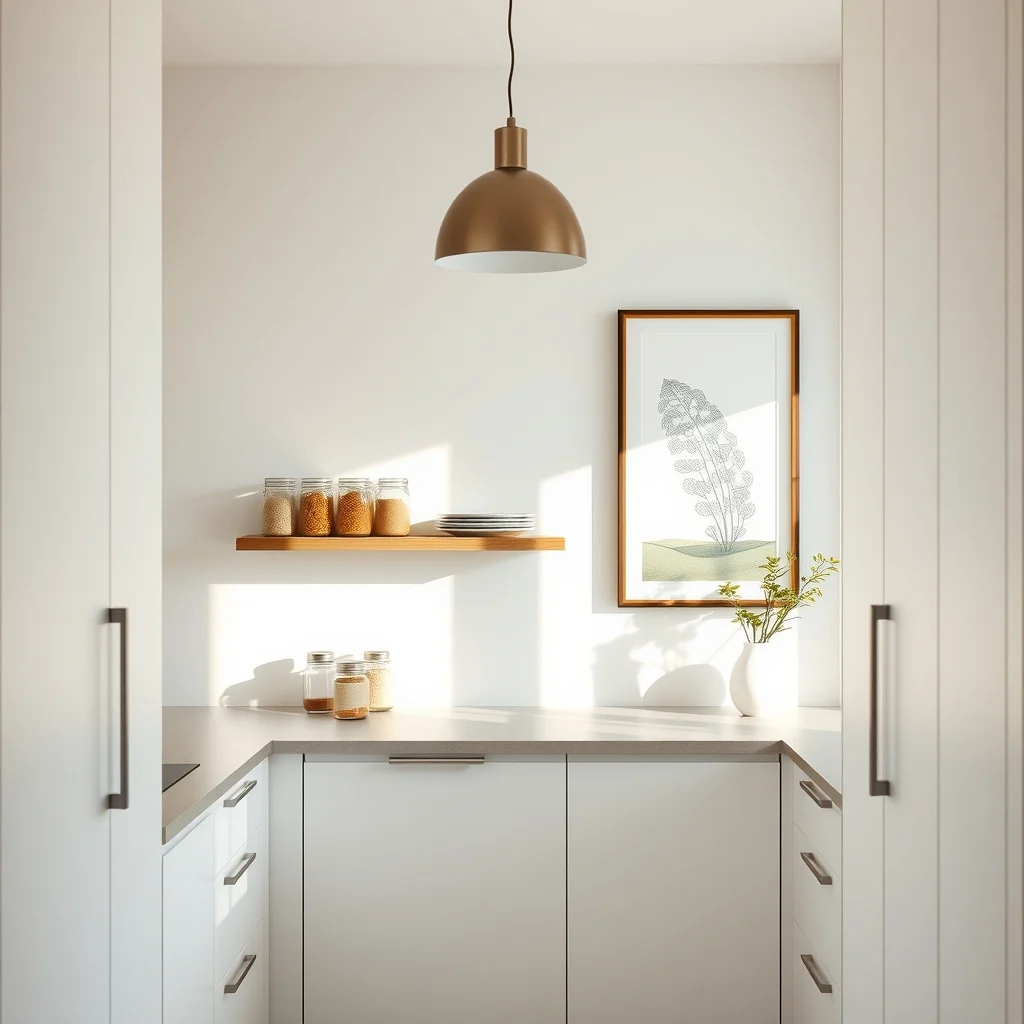
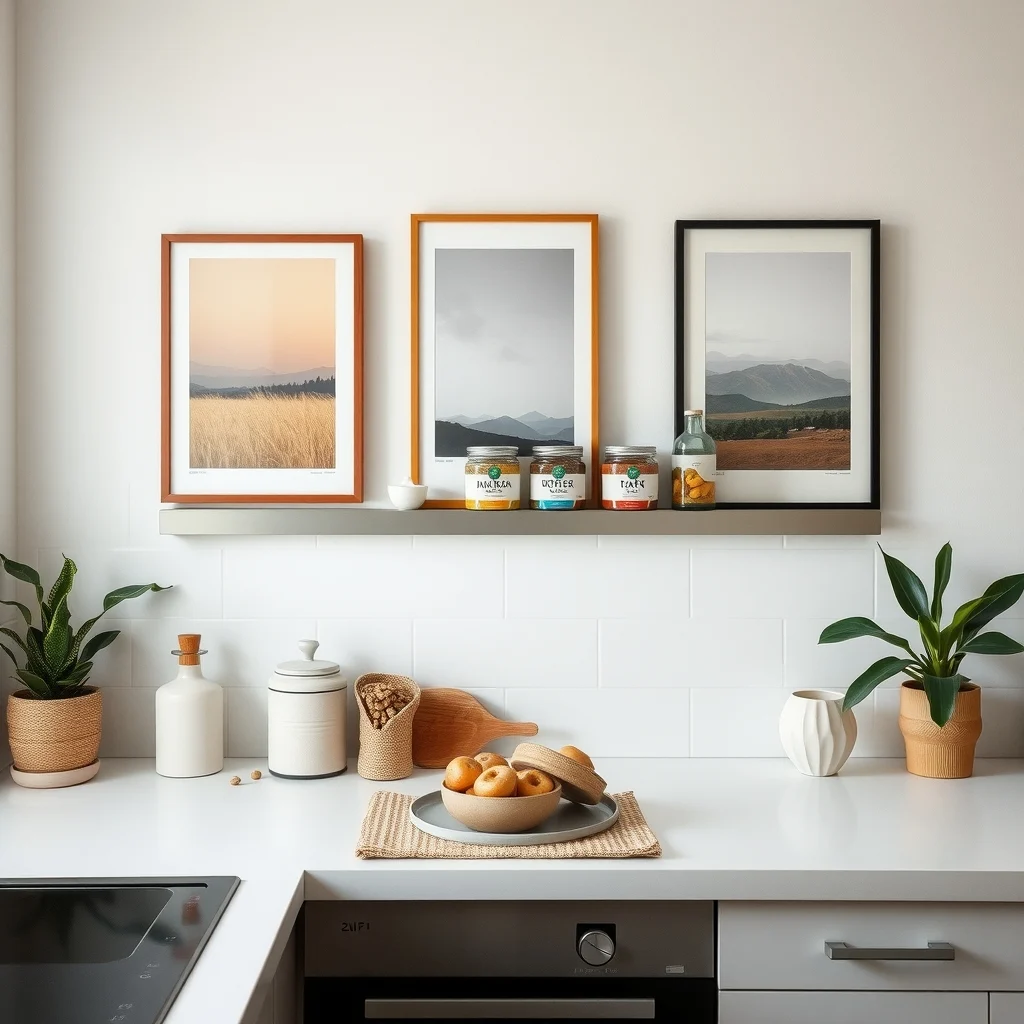
Even if the cabinets stop at the ceiling, the narrow strip of wall between the top of the cabinets and the light fixture often goes unused. Installing a slim, floating shelf in this zone creates a discreet platform for sealed snack containers. Because the shelf sits high, it stays out of the way of daily cooking traffic, yet the height is still reachable with a small step stool. Choose a shelf in a brushed metal finish that echoes the hardware on your cabinets; the continuity of material helps the addition feel intentional rather than tacked on. Light-colored glass jars placed on the shelf can hold everything from dried fruit to popcorn kernels, turning storage into a visual display. The trade‑off is that you’ll need to be mindful of weight—avoid overloading the shelf with heavy bulk items.
2. Use pull‑out drawers inside existing cabinets
This image is by AI for inspiration only.
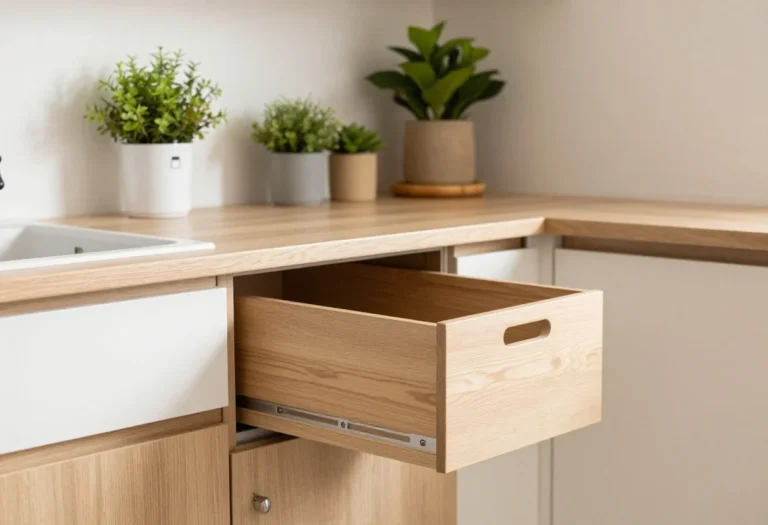
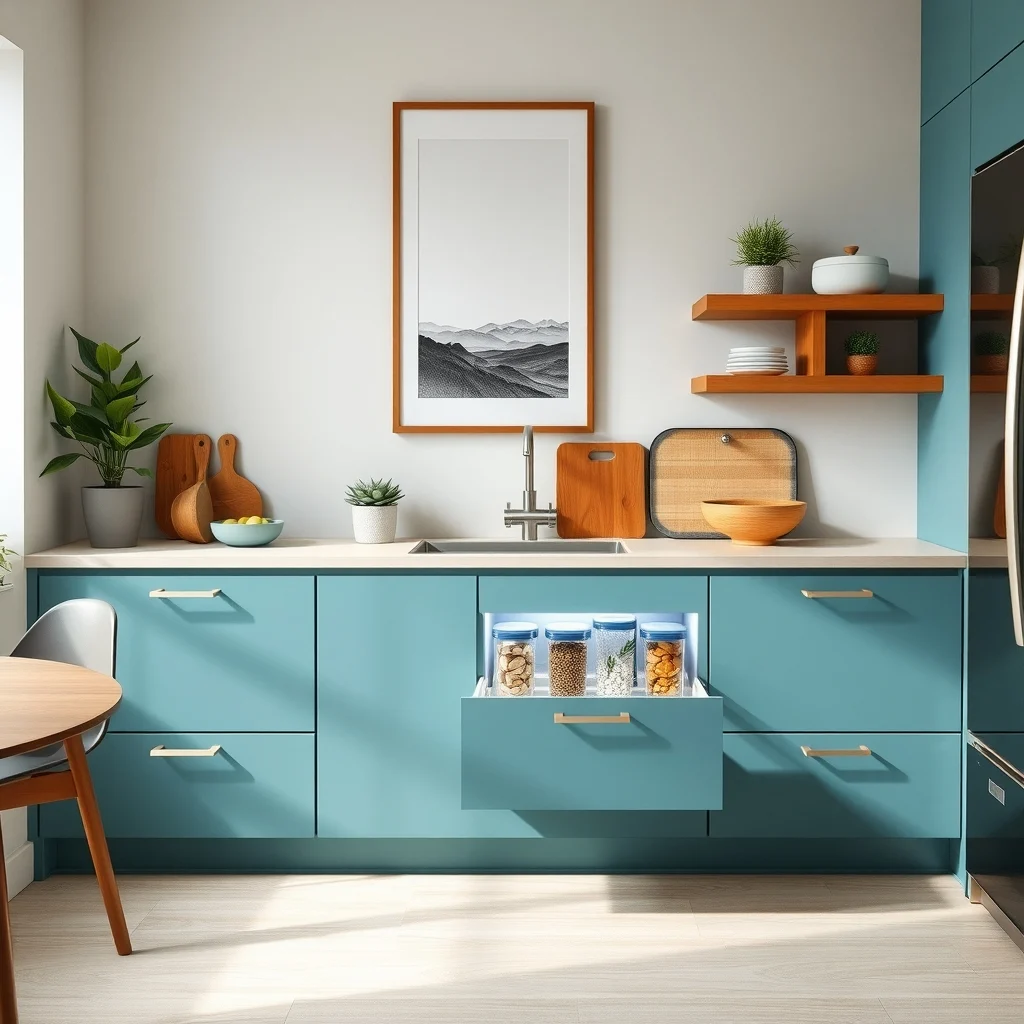
Many base cabinets have unused depth that can accommodate a shallow pull‑out drawer. By adding a custom or ready‑made drawer that slides out on full extension, you create a hidden pantry within the cabinet’s footprint. The drawer’s front can be fitted with a matte-finished laminate that matches the cabinet doors, preserving a seamless look. Inside, line the drawer with a non‑slip mat and arrange snack bags upright; this orientation lets you see each package at a glance and reduces the need to dig. The benefit is that the snacks stay protected from kitchen heat, but the drawback is that you must measure the cabinet interior carefully before purchasing a drawer to avoid a tight fit.
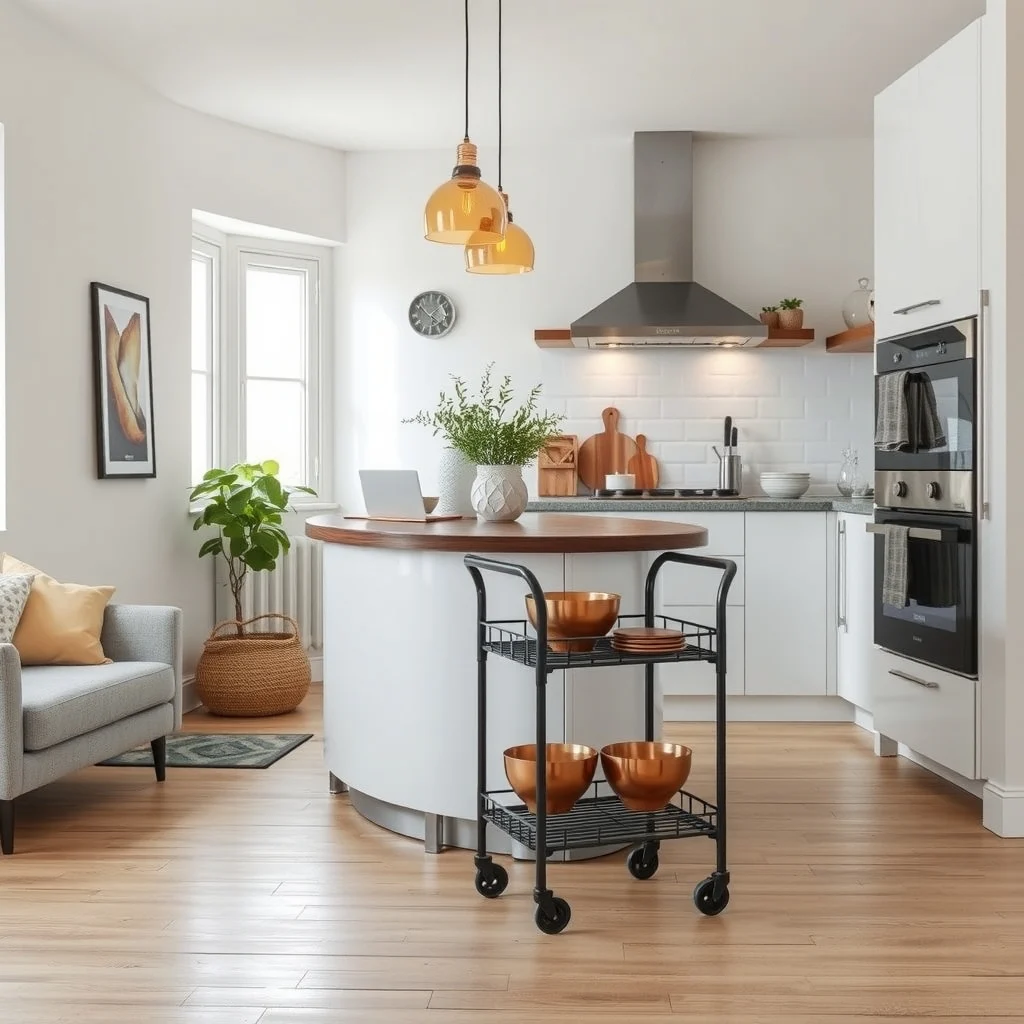
3. Incorporate a slim rolling cart
This image is by AI for inspiration only.
A narrow, three‑tier rolling cart can serve as a mobile snack station. Position the cart near the countertop so you can slide it in when you need extra surface area for plating or spreading, then tuck it away when not in use. Selecting a cart with a dark walnut frame and powder‑coated steel wheels adds a touch of warmth that balances the lighter tones of most kitchens. Each tier can hold a different category—cereal bowls on the top, a basket of pretzels on the middle, and a small bin of fresh fruit on the bottom—making it easy to grab what you need without opening multiple cabinets. Keep in mind that a cart adds a moving element; ensure the wheels lock securely to prevent accidental rolls.
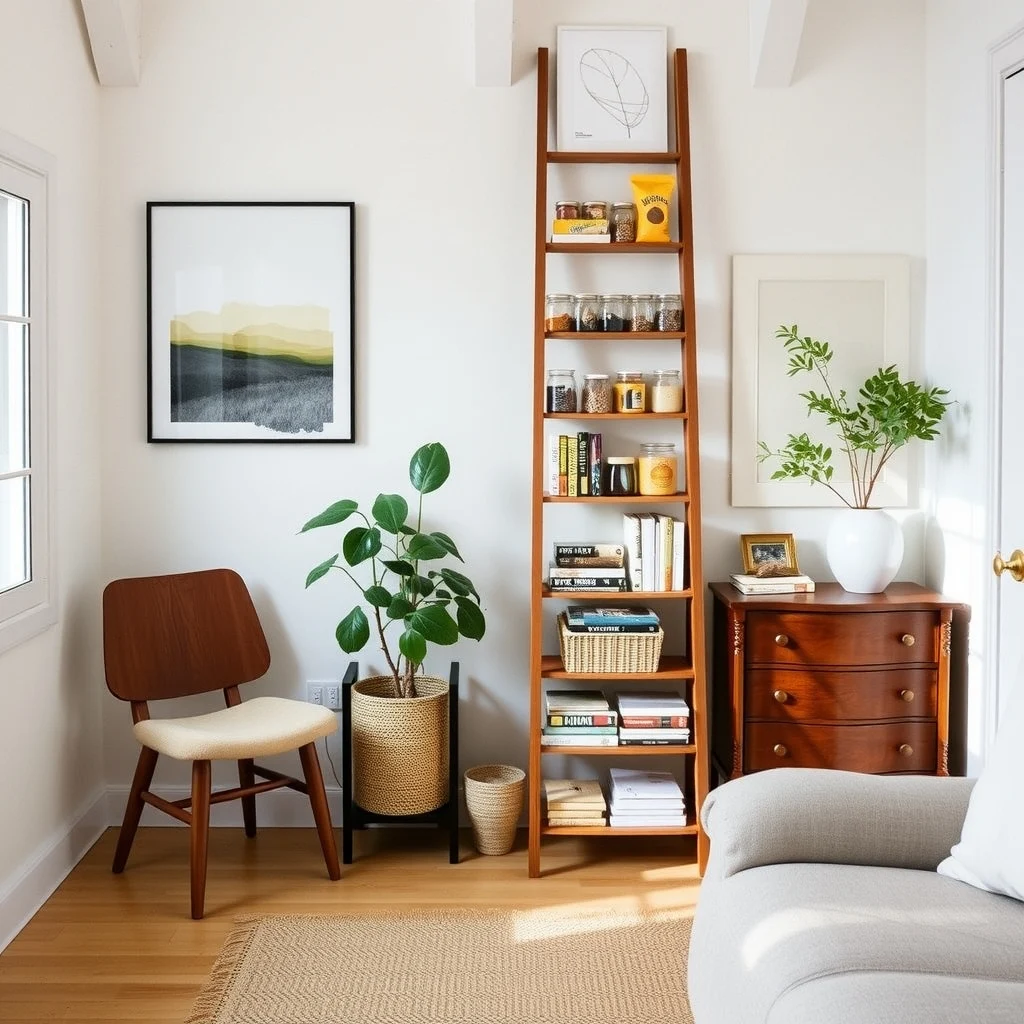
4. Repurpose a decorative ladder
This image is by AI for inspiration only.
Lean a slim wooden ladder against a free wall and use its rungs as shelves for snack jars and boxes. The ladder’s vertical orientation makes efficient use of height, while its open framework lets light filter through, keeping the area feeling airy. Choose a ladder finished in a soft gray that complements the kitchen’s neutral palette, and top each rung with a thin bamboo board to create a stable base for containers. This solution adds a rustic charm that can soften the sleek lines of stainless appliances. However, the ladder’s open design means dust can settle on the items, so a quick wipe‑down each week is advisable.
5. Install magnetic strips for metal snack containers
This image is by AI for inspiration only.
If you favor a minimalist look, magnetic strips mounted on the backsplash provide an invisible storage option. By placing metal tins—such as those for tea, coffee, or dried herbs—directly on the strip, you keep snack supplies within arm’s reach while preserving countertop space. The strips can be painted the same hue as the tile, allowing them to blend into the background. This method works especially well for small, frequently used items like individual packets of trail mix. The limitation is that the magnets can only hold lightweight containers, so bulkier snacks will need an alternative home.
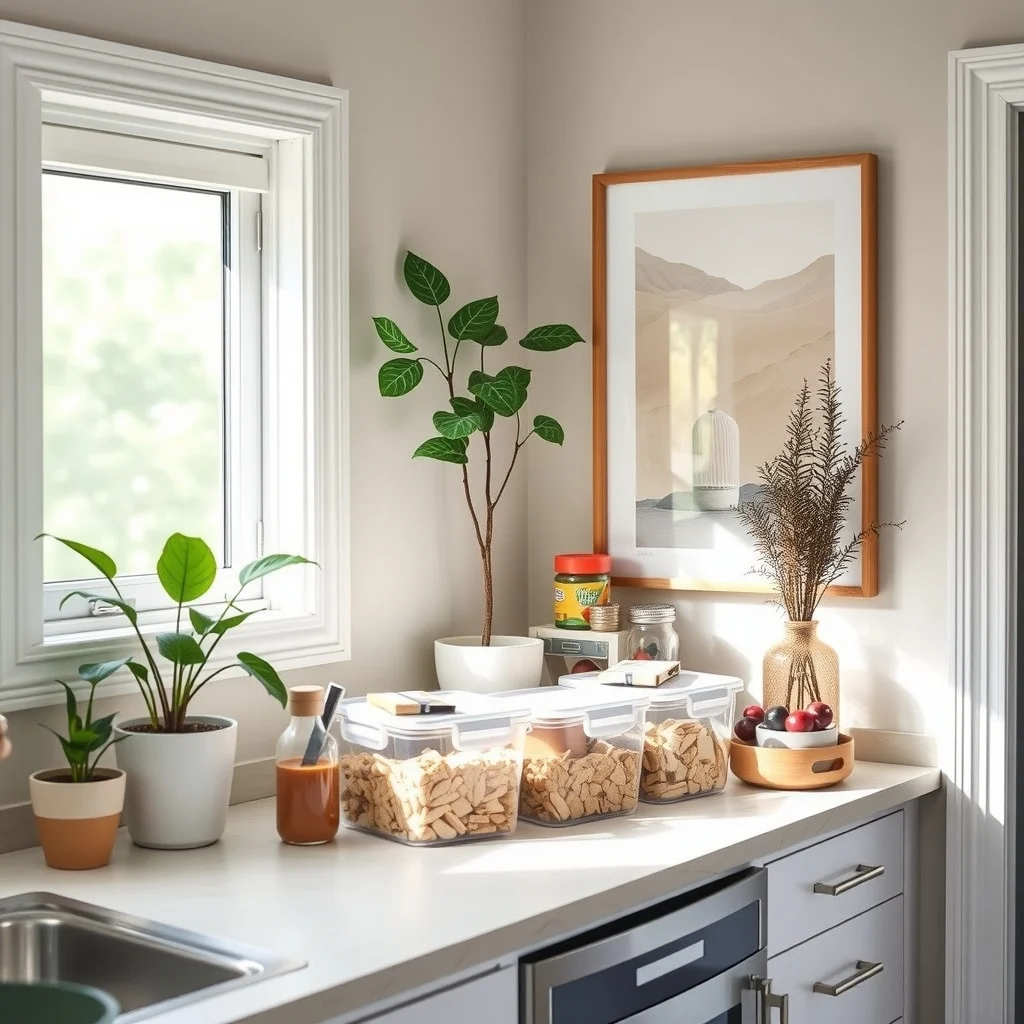
6. Use clear acrylic bins on the countertop
This image is by AI for inspiration only.
When you need quick access during a busy morning, a set of clear acrylic bins lined up on the countertop can act as a temporary snack hub. The transparency lets you see exactly what’s inside without opening each container, reducing visual clutter. Pair the bins with a thin, woven rug underneath to protect the surface and add a subtle texture contrast. Opt for a neutral shade like frosted white so the bins do not compete with the kitchen’s color scheme. Because acrylic can scratch, place a soft cloth underneath each bin when moving them, and remember that the bins will occupy valuable counter space that could otherwise be used for prep work.
7. Create a hidden nook behind the oven door
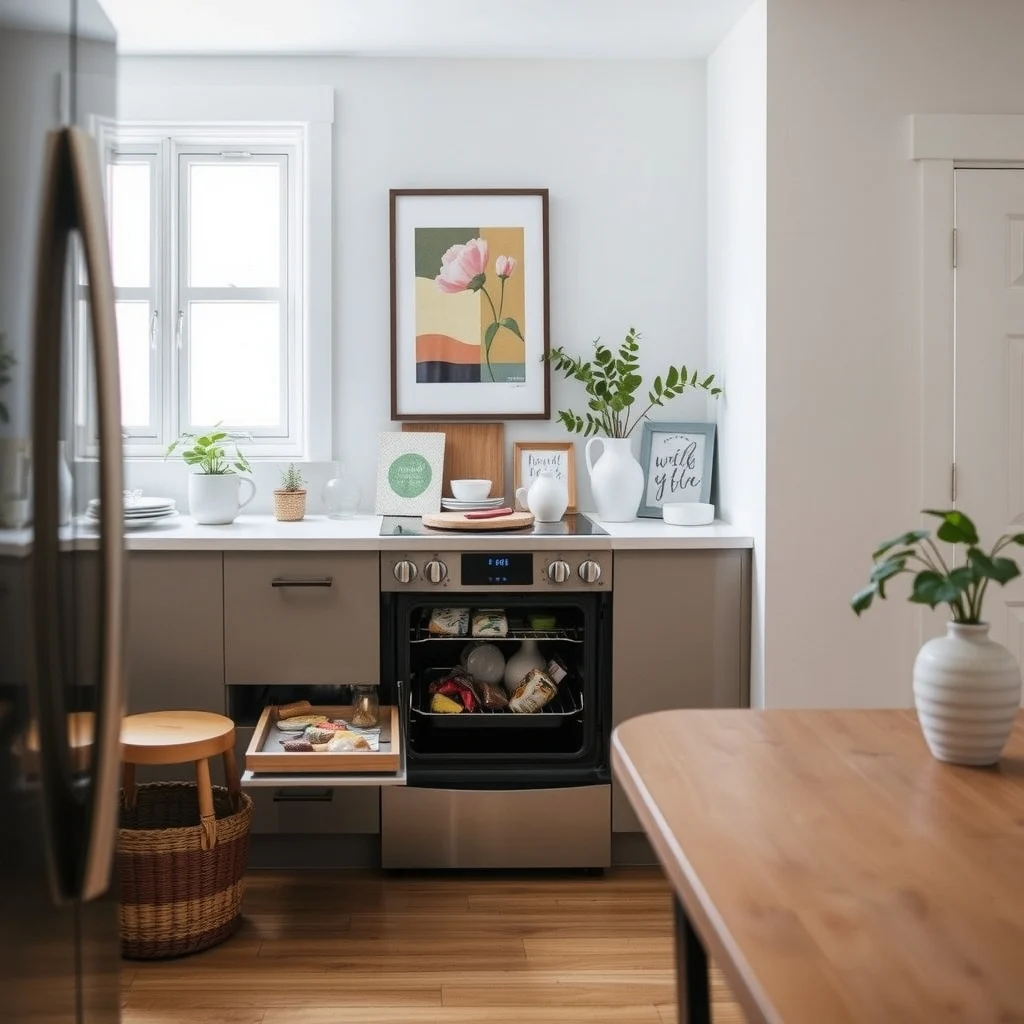
This image is by AI for inspiration only.
Many ovens have a small gap between the door and the frame that can be widened slightly to accommodate a slim pull‑out shelf. By installing a custom shelf that slides out when the oven door is opened, you gain a concealed compartment for snack packs. A shelf finished in the same enamel as the oven interior maintains a cohesive aesthetic, while the hidden location protects snacks from heat and humidity. This clever use of otherwise dead space keeps the kitchen looking uncluttered. The downside is that the shelf must be shallow, limiting the size of containers you can store there.
FAQ
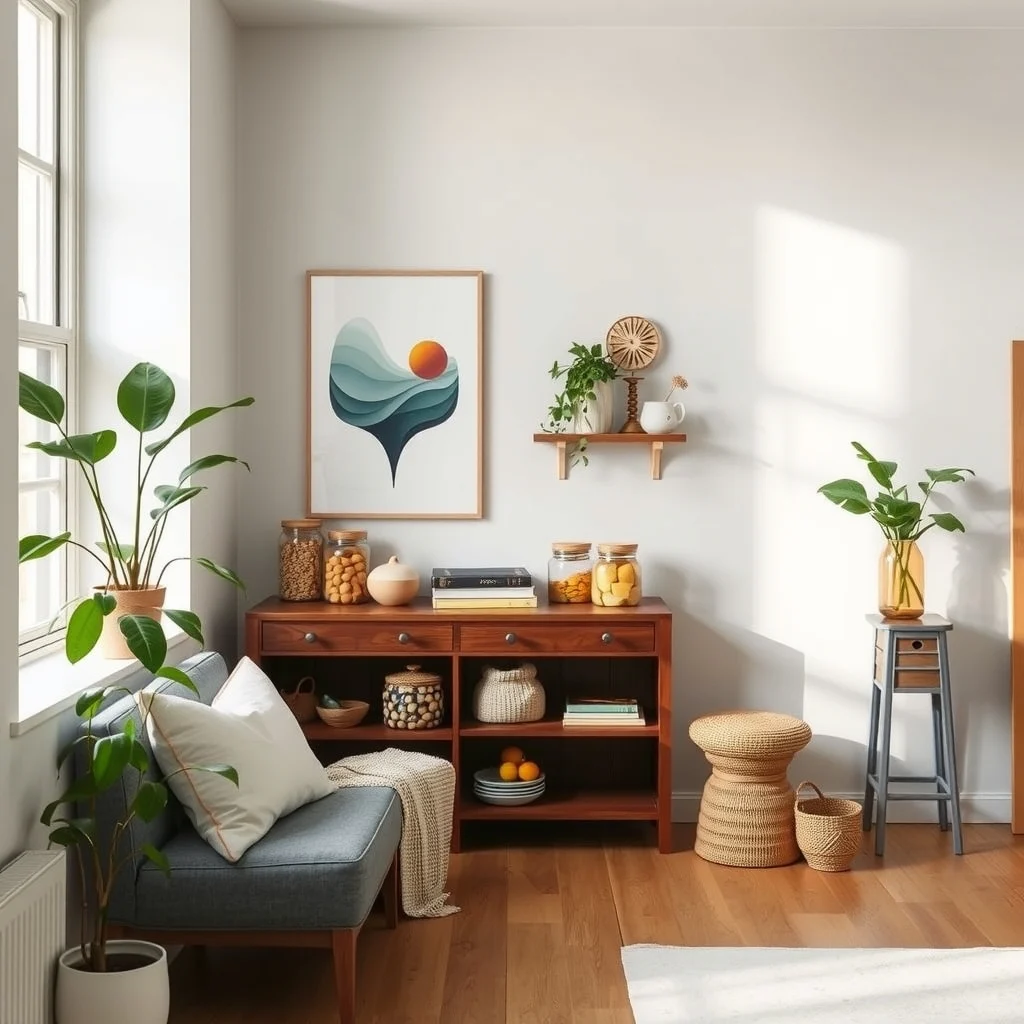
This image is by AI for inspiration only.
How can I keep snack containers looking tidy?
Use uniform containers such as glass jars with matching lids; they create a cohesive look and hide label variations. Consistency in material and color reduces visual noise.
Is it safe to store snacks near the stove?
Store only dry, non‑perishable items away from direct heat sources. Heat can cause oils in nuts to go rancid and may affect the texture of crackers.
What is the best material for snack storage that resists odors?
Stainless steel containers are non‑porous and do not absorb smells, making them ideal for items like chips and pretzels that can transfer flavors.
Can I use a spice rack for snack bags?
A small spice rack mounted on the inside of a cabinet door can hold slim snack bags upright, keeping them visible and organized. Ensure the rack is sturdy enough to support the weight of several bags.
How often should I reorganize my snack area?
Review the snack inventory every few weeks to discard stale items and rotate stock. Regular checks prevent over‑stocking and keep the space functional.
Final Thoughts
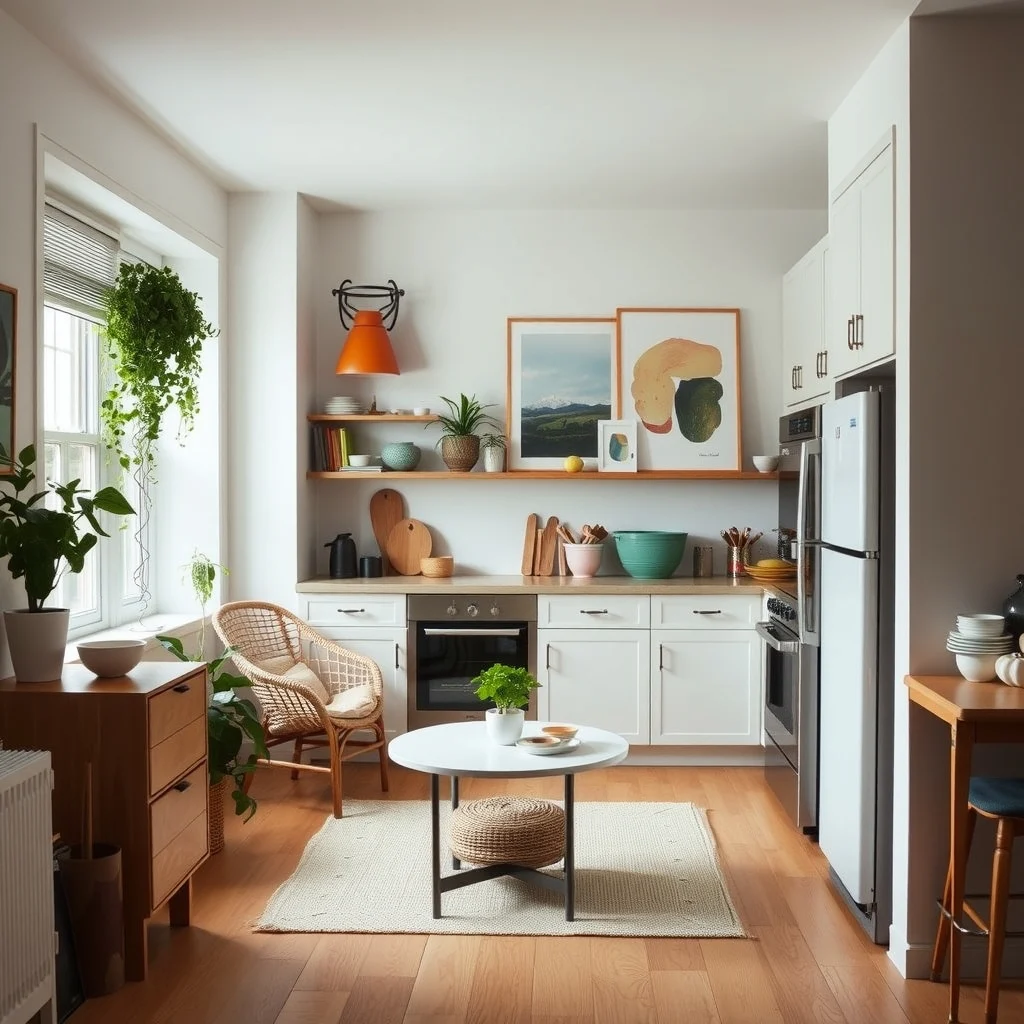
This image is by AI for inspiration only.
Organizing snacks in a kitchen without a pantry is less about finding extra square footage and more about rethinking the spaces you already have. By adding shelves above cabinets, pulling drawers into existing cabinets, or introducing mobile and decorative elements, you can create a system that feels both purposeful and inviting. Each solution carries its own set of considerations—weight limits, visibility, and maintenance—but together they offer a flexible toolbox for any small‑kitchen owner. Choose the ideas that align with your daily habits and aesthetic preferences, and you’ll discover that a pantry‑less kitchen can still keep your favorite bites neatly stored and beautifully displayed.