
Where to Put Trash in a Small Kitchen (practical Ideas That Actually Work)

Your kitchen is gorgeous… until that sad little trash can shows up like an uninvited guest. In a small space, your bin has to be invisible, hygienic, and ridiculously easy to reach. Impossible? Not even a little. Here are seven smart, stylish, actually-doable ways to place trash in a tiny kitchen without losing your sanity—or your aesthetic.
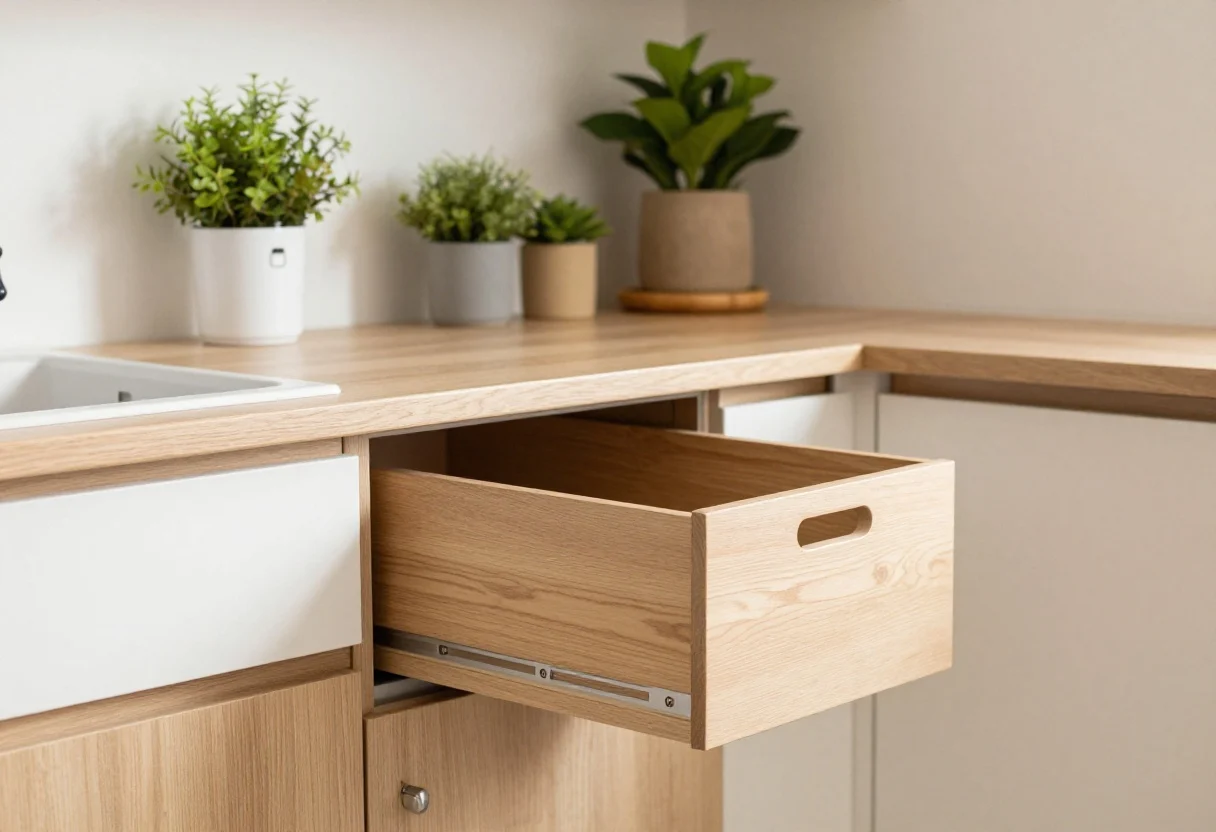
1. Tuck It Inside A Cabinet Like A Secret Agent
This image is by AI for inspiration only.
Nothing says “clean kitchen” like pull-out trash hidden behind a cabinet door. It keeps smells contained, floors clear, and your eyes blissfully unbothered. Plus, it’s basically a one-hand move while you’re chopping onions.
Smart Spots
- Under the sink: Classic move. Works best with compact cans or dual bins.
- Next to the dishwasher: Makes scraping plates and loading super efficient.
- End base cabinet: Add a full-height pull-out for trash and recycling.
Pro tip: Install a soft-close slide so the bin doesn’t slam. If you cook a lot, spring for a double-bin setup: one for trash, one for recycling. Your future self will high-five you.
What to shop for: Pull-out trash frames, cabinet slides, under-sink trash bins.
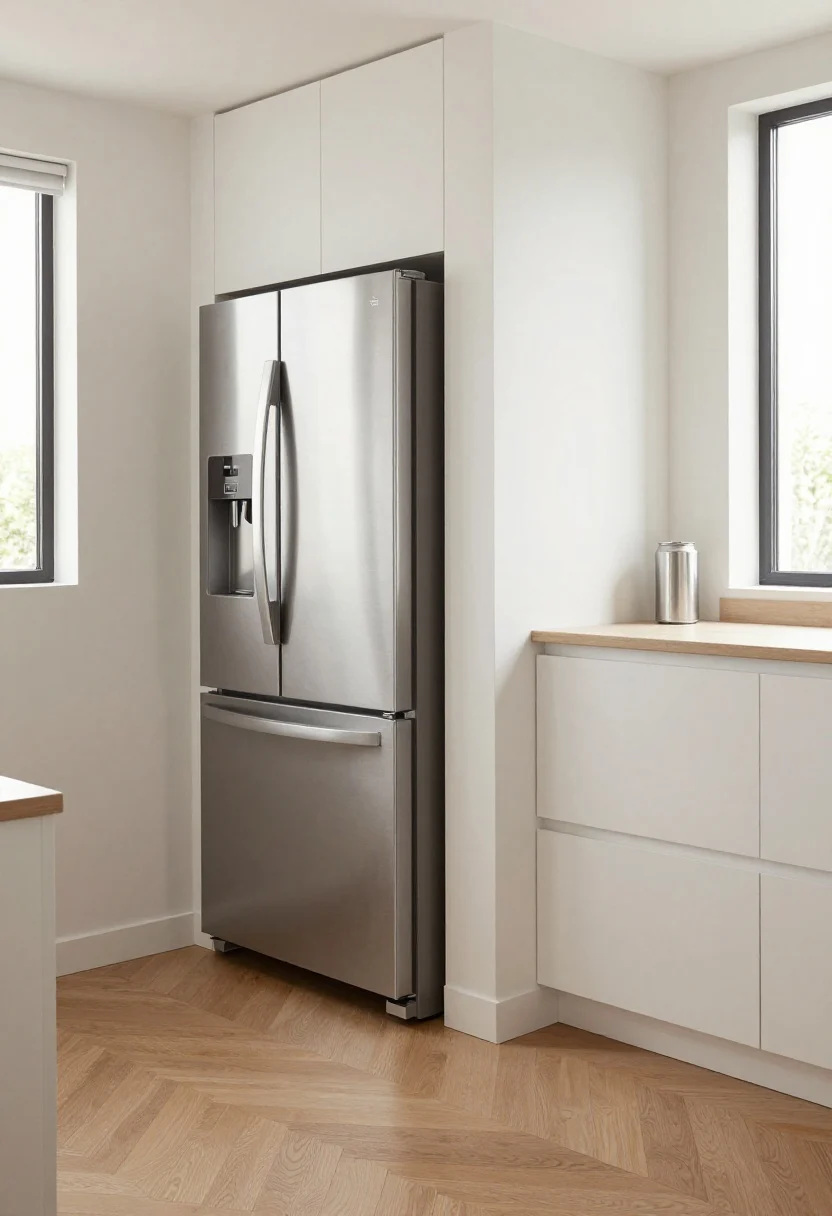
2. Go Vertical With A Slim Can In A Dead Zone
This image is by AI for inspiration only.
That skinny slice between the fridge and wall? Gold. A tall, slim can slides right in and frees up floor space where it counts. Out of sight, but easy to grab when you need it.
Place It Here
- Beside the fridge: Bonus if the fridge door hides the view.
- Between an island and a wall: As long as it doesn’t block traffic.
- End of a counter run: Tuck it so it’s not the first thing you see.
Look for cans with rectangular profiles and foot pedals—no awkward lid-flinging mid-sauté. If it’s visible, choose a finish that matches your appliances to feel intentional, not accidental.
What to shop for: Slim step cans, narrow rectangular bins, odor-control liners.
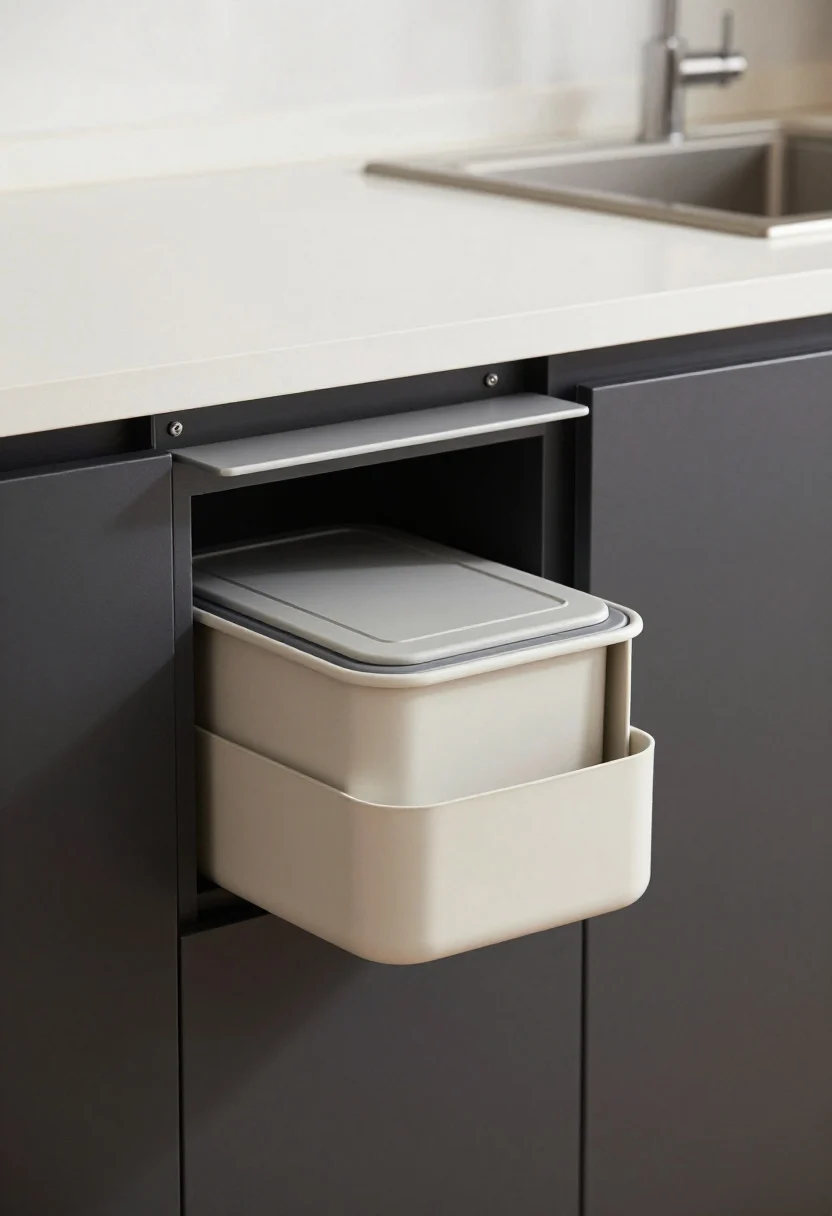
3. Build Trash Into An Island Or Utility Cart
This image is by AI for inspiration only.
No island? A compact kitchen cart or micro-island can handle prep—and hide a bin. It’s the storage superhero your tiny kitchen deserves, IMO.
How To Make It Work
- Open-shelf cart: Slide in a sleek bin on the lower shelf; use baskets to hide it.
- Closed-door cart: Cut a top trap-door or use a pull-out mechanism inside.
- Rolling option: Park it where you prep; roll it away when guests arrive.
Keep the top clear for chopping, and add a side towel bar for quick cleanups. If you DIY, paint the base to match your cabinets so it blends in like it’s always lived there.
What to shop for: Compact kitchen carts, concealed trash pull-outs, caster wheels.
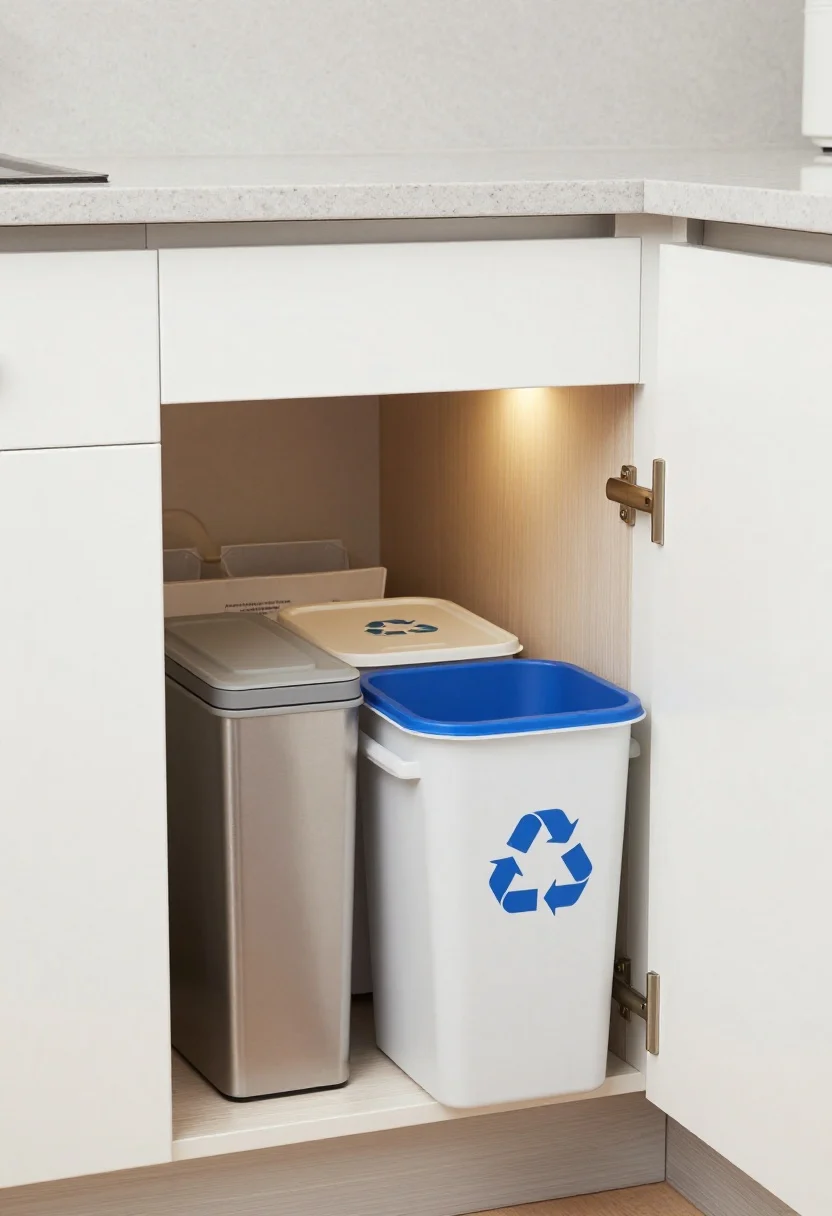
4. Divide And Conquer Under The Sink
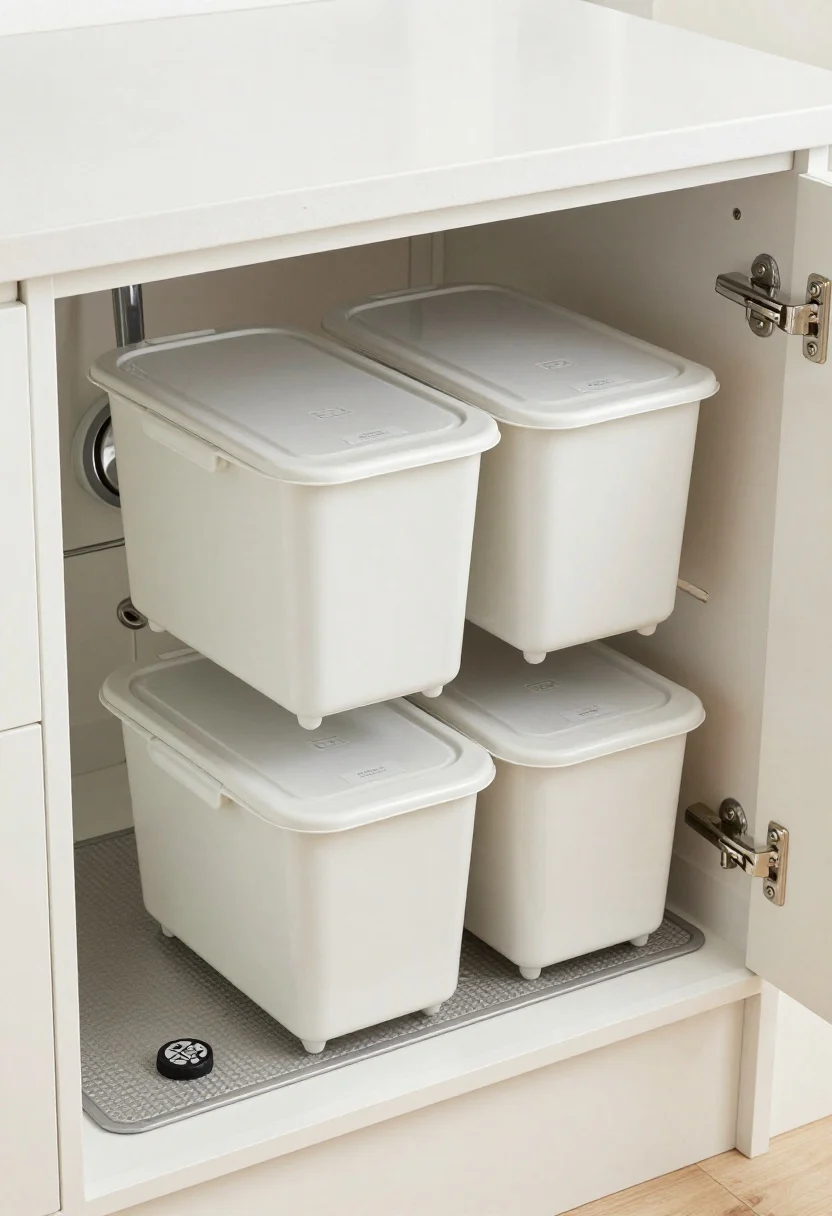
This image is by AI for inspiration only.
The under-sink cabinet is prime real estate—use it like a Tetris master. Smaller stackable or side-by-side bins fit around the plumbing and let you separate trash, recycling, and compost without hogging floor space.
Layout Tips
- Measure the P-trap first so you don’t end up with a bin that won’t fit.
- Use labeled lids so guests (and sleepy you) sort correctly.
- Add a mat under bins for easy wipe-downs and leak insurance.
FYI: Choose bins with grippy handles so you can yank them out quickly mid-prep. If you’re battling smells, toss in a small charcoal deodorizer and thank me later.
What to shop for: Modular bins, under-sink organizers, cabinet mats, charcoal deodorizers.
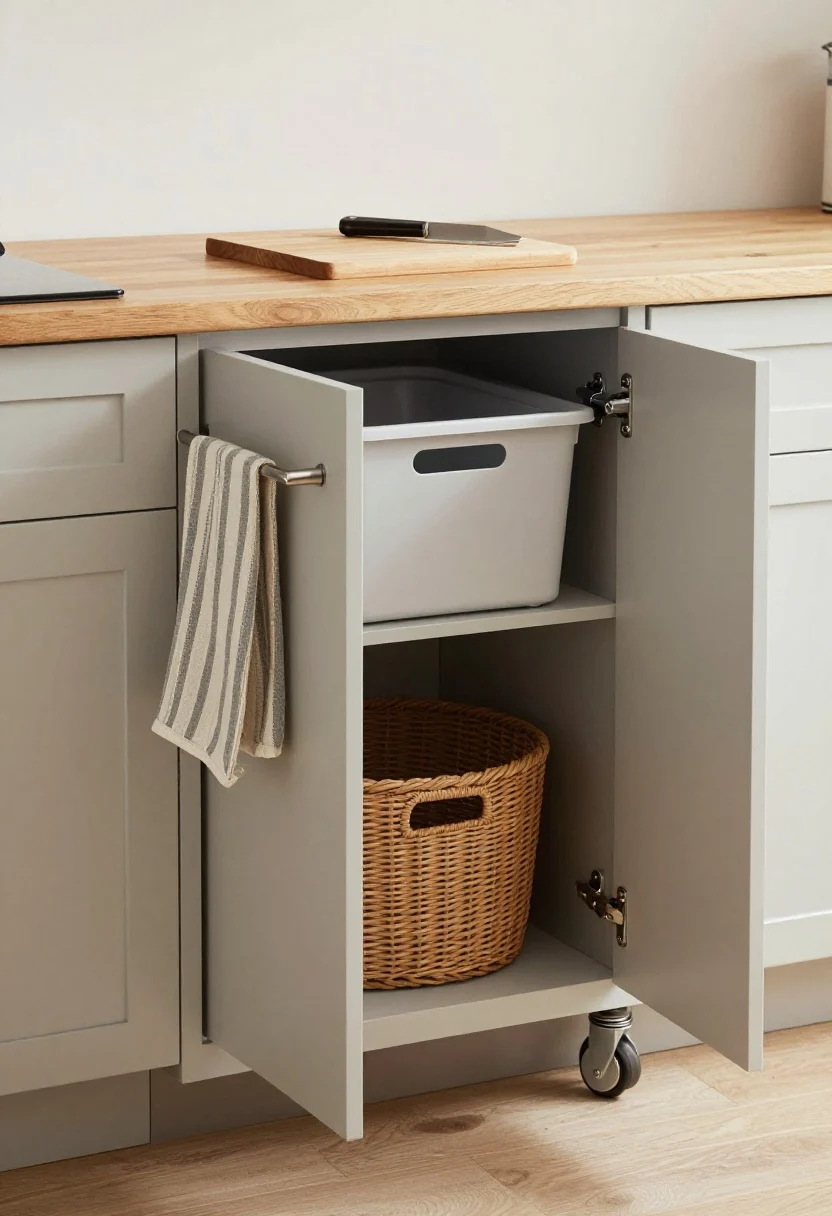
5. Hide It In A Pantry Nook Or Appliance Garage
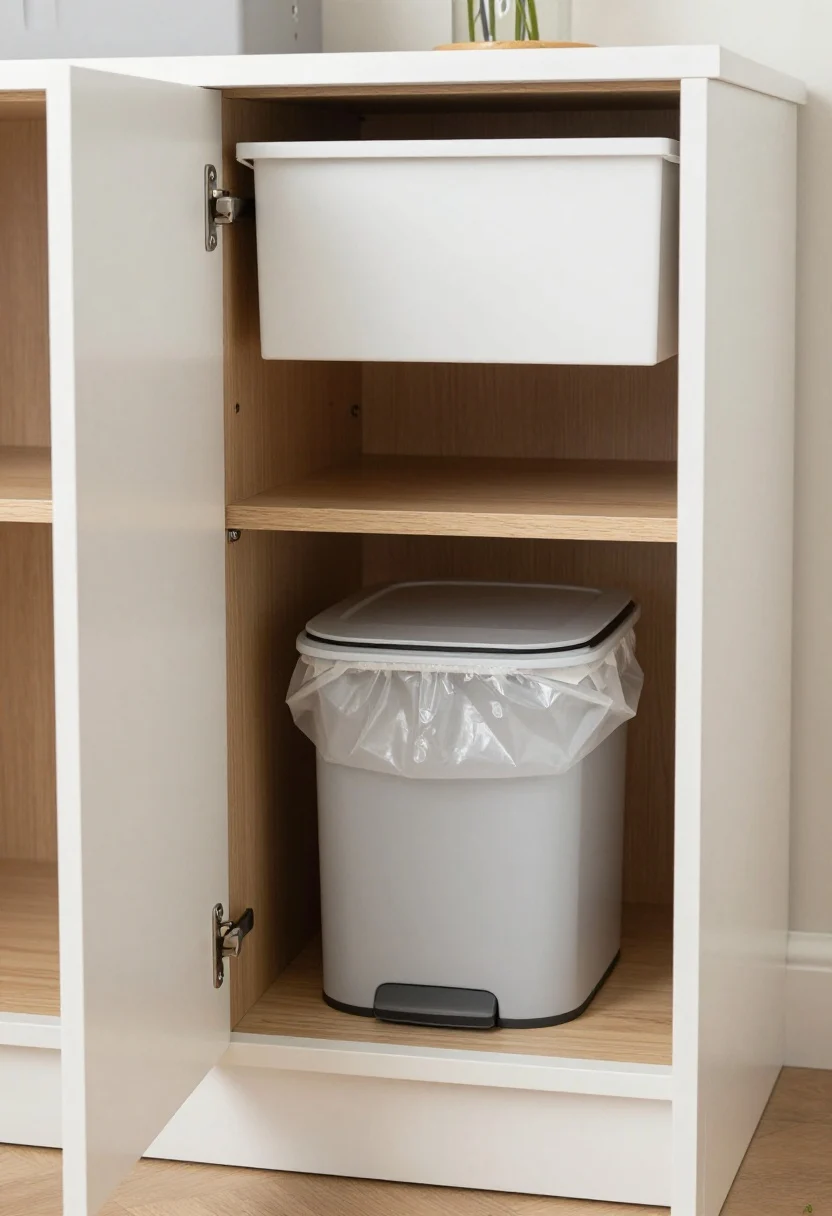
This image is by AI for inspiration only.
Got a pantry cabinet? Create a little trash zone that’s discreet and practical. This keeps your main kitchen area clean-lined and photogenic—yes, even on a Monday.
Set It Up Right
- Use the lowest shelf for a pull-out or lidded can.
- Mount bag rolls on the inside of the door so you can reline in 10 seconds.
- Leave breathing room behind the bin so the lid opens fully.
Pair it with a small countertop compost caddy near your prep zone, then empty it into a larger compost bin in the pantry. Minimal smell, maximum convenience.
What to shop for: Lidded pantry bins, door-mounted bag dispensers, countertop compost caddies.
6. Think Wall-Mounted Or Hanging For Micro Kitchens
This image is by AI for inspiration only.
No floor space? Go vertical. A wall-mounted bin or a bag holder clipped inside a cabinet door keeps trash accessible without stealing any square footage. It’s weirdly satisfying.
Where To Mount
- Inside a base cabinet door: Perfect for lightweight waste like wrappers and paper towels.
- On a side panel of a cabinet or island: Choose a minimalist bin that matches hardware.
- Rail systems above the counter: Hook a small caddy while you prep; remove after.
Keep wall bins for dry or light trash so you’re not stressing the mount. If you cook daily, choose a model with a tight lid or silicone gasket to control odors.
What to shop for: Wall-mounted bins, cabinet-door caddies, kitchen rail systems.
7. Make It Pretty And Proud—If You Have To Show It
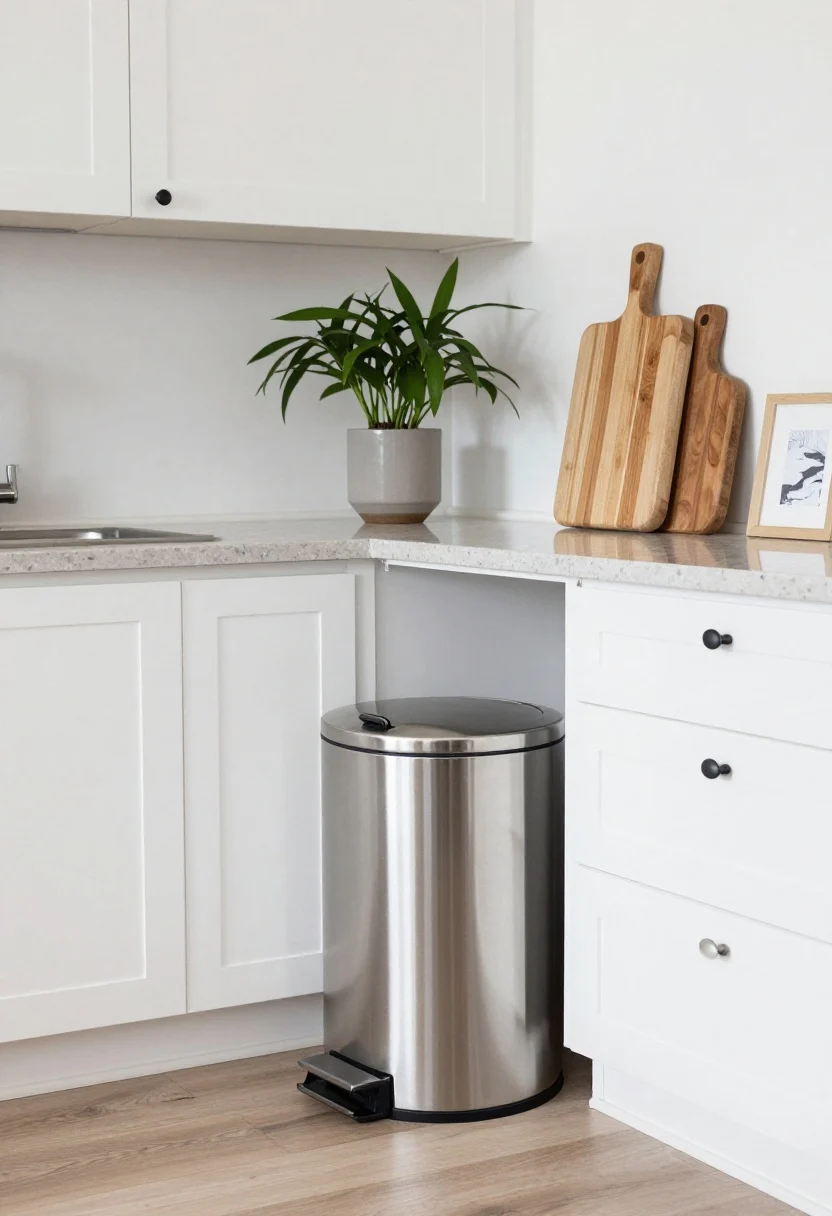
This image is by AI for inspiration only.
Sometimes the bin has to be seen. Fine. Make it intentional and stylish so it reads like decor, not clutter. Form plus function is the vibe.
How To Style A Visible Trash Can
- Match finishes: Stainless with stainless, matte black with black pulls—cohesion is key.
- Pick a shape that fits: Rectangle for tight corners; round for open floor spots.
- Upgrade the details: Quiet-close lids, foot pedals, and flat backs that hug walls.
Place it where the workflow needs it—near the sink or prep zone—then balance the view with a tall plant, pretty cutting board, or art so the eye doesn’t fixate on the can. Sneaky design trick: line up the lid height with nearby counters for a clean sightline.
What to shop for: Aesthetic step cans, matching recycling bins, odor-control filters.
Bonus Hygiene Tips That Keep Things Fresh
- Double-bag for messy meals and tie off liquids before tossing.
- Sprinkle baking soda under the liner to absorb odors.
- Wipe bins weekly with a vinegar solution; rinse and air-dry.
Quick Placement Checklist
- Is it within two steps of your main prep zone?
- Does the lid clear counters and pipes?
- Can you reline the bag without a scavenger hunt?
- Is there a plan for recycling and compost too?
Get those right, and your tiny kitchen will run like a chic, efficient machine.
FAQ
Q: How big should a trash can be for a small kitchen?
A: Aim for 8–13 gallons. If you cook often, 10–13 gallons prevents constant trips; if you’re solo or order in a lot, 8–10 gallons is plenty.
Q: How do I control smells in a hidden cabinet bin?
A: Use a lidded bin, add baking soda or a charcoal filter, and empty every 1–2 days. Wipe spills immediately and leave the door cracked for a few minutes after messy use.
Q: What’s the best setup for trash, recycling, and compost in a tiny space?
A: Put trash + recycling together in a pull-out or under-sink duo. Keep a small countertop compost caddy for prep scraps and empty it into a larger bin in the pantry or outside daily.
Final Take
Your small kitchen can absolutely be spotless and stylish—with trash handled like a pro. Pick the placement that matches your workflow, hide it where you can, and make it good-looking where you can’t. Tiny space, major upgrade. FYI: once you nail this, even taking out the trash feels oddly satisfying.
Shop the Look on Amazon
Disclosure: As an Amazon Associate, this site may earn from qualifying purchases.
These product categories fit this article and give readers an easy next step when they are ready to shop.
- Cabinet pull-outs — Hides bins in cabinets and streamlines cleanup.
- Slim floor cans — Fits tight gaps beside fridges or islands.
- Under-sink bins — Modular options work around plumbing and separate waste.
- Wall-mounted bins — Saves floor space in micro kitchens.
- Compost caddies — Keeps prep scraps handy and controls odors.
Image Credits:All images are used for informational or inspiration purposes only. Some images used in this post are sourced from royalty-free websites like Pixabay or created using Canva Pro. If you are the copyright owner of any image used here and would like it removed or credited, please contact me.

One Comment