How to Label Seasonal Clothing Storage so You Can Find Things Fast

When the first chill of autumn arrives, the closet that once held summer dresses suddenly becomes a maze of forgotten sweaters and scarves. The frustration of digging through boxes for a single cardigan is a common scene in many homes, yet a thoughtful labeling system can turn that chaos into a quick, almost invisible routine. Below you’ll find a step‑by‑step guide that blends practical organization with the aesthetic sensibility of a well‑styled interior. By the end, you’ll have a clear plan for labeling every bin, drawer, and shelf, allowing you to retrieve what you need without turning your bedroom into a storage warehouse.
1. Choose a labeling system that matches your closet’s visual language

This image is by AI for inspiration only.
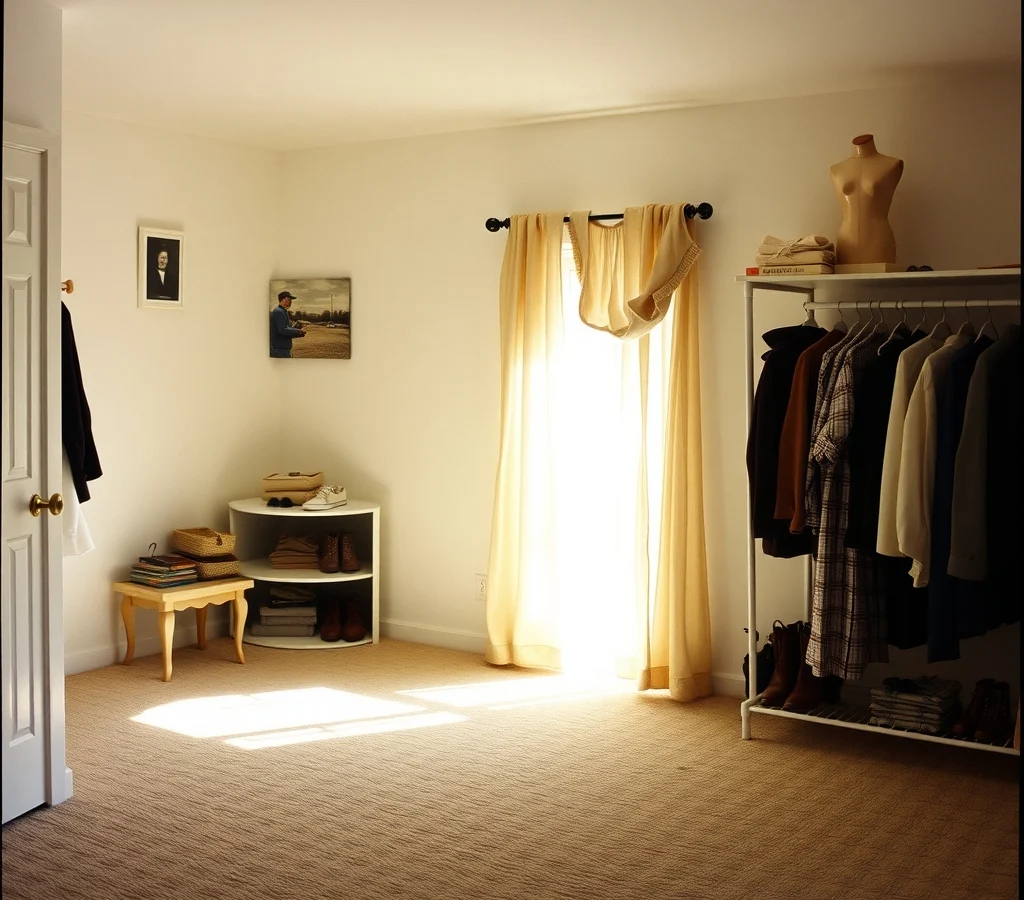
Every home has a design language—whether it leans toward minimalist metal accents, warm wood tones, or a mix of vintage brass. Selecting labels that echo those materials helps the system feel like a natural extension of the space rather than an afterthought. For example, a sleek brushed‑nickel tag holder pairs nicely with a modern wardrobe that features chrome handles, while a reclaimed‑wood label board complements a farmhouse‑style closet with exposed beams.
When the visual cues align, you instinctively glance at the label and know where to look without a mental translation step. This harmony also reduces visual clutter, because the labels blend with the surrounding décor rather than standing out as a stark reminder of organization work. If your closet already incorporates a specific finish, let that dictate the label material; otherwise, choose a neutral tone that won’t clash with seasonal colour shifts.
2. Use durable, weather‑resistant materials for the tags
This image is by AI for inspiration only.
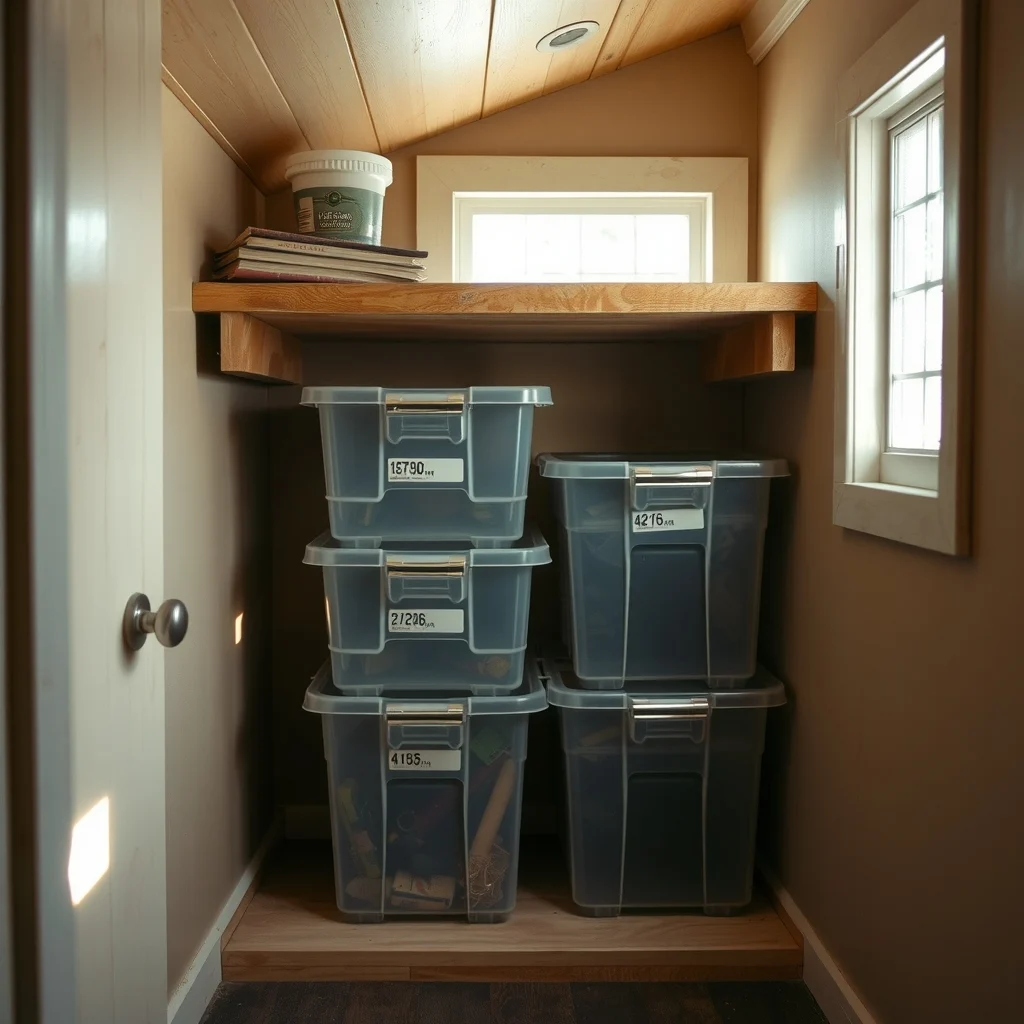
Seasonal storage often lives in attics, basements, or garage corners where temperature and humidity fluctuate. Paper tags that curl in the heat or fade in the sun become more of a hindrance than a help. Opt for polypropylene sleeves, laminated cardstock, or small acrylic plaques that can withstand moisture and temperature changes.
These materials not only preserve legibility but also convey a sense of permanence, encouraging you to keep the system tidy over the years. A small trade‑off is the initial cost; acrylic or laminated options are pricier than simple paper, yet the long‑term savings in time and frustration usually outweigh the expense. For a budget‑friendly alternative, consider using clear zip‑lock bags with a permanent‑marker label—still waterproof and easy to replace if needed.
3. Adopt a colour‑coding scheme that reflects the season
This image is by AI for inspiration only.
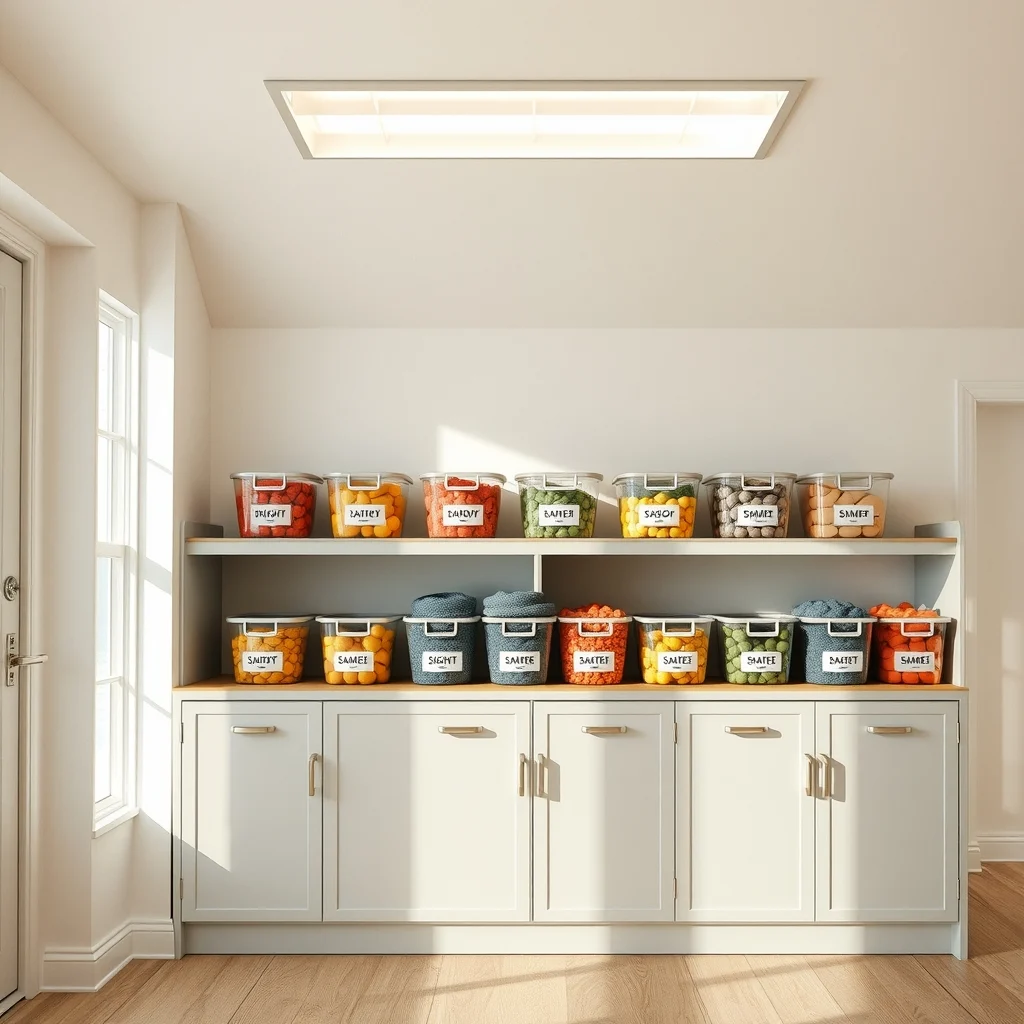
Assigning a distinct hue to each season creates an instant visual cue. Soft sage for spring, muted amber for autumn, cool slate for winter, and bright coral for summer can be printed on the label background or applied as a small colored sticker beside the text. When you open a storage bin, the colour alone tells you whether the contents belong to the current wardrobe rotation.
The advantage of colour coding lies in speed; you don’t need to read every label if the shade already signals relevance. However, be mindful of colour blindness—pair the hue with clear text to ensure accessibility. If you prefer a subtler palette, use pastel tones that complement the room’s existing wall colour, keeping the system understated yet functional.
4. Include both broad categories and specific items on each label
This image is by AI for inspiration only.
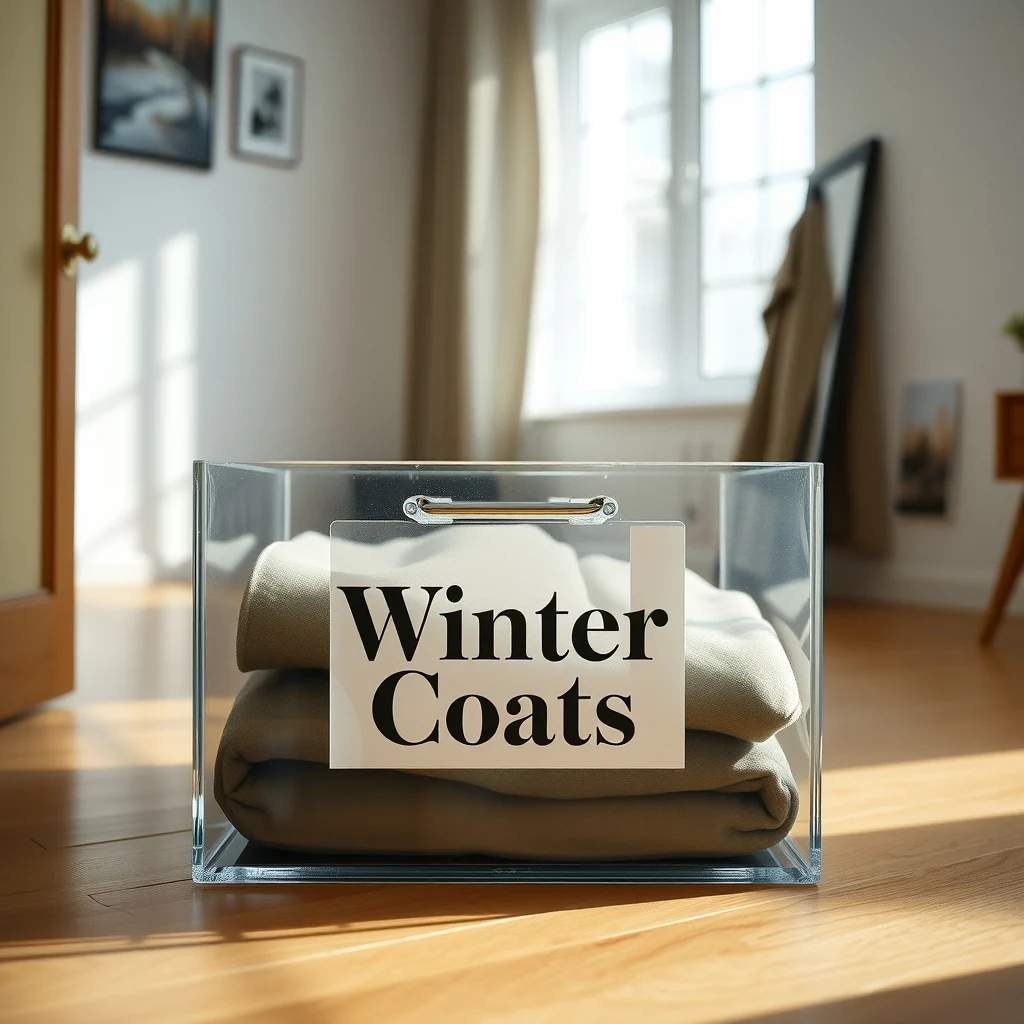
Instead of a generic “Winter” tag, break the content down into logical groups such as “Winter – Heavy Knit Sweaters” or “Winter – Wool Coats”. This layered approach narrows the search area while still keeping the label concise enough to read at a glance. The first line indicates the season, and the second line narrows the focus, guiding you directly to the piece you need.
While adding detail improves precision, overly long labels can become cramped and hard to read, especially on smaller tags. Strive for a balance: keep each line under ten words, and use abbreviations only when they are universally understood (e.g., “PJs” for pajamas). If a bin contains a mixed assortment that doesn’t fit neatly into one sub‑category, a brief note like “Assorted Accessories” can prevent confusion without overcomplicating the system.
5. Position labels where they’re instantly visible

This image is by AI for inspiration only.
Where you place the label determines how quickly you can locate items. Affixing the tag to the front edge of a clear plastic bin ensures it’s readable without moving the container. For fabric storage bags, a small metal tag clipped to the top handle works well, as the handle is the first point of contact when you pull the bag from a shelf.
Consider lighting as well; a label placed in a shadowed corner may be overlooked. If your closet’s interior lighting is dim, use a slightly reflective surface—such as a glossy label finish—to catch the light and draw the eye. The only downside is that reflective labels can create glare if positioned directly under a bright bulb, so test the placement before finalizing.
6. Keep a master inventory sheet for quick reference

This image is by AI for inspiration only.
A single sheet—whether printed on paper, saved as a note on your phone, or entered into a spreadsheet—can list each storage container, its label, and a brief inventory of its contents. When you need a specific item, you can glance at the sheet and head straight to the correct bin, bypassing the need to open multiple boxes.
The inventory sheet also serves as a maintenance tool; a quick review each season reminds you to rotate items, donate pieces you no longer wear, and update labels that have become outdated. The main limitation is the extra step of maintaining the list, but setting aside ten minutes after each seasonal change makes the habit easy to sustain.
7. Review and adjust the system after each season
This image is by AI for inspiration only.
No labeling method is perfect from the first attempt. After the first winter cycle, you might notice that “Winter – Light Jackets” is too broad because you have both down vests and fleece pullovers. Use that observation to split the bin or refine the label wording for the next season.
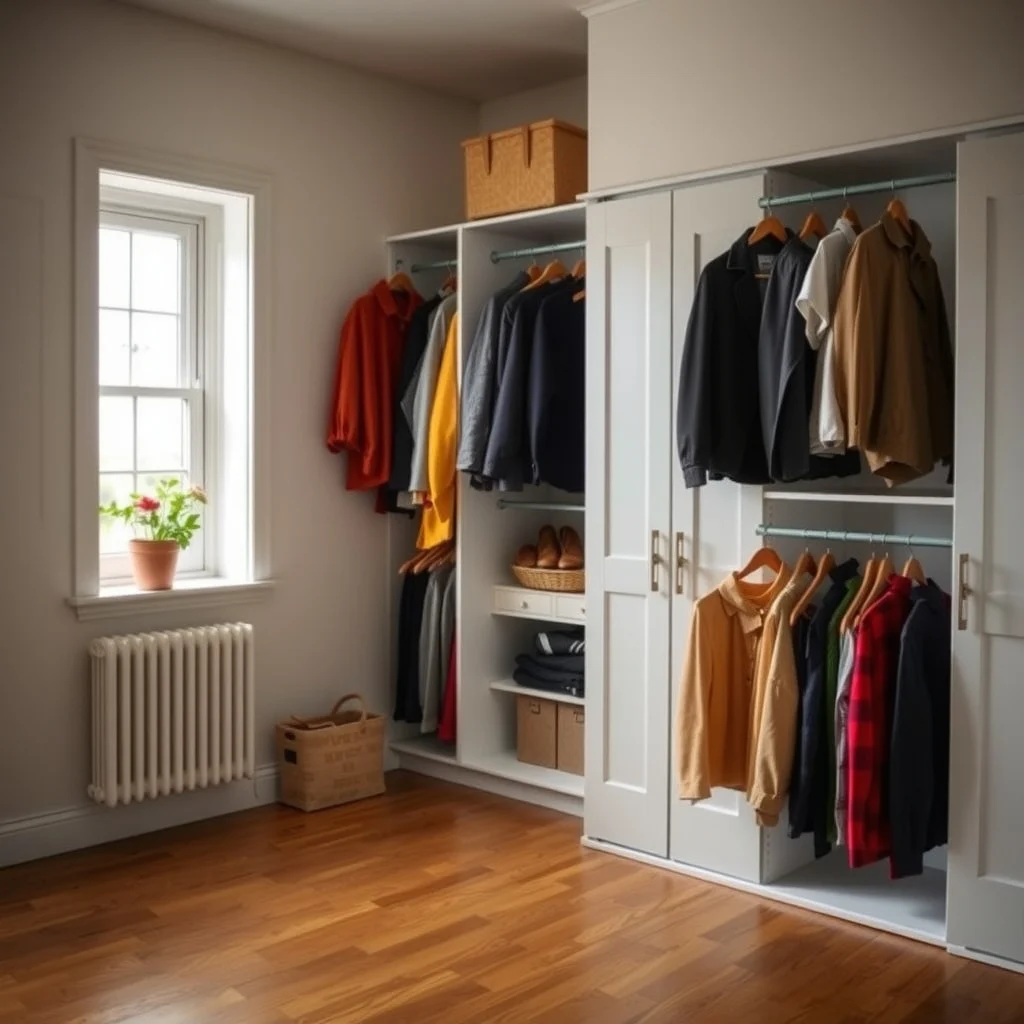
Regularly assessing the system keeps it aligned with your evolving wardrobe and any changes in storage locations. If you acquire new furniture—like a built‑in wardrobe with sliding doors—re‑evaluate label placement to ensure visibility remains optimal. The willingness to tweak the approach prevents the system from becoming rigid and ensures it continues to serve you efficiently.
FAQ
- How do I label fabric bags without damaging the material?
-
Use a small, lightweight metal or plastic tag that clips onto the bag’s existing handle. This method avoids sewing or adhesive, preserving the fabric’s integrity while keeping the label removable for future use.
- Can I use a digital labeling system instead of physical tags?
-
A digital system works well if you prefer a paperless approach; you can photograph each container and store the images in a cloud folder with descriptive file names. However, you’ll still need a quick visual cue on the container itself, so a simple printed label or QR code can bridge the gap between physical and digital.
- What’s the best way to label bins that will be stored in a dark attic?
-
Choose high‑contrast labels—dark text on a light background or vice versa—and consider adding a reflective strip to catch any ambient light. A sturdy, water‑resistant material also protects the label from dust and temperature shifts common in attic spaces.
- How often should I replace my labels?
-
Replace labels whenever they become faded, torn, or difficult to read. A good rule of thumb is to check them at the start of each seasonal swap; this ensures the system stays reliable year after year.
Final Thoughts
This image is by AI for inspiration only.
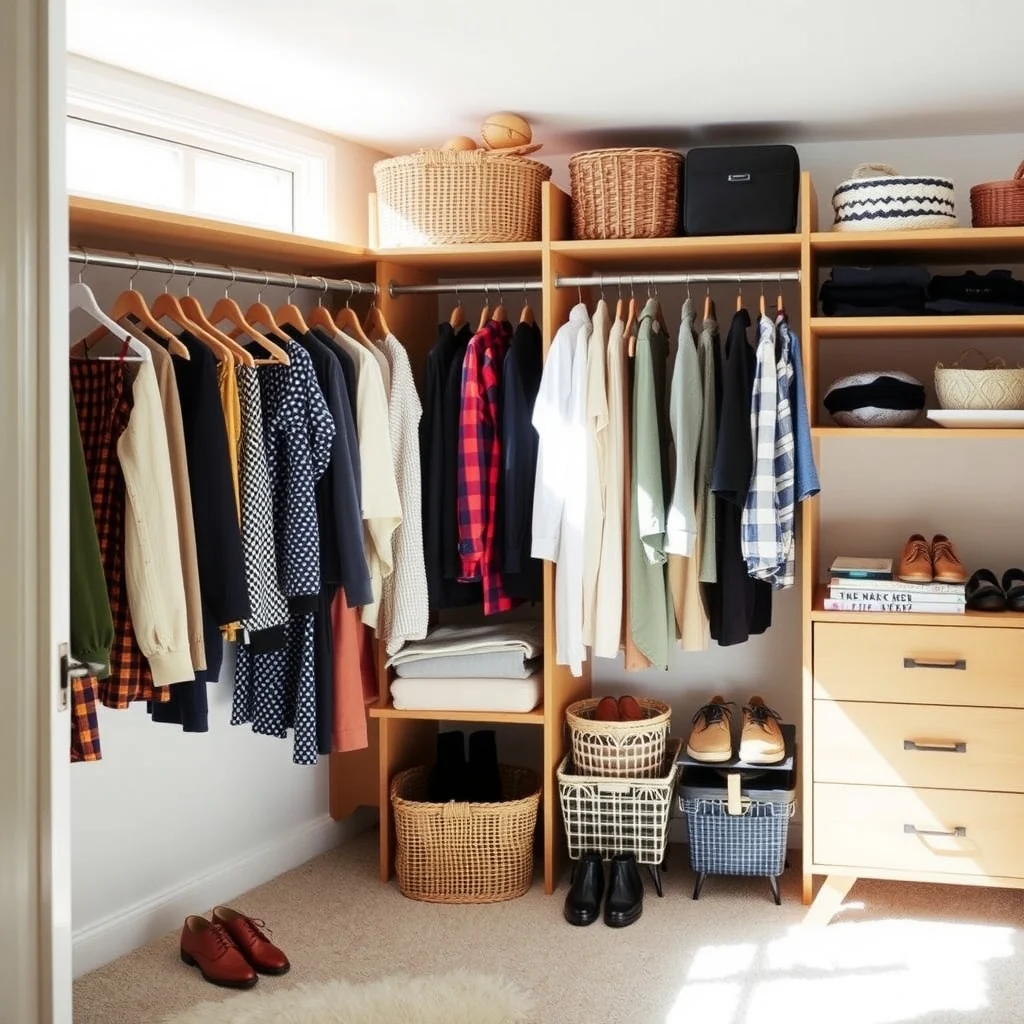
Labeling seasonal clothing storage is more than a tidy‑up task; it’s a subtle design decision that can streamline daily routines and protect the aesthetic of your home. By selecting materials that suit your décor, using colour and clear phrasing, positioning tags thoughtfully, and keeping a simple inventory, you create a system that feels both functional and harmonious. Treat the labeling process as a living part of your home—one that evolves with your wardrobe and the spaces it inhabits. With the right approach, finding that perfect sweater will become a quick, satisfying moment rather than a seasonal scavenger hunt.