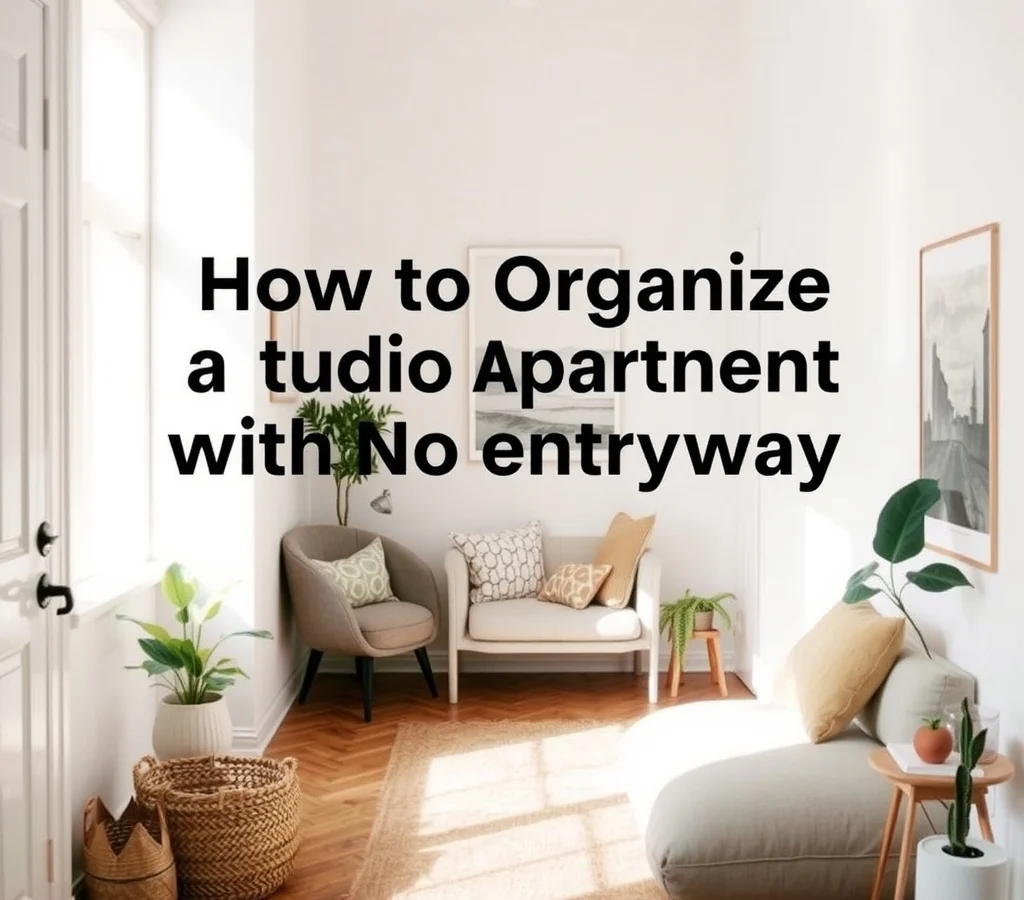
How to Organize a Studio Apartment With No Entryway
Living in a studio means every square foot counts, and without a dedicated entryway the moment you step through the door you’re already inside the living space. That can feel chaotic if coats, shoes, mail and daily necessities have nowhere to settle. The good news is that a thoughtful layout, clever storage and subtle visual cues can turn a doorway‑to‑everything into a calm, functional zone. Below are seven ideas that show how to create a welcoming transition, keep clutter at bay and still preserve the open feeling that makes a studio feel spacious.
1. Create a visual threshold with a rug or bench
This image is by AI for inspiration only.
© 2026 AI Illustrator — Inspiration Only
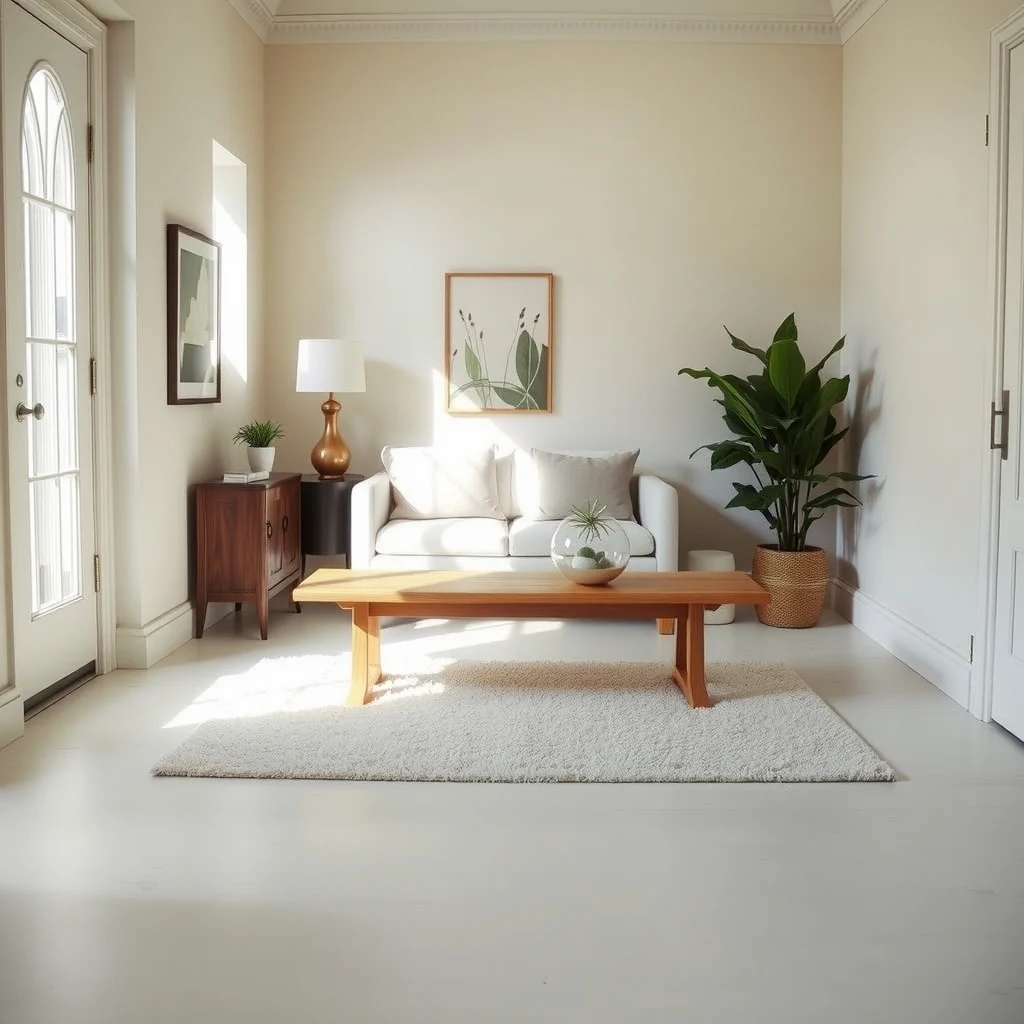
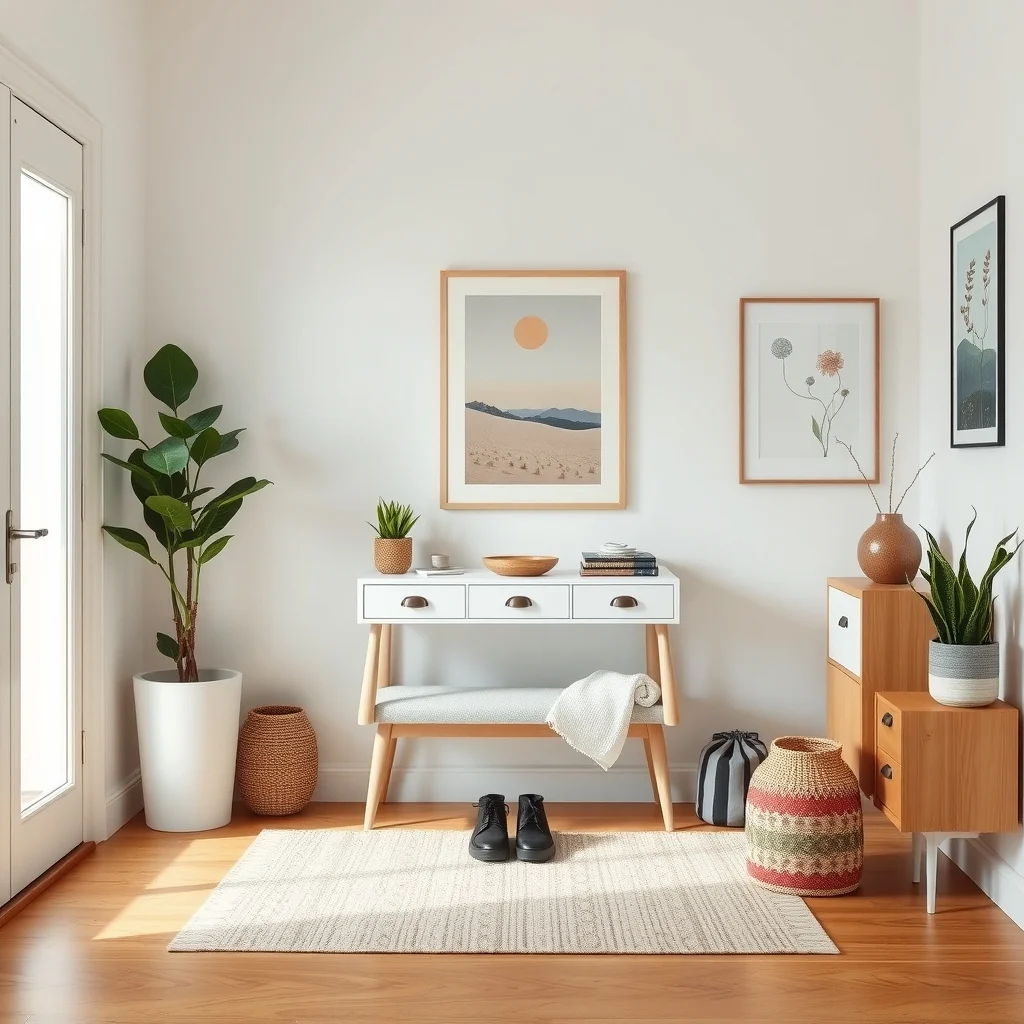
Even without a wall or hallway, a change in flooring can signal the shift from public to private. Placing a medium‑sized rug that extends a foot or two into the main room instantly defines a “landing” area. Choose a low‑pile rug in a muted hue—soft greige or muted sage works well—so it doesn’t compete with the rest of the décor. A slim bench placed on the rug offers a spot to set down bags or slip on shoes, while the bench’s backrest can double as a place to lean against while you gather your thoughts before heading out. The visual break helps your brain register a new zone, reducing the mental clutter that comes from walking straight into the living area.
The trade‑off is that a rug can collect dust, so a quick vacuum once a week keeps it fresh. If you prefer a more minimalist look, a narrow runner instead of a full‑size rug can achieve the same boundary without taking up much floor space.
2. Embrace multi‑functional furniture that hides daily items
This image is by AI for inspiration only.
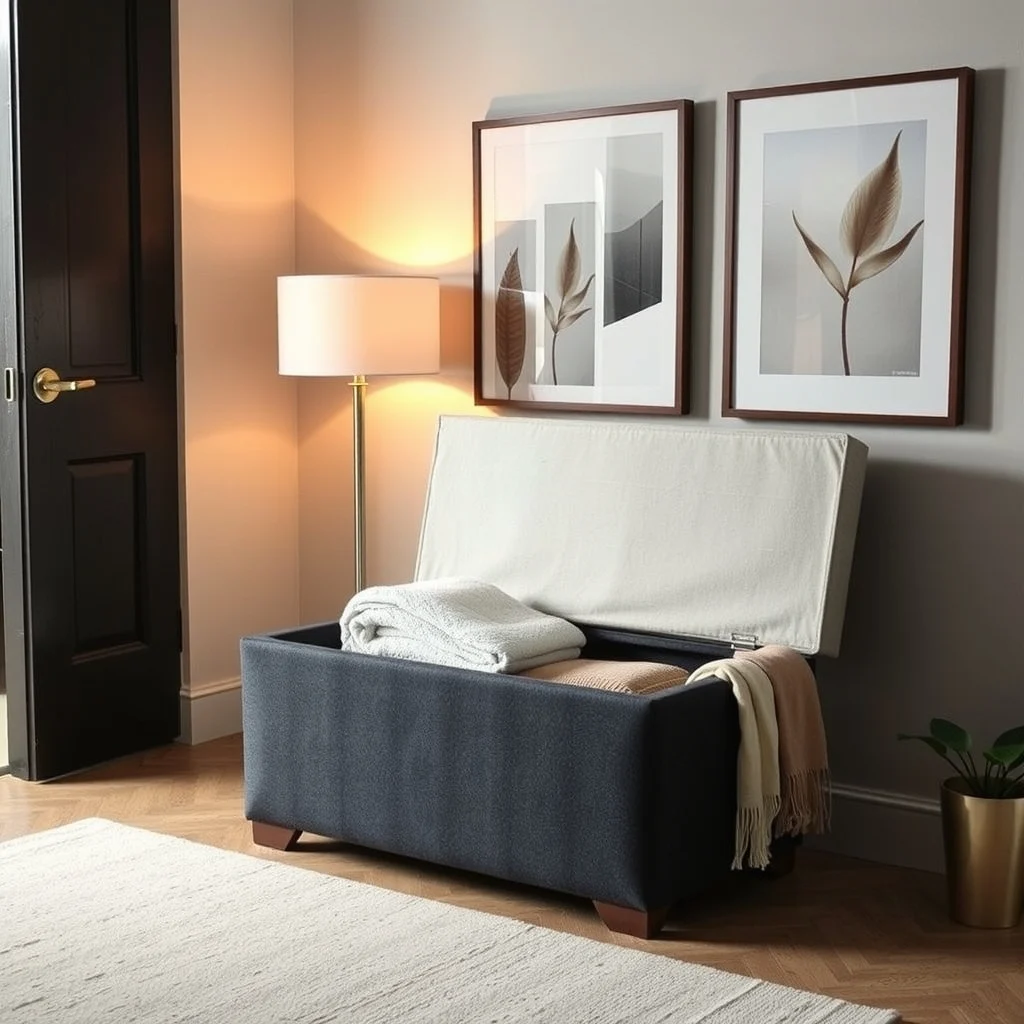
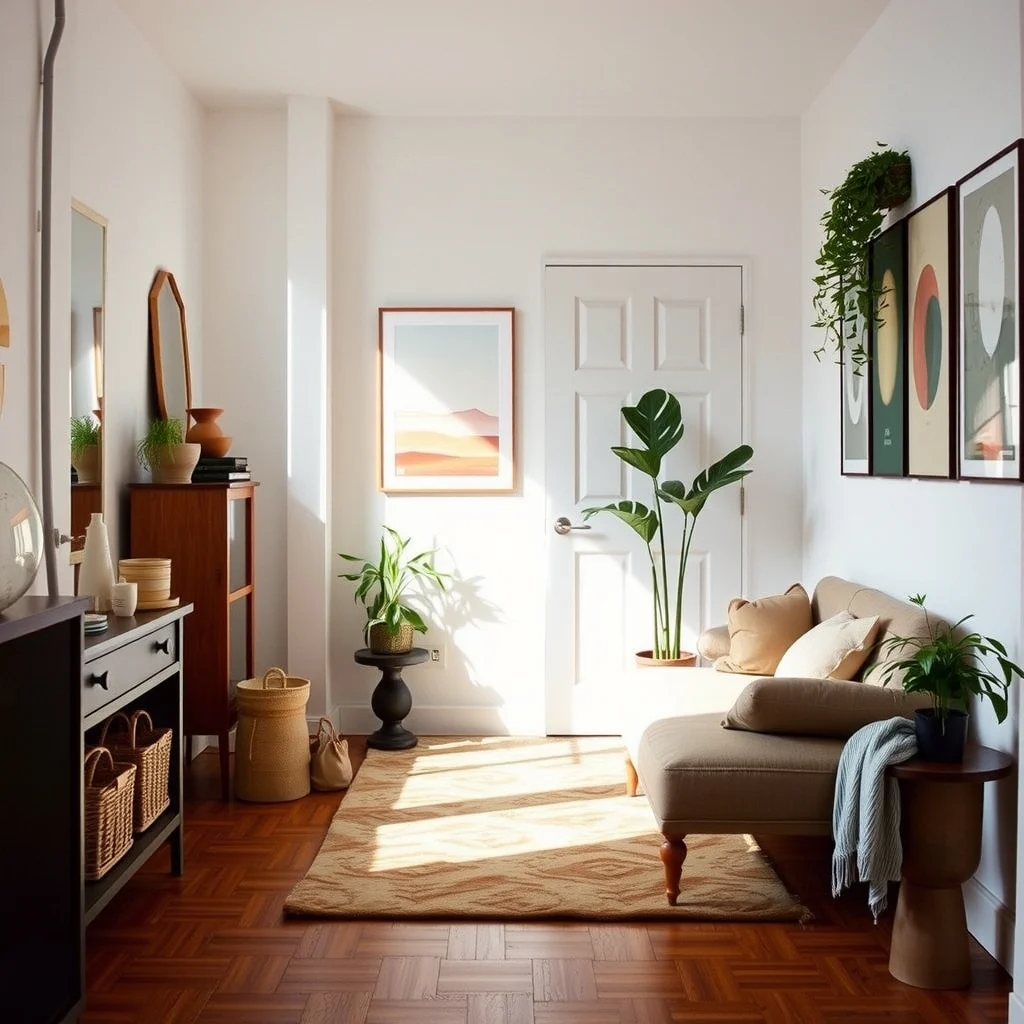
Every piece in a studio must earn its square footage. A storage ottoman, for example, provides seating, a footrest and a concealed compartment for blankets, magazines or even a small stack of shoes. Selecting an ottoman upholstered in a durable linen blend ensures easy cleaning and a timeless look. Similarly, a daybed with built‑in drawers offers a sleeping surface by night and a place to tuck away linens by day. When the daybed is positioned against a wall, the headboard can serve as a backdrop for art or a floating shelf, adding visual interest without additional furniture.
These dual‑purpose items work because they eliminate the need for separate dressers or side tables, freeing floor space for movement. The downside is that the storage capacity is limited to the piece’s interior; larger items may still need a dedicated cupboard elsewhere in the studio.
3. Go vertical with wall‑mounted shelves and hanging racks
This image is by AI for inspiration only.
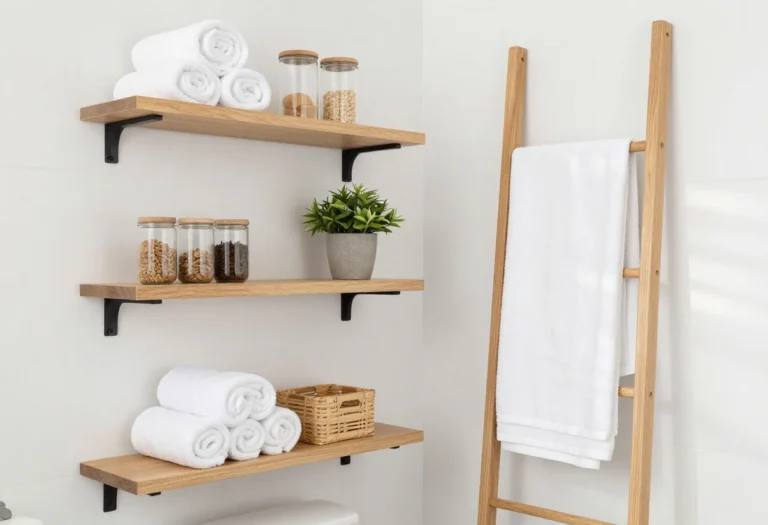
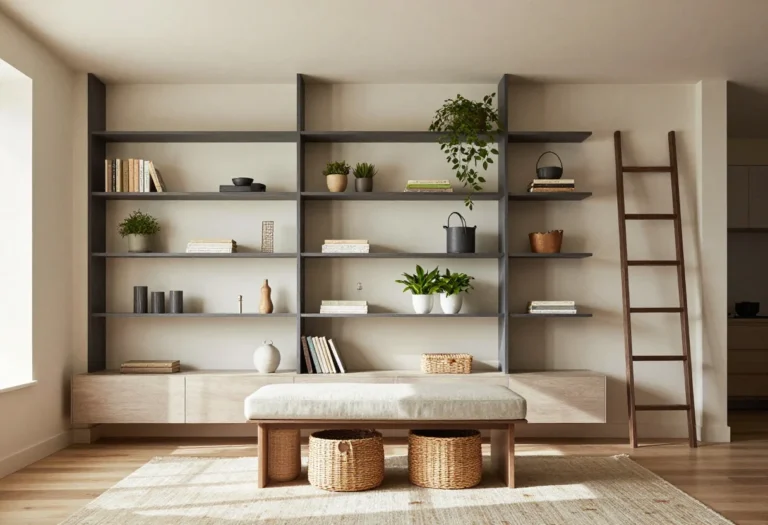
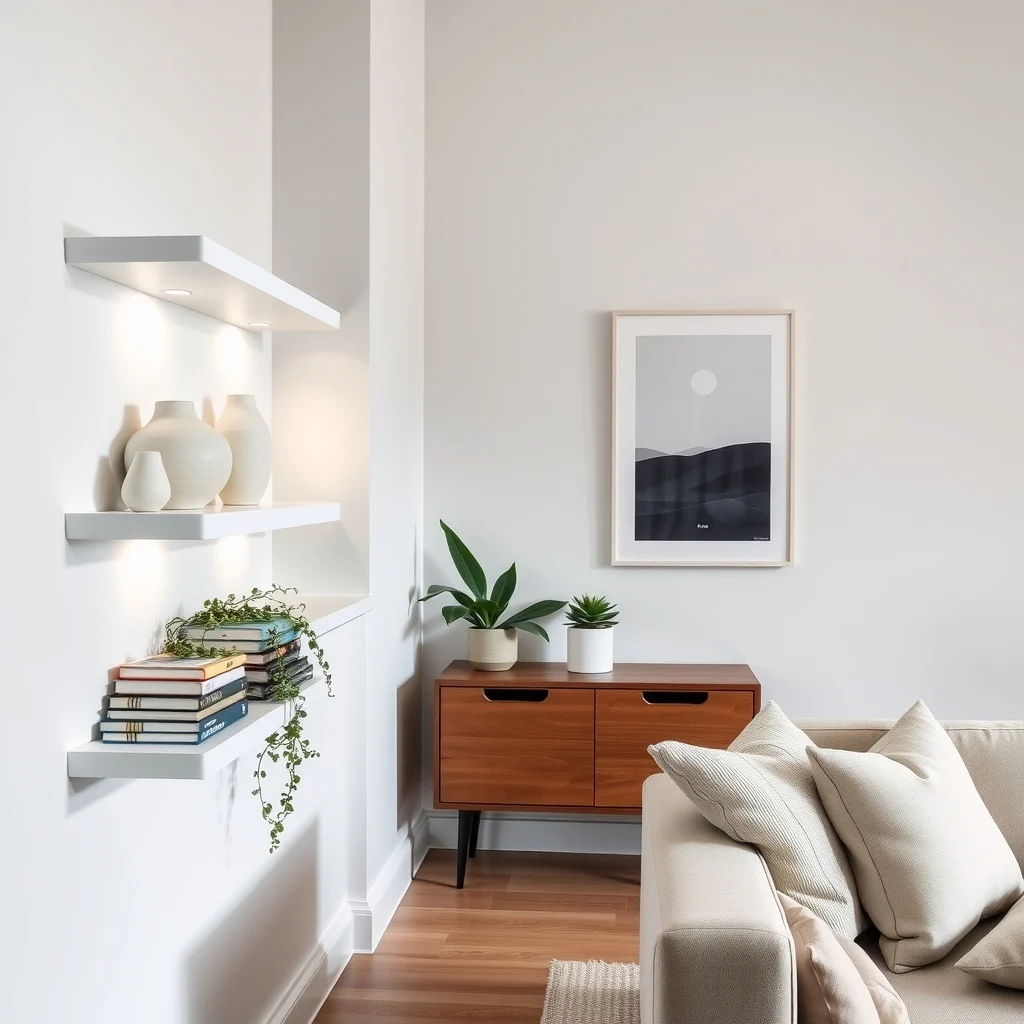
When floor space is scarce, the walls become prime real estate. Floating shelves painted in a matte white finish can hold books, decorative bowls and small plants without adding visual bulk. Installing a slim coat rack or a set of decorative hooks near the door lets you hang jackets, bags and umbrellas, keeping them off the floor and within easy reach. For a touch of texture, consider a reclaimed wood shelf that adds warmth while providing sturdy support for heavier items like a kitchen pantry basket.
Vertical storage works because the eye is drawn upward, making the ceiling feel higher and the room more balanced. However, be mindful of the weight limits of your wall anchors; heavy objects should be secured to studs or use appropriate hardware to avoid accidents.
4. Conceal entry‑area clutter with built‑in cubbies or a narrow console
This image is by AI for inspiration only.
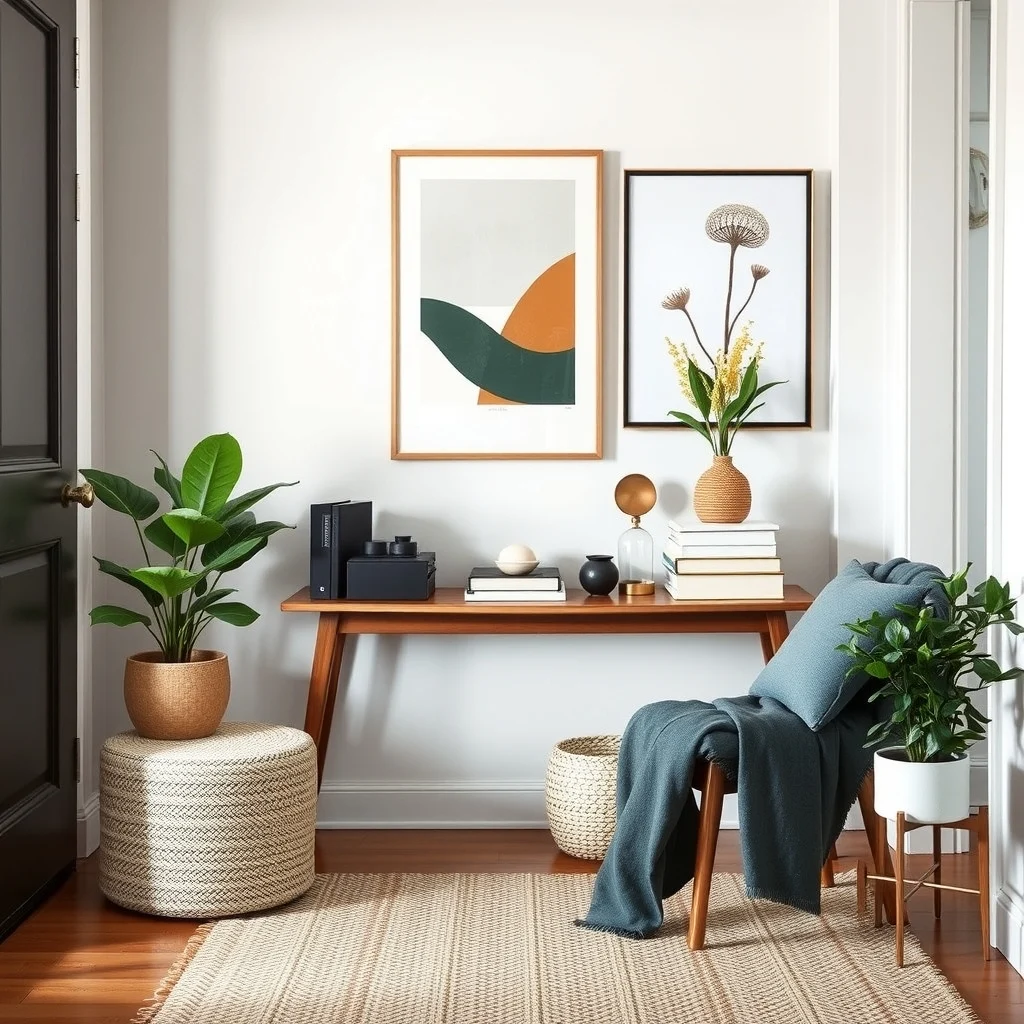
A narrow console table placed against the wall can serve as a discreet drop‑off point for keys, mail and a small tray for everyday essentials. Choose a piece with drawers or a lower shelf that can hide a stack of mail or a spare set of keys, keeping the surface tidy. If you have the option of a small built‑in alcove, install cubbies that fit the width of a standard coat. Adding soft fabric liners to each cubby protects garments and reduces noise when items are placed inside.
The advantage of a low‑profile console is that it doesn’t obstruct foot traffic, yet it creates a habit of returning items to a single spot. The limitation is that a console can become a visual barrier if it’s too deep; keep the depth under 12 inches to maintain flow.
5. Use mirrors and layered lighting to expand the perceived entry space
This image is by AI for inspiration only.
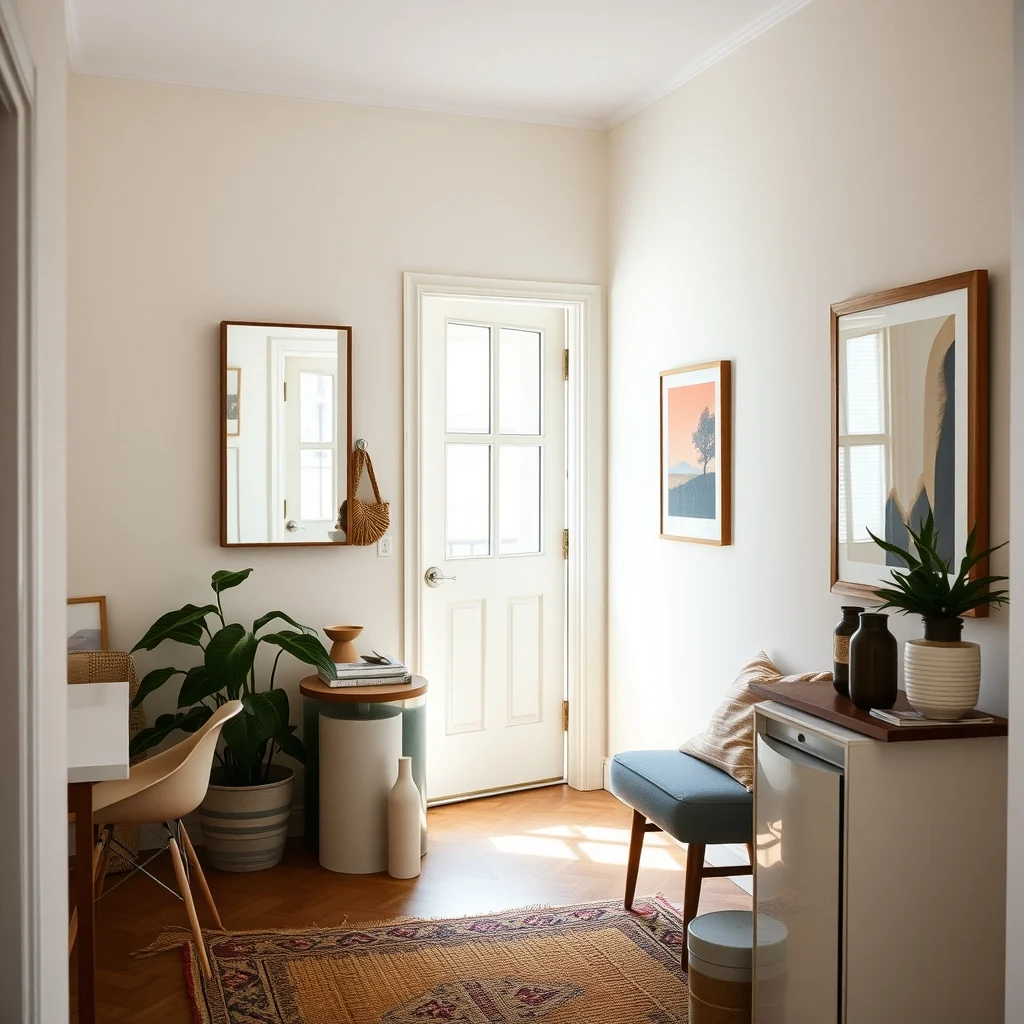
A well‑placed mirror reflects both natural and artificial light, making the entry feel larger than it is. Mount a rectangular mirror at eye level on the wall opposite the door; the reflected view of the rug and bench creates an illusion of depth. Pair this with a wall sconce that casts a warm wash of light across the rug, and the area feels both bright and inviting without the need for a ceiling fixture that might dominate the studio.
Layered lighting—overhead, task and accent—helps delineate zones without physical partitions. The downside is that too many light sources can create visual clutter, so stick to three complementary fixtures and use dimmers to adjust brightness throughout the day.
6. Define zones with lightweight curtains or folding screens
This image is by AI for inspiration only.
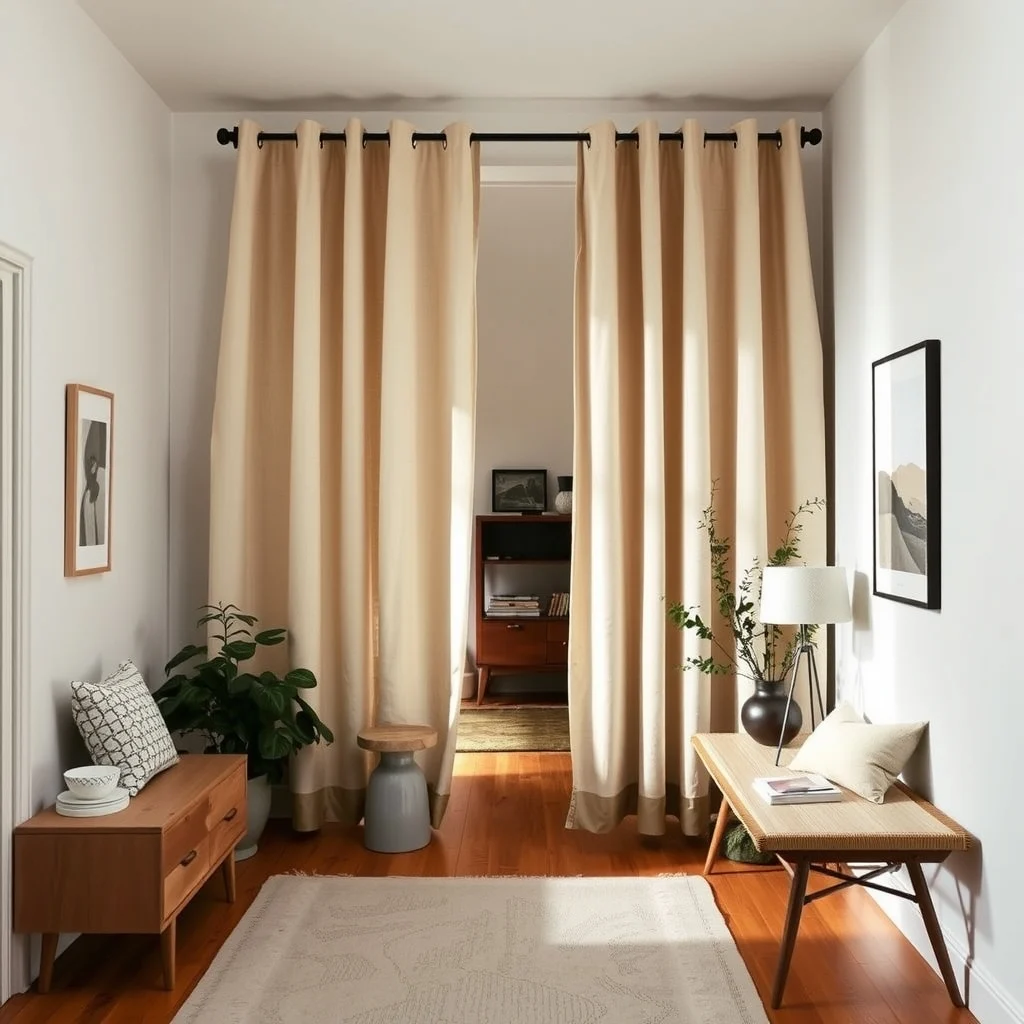
When you cannot rely on permanent walls, a curtain rod installed on the ceiling can support a floor‑to‑ceiling fabric panel that pulls across the entry area when you need privacy. Choose a natural linen in a soft neutral tone; it will soften the space and can be drawn back to open the studio for larger gatherings. Alternatively, a folding screen made of bamboo or rattan adds texture while providing a quick visual barrier for shoes or bags you wish to hide.
These flexible dividers are easy to move and store, making them ideal for renters. Their main limitation is that they do not provide sound insulation, so they work best for visual separation rather than acoustic privacy.
7. Adopt daily habits that keep the entry area tidy
This image is by AI for inspiration only.
Even the most thoughtfully designed entry will accumulate clutter if habits don’t support it. Designate a specific spot for each item—keys go on a small dish, shoes on the bench, mail on the console drawer. A quick 2‑minute sweep each evening, where you return items to their assigned homes, prevents the space from becoming a catch‑all. Adding a decorative basket for loose items like scarves or reusable grocery bags gives a home for things that tend to wander.
Consistent routines reinforce the visual organization you’ve built, and they require no additional furniture. The challenge is remembering to follow through; setting a phone reminder or placing a gentle visual cue, such as a small plant, near the entry can serve as a prompt.
FAQ
This image is by AI for inspiration only.
How can I store shoes in a studio with no entryway?
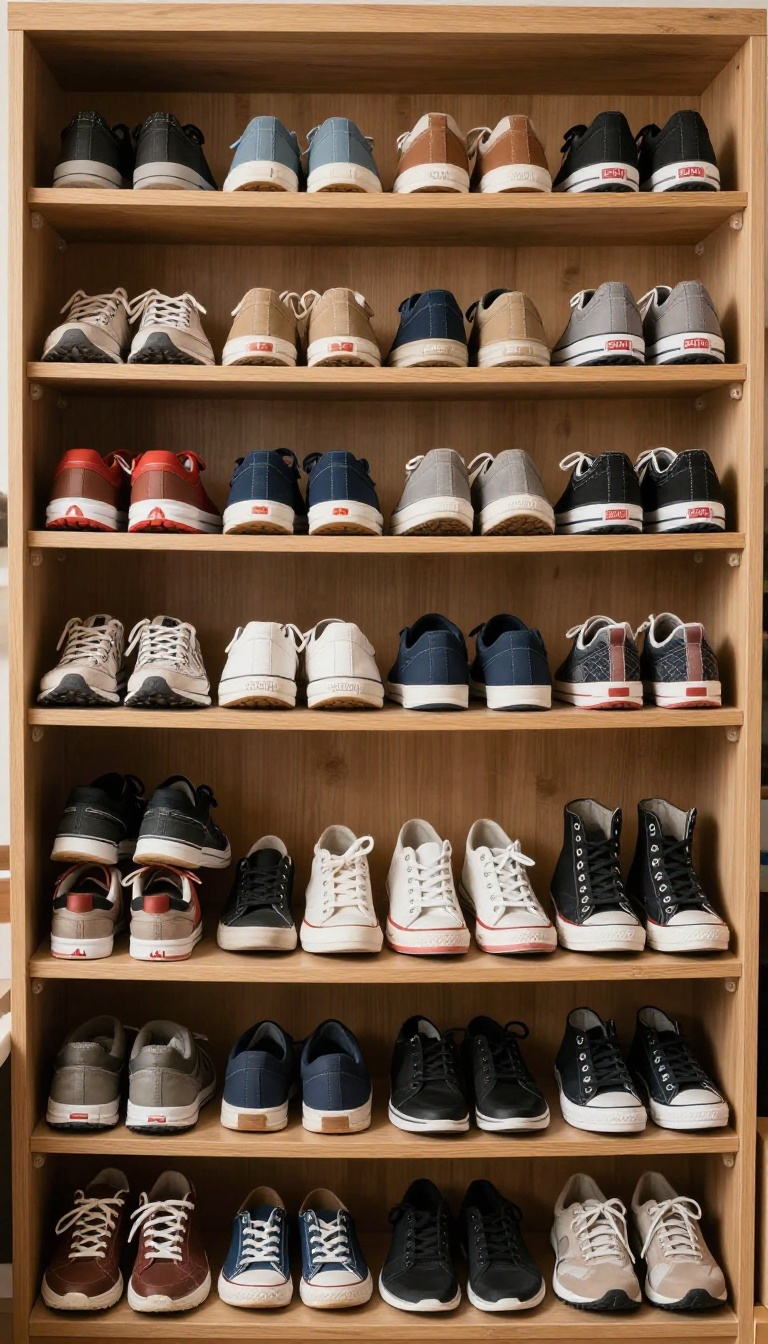
Use a low bench with built‑in storage or place a narrow shoe rack on the rug near the door. Both options keep shoes off the floor while staying within reach.
What’s a good way to keep coats from cluttering the living area?
Install a wall‑mounted coat rack or a series of decorative hooks just inside the doorway. Adding a small shelf above the hooks gives a place for hats or bags.
Can I have a small dining area without sacrificing living space?
Choose a fold‑down wall‑mounted table that can be lowered when needed and tucked away when not in use. Pair it with stackable chairs that store beneath the table or on a nearby shelf.
Is it okay to use a room divider in a studio?
Yes, a lightweight curtain or folding screen can visually separate the entry zone without permanently blocking movement. Choose materials that complement the overall palette to maintain harmony.
How do I prevent the entry area from feeling cramped?
Keep furniture low and avoid deep pieces; use mirrors, light colors and layered lighting to create an airy atmosphere. A narrow console or slim bench maintains function without overwhelming the space.
Final Thoughts
This image is by AI for inspiration only.
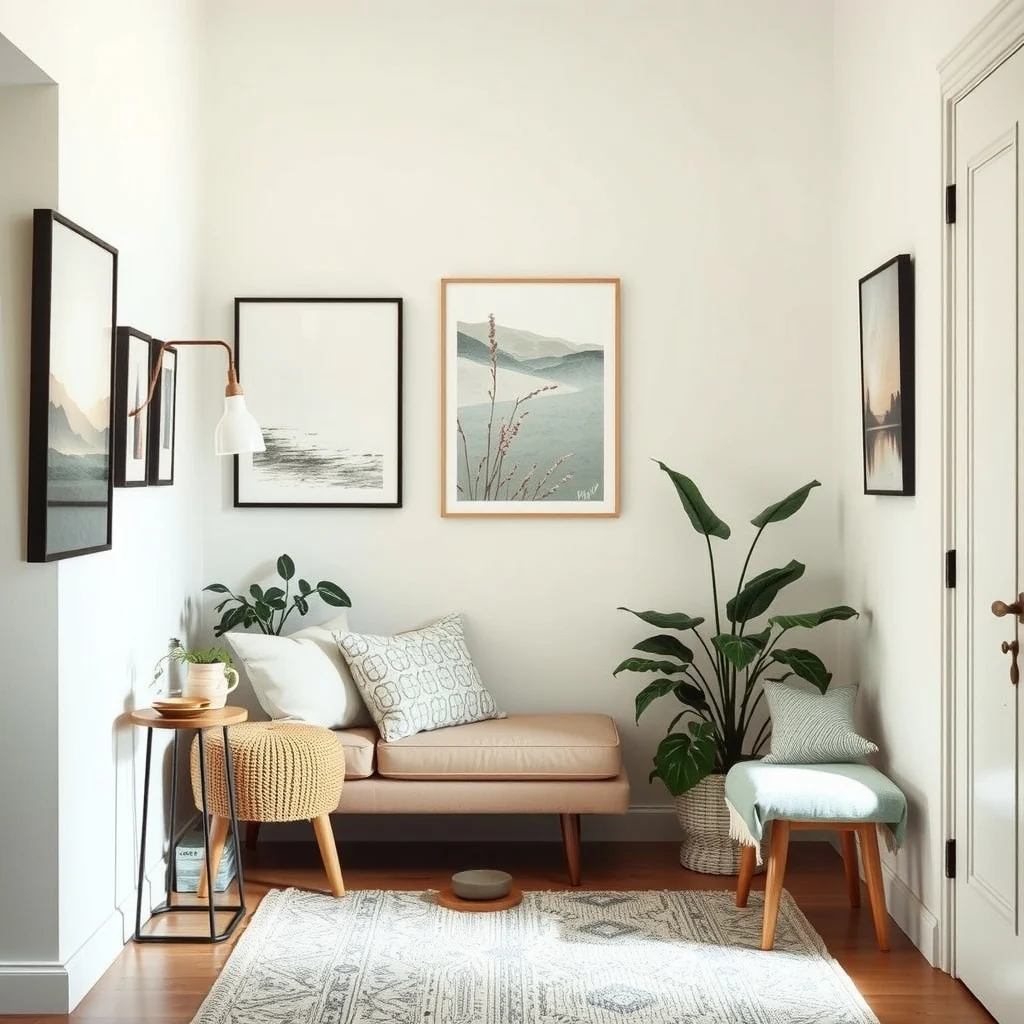
Organizing a studio without a dedicated entryway is less about sacrificing style and more about using each element deliberately. By defining a visual threshold, choosing furniture that stores what you need, and embracing vertical and flexible solutions, you can turn the doorway into a welcoming, organized zone. Pair these design moves with simple daily habits, and the studio will feel both spacious and purposeful—ready for work, relaxation and everything in between.