How to Set up a Mini Pantry on a Freestanding Shelf

Living in a compact apartment or a kitchen without built‑in cabinetry often means the pantry feels like a distant luxury. A freestanding shelf can become a functional mini pantry with a few thoughtful choices, turning an otherwise empty corner into a tidy hub for dry goods, snacks, and small appliances. Below you’ll find a step‑by‑step guide that walks through selecting the right piece, arranging items for easy access, and adding the finishing touches that keep the space looking intentional.
1. Choose a Shelf That Matches Your Space and Lifestyle
This image is by AI for inspiration only.
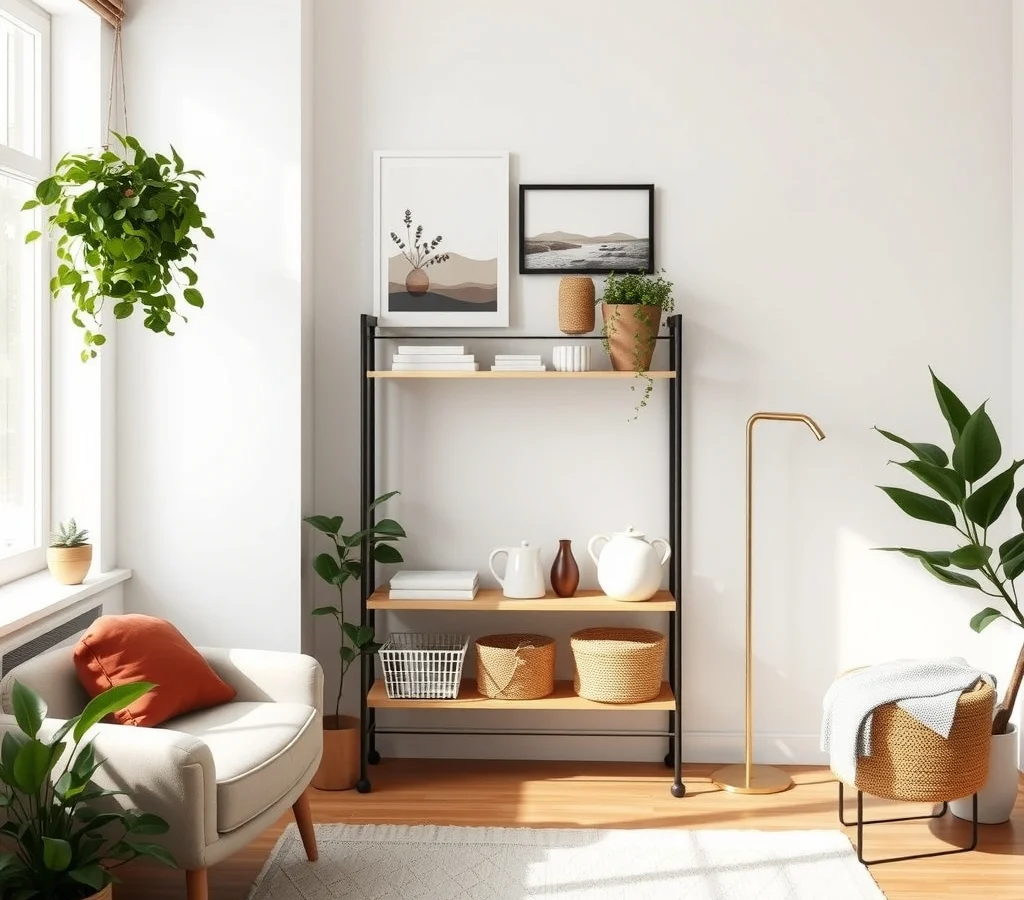
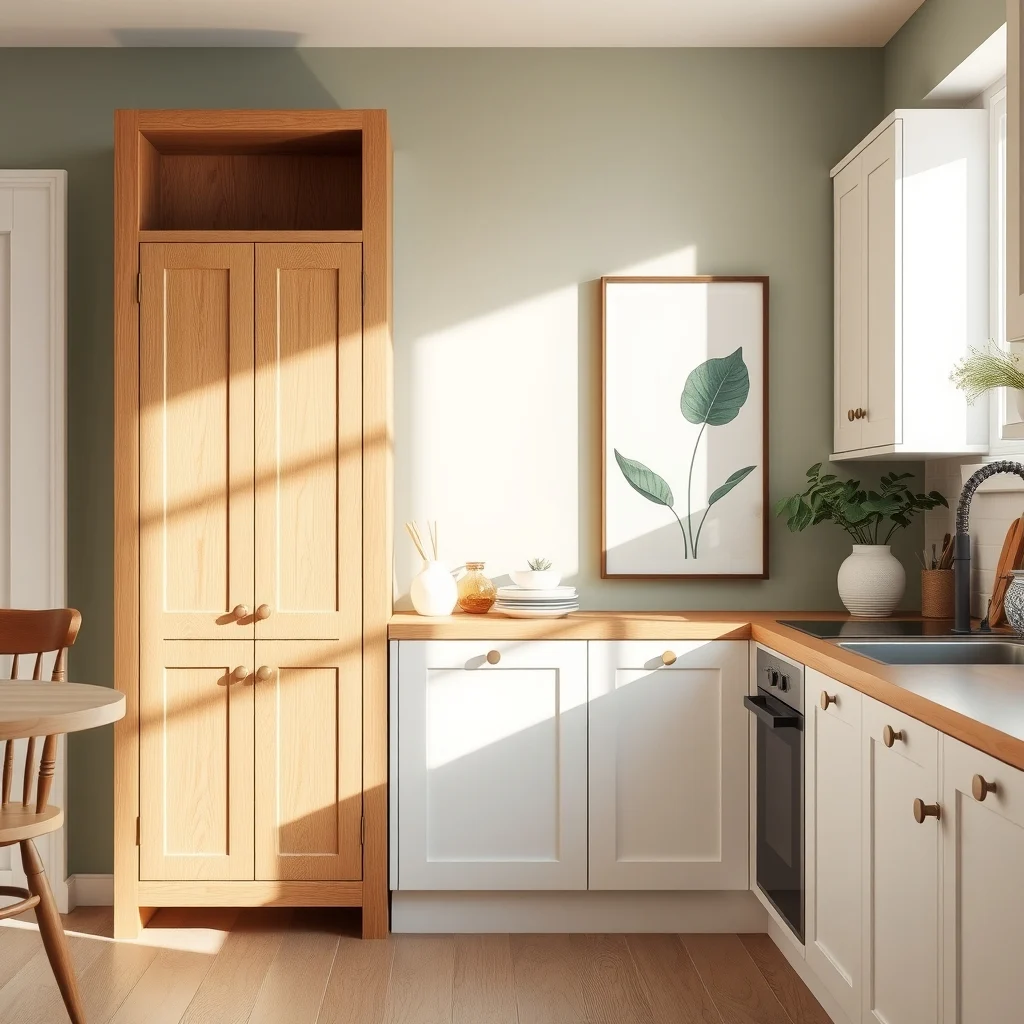
The first decision is the shelf itself. A unit that stands between 48 and 60 inches tall typically fits most kitchen walls while leaving enough room for countertop work above. Materials such as solid oak, painted pine, or powder‑coated metal each bring a different visual weight: wood adds warmth, metal offers a modern edge, and a painted finish can be coordinated with existing cabinetry. Consider the depth as well; a width of 12 to 14 inches provides enough room for jars and boxes without protruding into the cooking zone. Weight capacity matters if you plan to store heavier items like large bags of flour; a shelf with reinforced shelves or a steel frame will hold more without sagging. Finally, match the style to the rest of the room—whether that means a sleek ladder shelf for a contemporary kitchen or a rustic ladder made from reclaimed planks for a farmhouse feel.
2. Create Functional Zones Within the Shelf
This image is by AI for inspiration only.
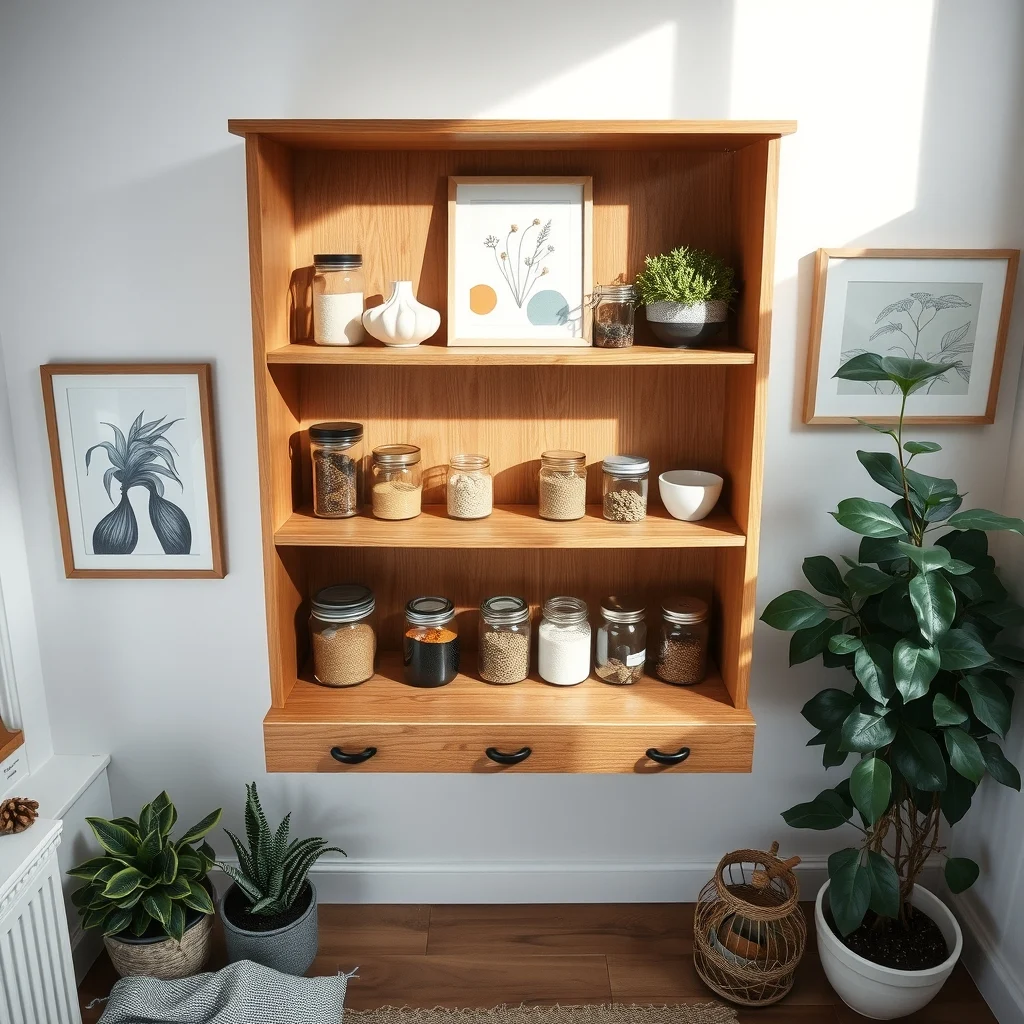
Once the shelf is in place, think of it as a series of mini compartments rather than a single storage block. Grouping similar items together reduces the time spent hunting for a specific spice or cereal. For example, reserve the top shelf for baking essentials—flour, sugar, and cocoa—because these items are used less frequently and benefit from being out of the way. The middle level works well for everyday cooking staples like pasta, rice, and canned tomatoes, keeping them within arm’s reach. Lower shelves can hold larger containers, snack bags, or a small basket for produce that needs a cooler spot. By assigning each tier a purpose, you create a visual map that makes it obvious where each category belongs, and you avoid the frustration of a chaotic jumble.
3. Use Transparent Containers and Thoughtful Labels
This image is by AI for inspiration only.
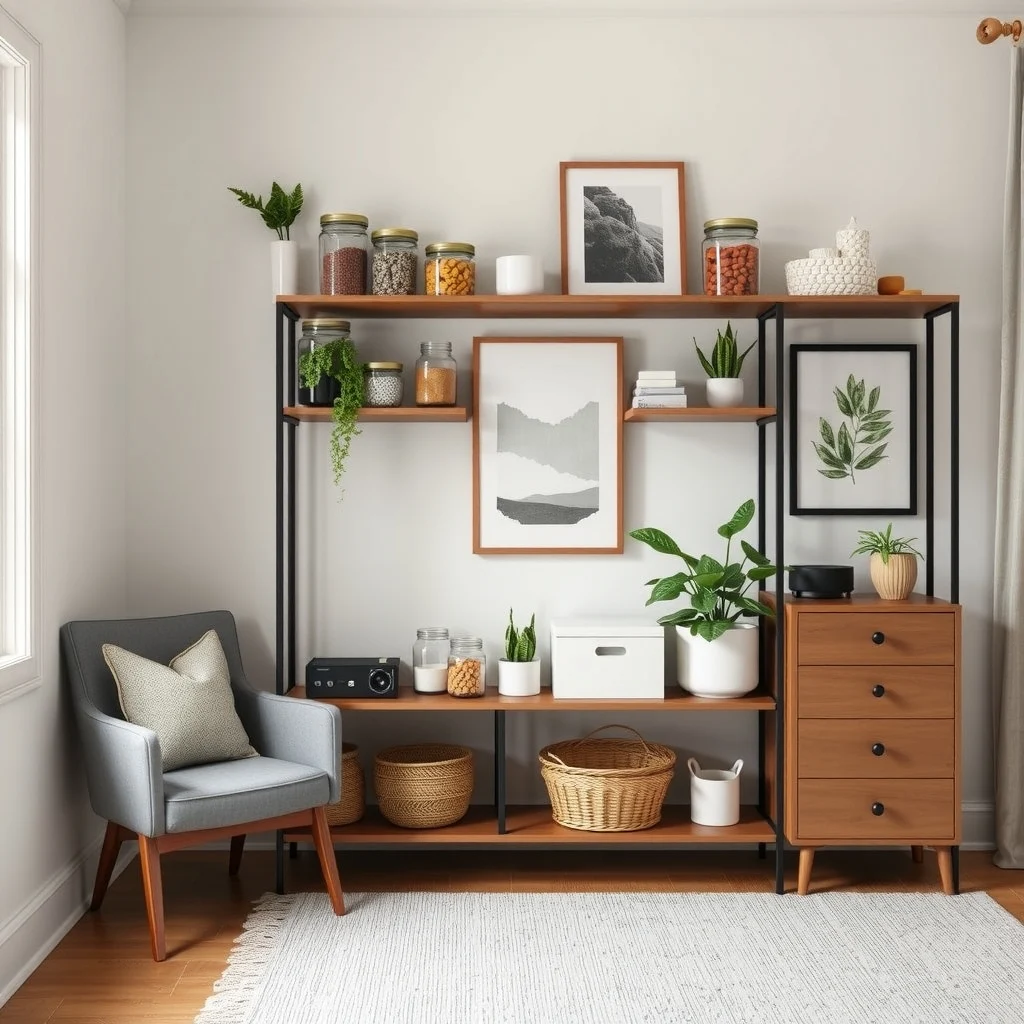
Clear glass jars or sturdy acrylic bins let you see the contents at a glance, which is a small change that makes a big difference. When you can spot a half‑full bag of beans without opening it, you’re less likely to buy duplicate items. Labels should be legible and consistent; a simple hand‑stamped tag or a printed label on a small metal clip works well. Choose a label style that complements the shelf’s material—chalkboard labels for a rustic wood shelf, or sleek matte stickers for a metal unit. Consistent labeling not only looks tidy but also reinforces the zones you established, so each jar finds its rightful place without debate.
4. Maximize Height with Risers and Tiered Trays
This image is by AI for inspiration only.
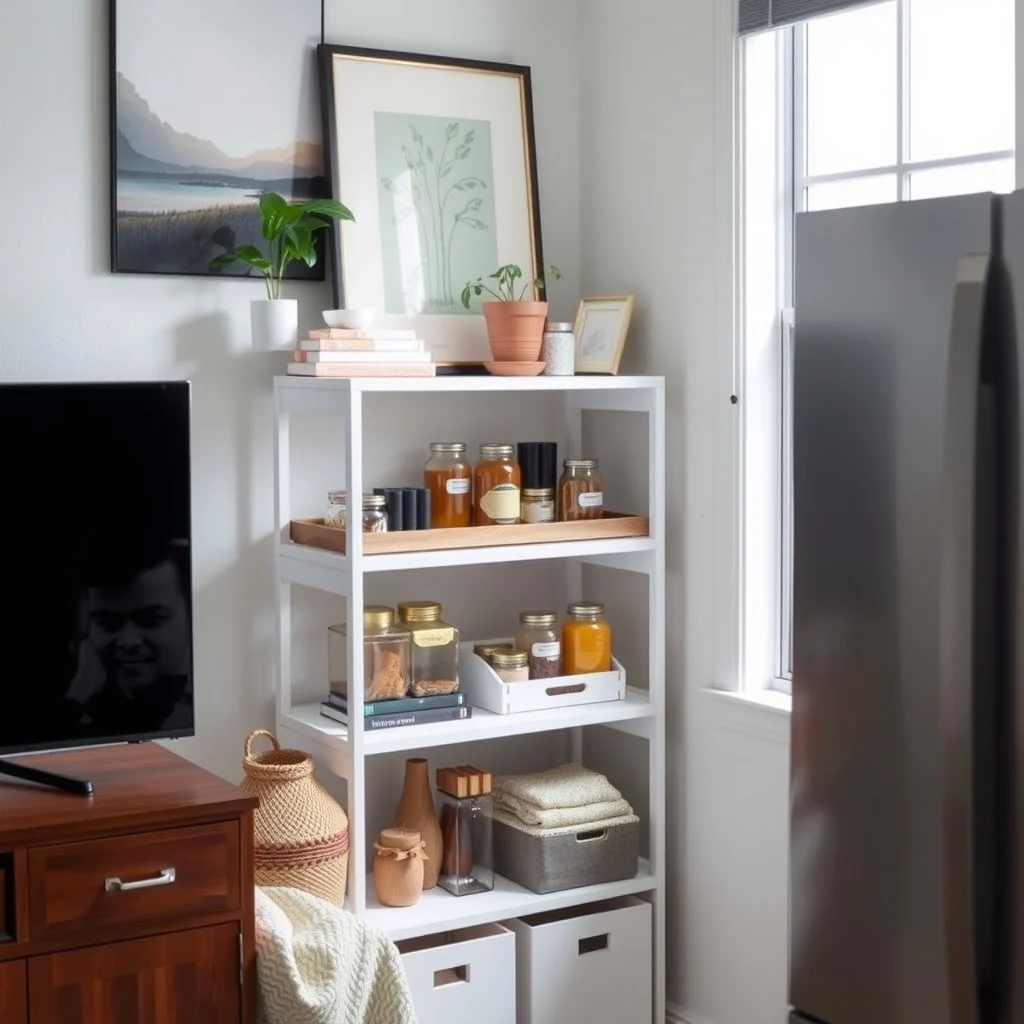
Even a narrow shelf can hold more than you think when you add a few risers. Small wooden or metal platforms raise jars a couple of inches, creating space for a second row of smaller containers behind them. Tiered trays, often used for spices, can sit on any shelf and turn a single level into a multi‑row display. The advantage of this vertical approach is that you keep frequently used items at eye level while still preserving lower space for bulkier packages. A trade‑off to consider is stability; ensure that any risers are securely attached or weighted down to prevent tipping when the shelf is bumped.
5. Introduce Subtle Lighting for Better Visibility
This image is by AI for inspiration only.
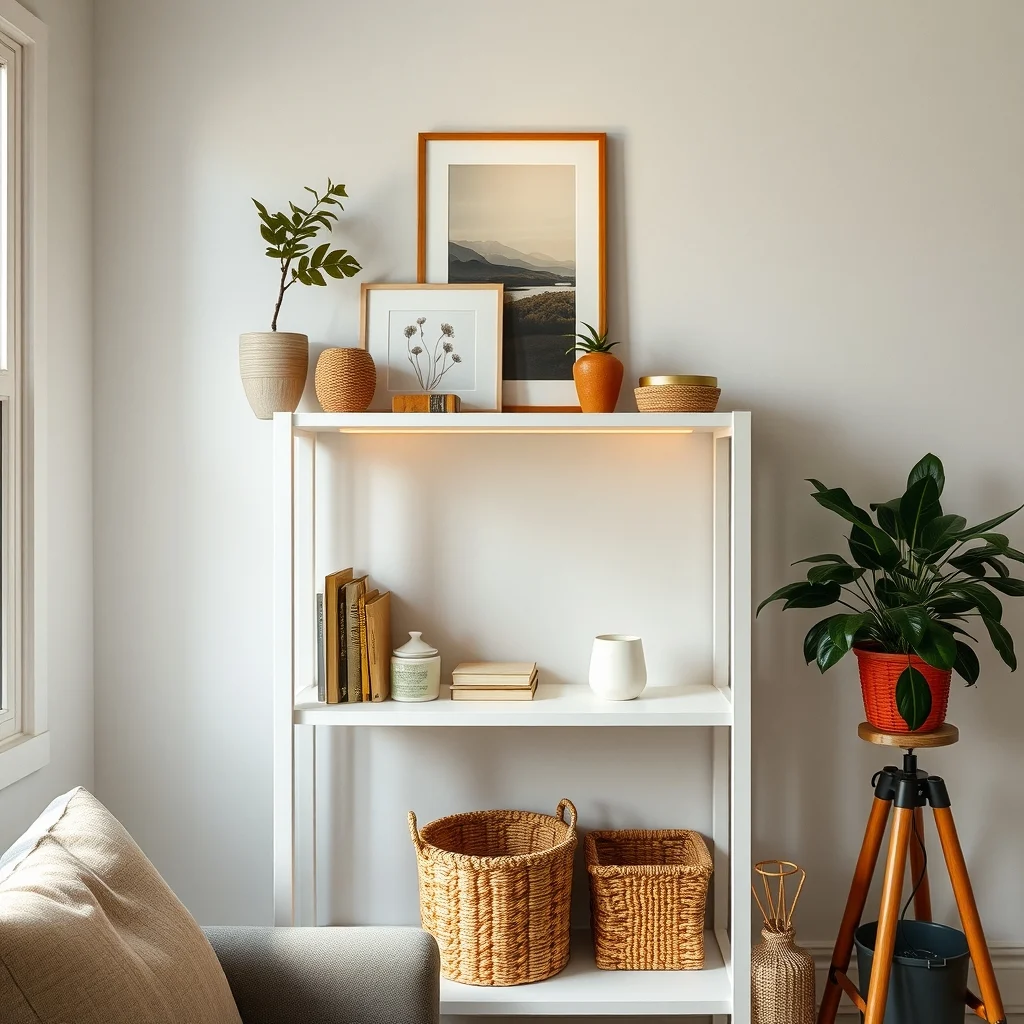
Good lighting transforms a functional shelf into an inviting spot. A thin LED strip placed along the back edge of a shelf casts a soft glow that highlights the contents without adding glare. Battery‑operated puck lights can be tucked into the corners of each tier, providing focused illumination for the lower levels where shadows tend to gather. Warm‑white LEDs are gentle on the eyes and complement most kitchen color palettes, while cooler tones can be used if you prefer a more clinical look. Lighting not only helps you locate items quickly but also adds a layer of visual interest that makes the pantry feel like a considered part of the room.
6. Protect the Shelf From Spills and Humidity
This image is by AI for inspiration only.
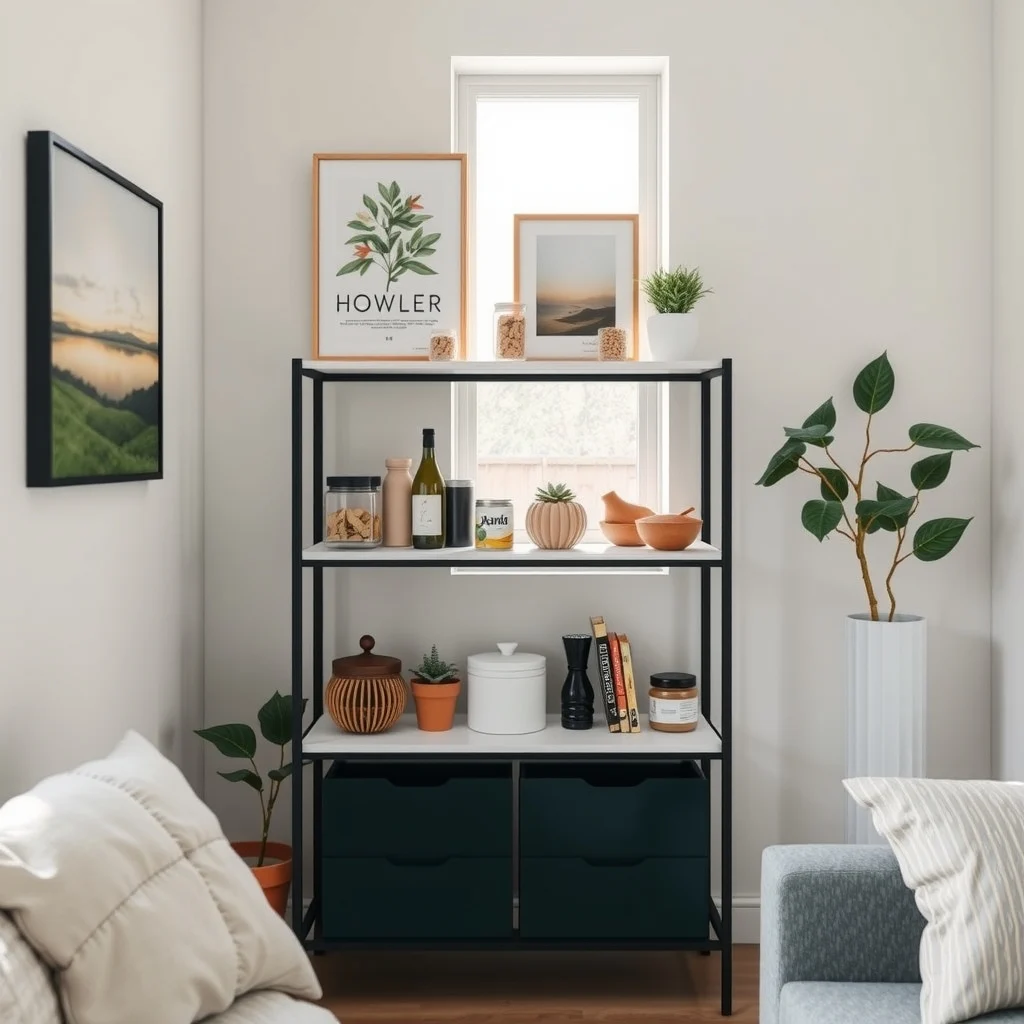
Food storage inevitably brings the occasional spill, and a freestanding shelf is exposed to kitchen humidity. A thin, non‑slip shelf liner made of silicone or rubber can be placed on each tier to catch drips and make cleaning easier. For items that might release moisture—such as fresh herbs or cut vegetables—use a shallow waterproof tray beneath the container. Wiping down the shelf with a mild cleanser once a week prevents buildup of grease or crumbs that could attract pests. While these precautions add a small step to routine maintenance, they extend the life of the shelf’s finish and keep the pantry looking fresh.
7. Add Personal Touches Without Compromising Function
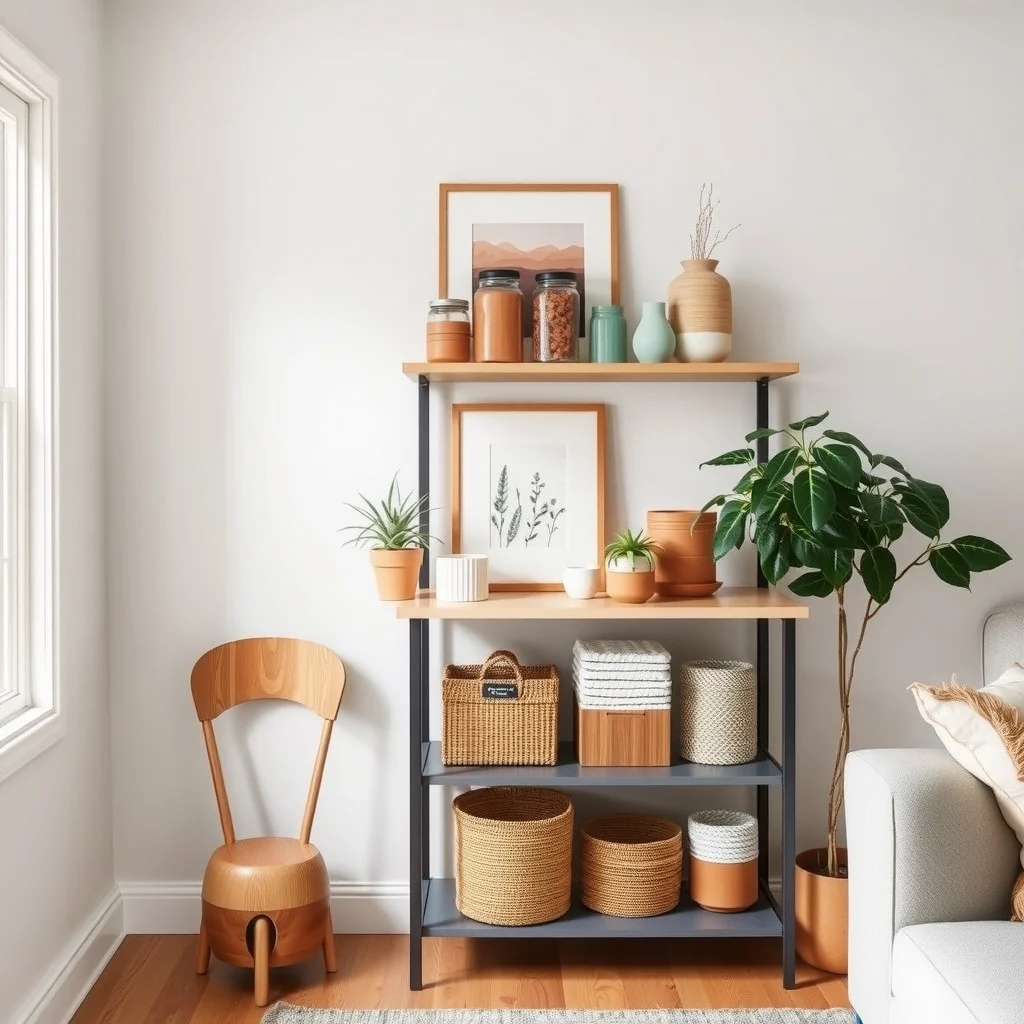
This image is by AI for inspiration only.
Styling the pantry is where you can let your personality shine. A handful of decorative jars in a muted sage or soft terracotta can hold pantry staples while echoing the kitchen’s accent colors. Small potted herbs, such as basil or thyme, not only add a splash of green but also provide fresh flavor at the ready. If the shelf has open backs, consider attaching a thin piece of reclaimed wood as a backdrop, adding texture without crowding the storage area. Keep decorative elements proportionate; a single statement piece on the top shelf draws the eye upward and balances the functional lower tiers.
FAQ
This image is by AI for inspiration only.
How high should a mini pantry shelf be?
The ideal height ranges from 48 to 60 inches, allowing most people to reach the middle and top shelves without a step stool while still leaving space above for countertop work.
Can I use a freestanding bookshelf as a pantry?
Yes, a sturdy bookshelf can function as a pantry if it has adequate depth (12–14 inches) and weight capacity for food containers. Just be sure to add protective liners and consider the shelf’s material to avoid moisture damage.
What are the best containers for dry goods?
Clear glass jars, acrylic bins, and BPA‑free plastic containers are the most practical choices because they let you see contents, keep out pests, and maintain freshness when sealed properly.
How do I keep the pantry organized over time?
Regularly rotate items so older products move to the front, and schedule a quick tidy‑up each month to discard expired goods and adjust the layout as your cooking habits evolve.
Is it okay to store canned goods on a freestanding shelf?
Canned goods are fine on a freestanding shelf as long as the unit is stable and the cans are arranged upright to prevent rolling and to keep labels visible.
Final Thoughts
This image is by AI for inspiration only.
Turning a simple freestanding shelf into a mini pantry is a matter of choosing the right piece, planning zones, and adding details that make the space both functional and pleasant. By paying attention to materials, lighting, and organization methods, you create a pantry that serves daily cooking needs without demanding a major renovation. With a little planning, the shelf becomes more than storage—it becomes a tidy, attractive extension of your kitchen that adapts as your culinary routine changes.