Small Kitchen Drawer Organization for Utensils and Tools

When you open a cramped kitchen drawer and find a tangled mess of spatulas, whisk handles, and stray measuring spoons, the frustration is immediate. A well‑organized drawer not only saves time during meal prep, it also makes the space feel larger and more inviting. Below are seven approaches that turn a tight drawer into a functional, visually calm zone for all of your cooking essentials. Each idea is explained with the reasoning behind it, practical steps to try, and a note on when the solution might need adjustment.
1. Measure, Map, and Zone the Drawer

This image is by AI for inspiration only.
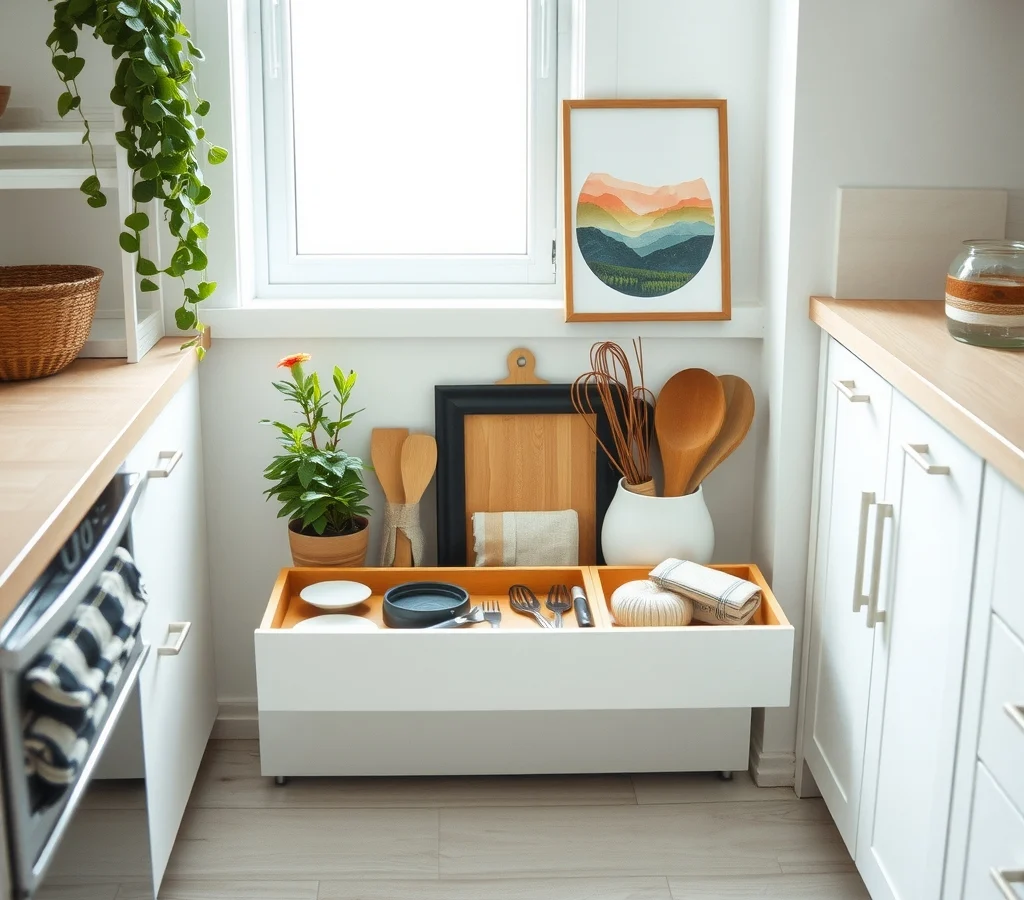
The first step is to treat the drawer like a miniature floor plan. Pull it out, empty its contents, and use a soft tape measure to note the interior width, depth, and height. Knowing these dimensions lets you decide how many “zones” you can realistically create—perhaps a narrow strip for flat utensils, a shallow pocket for silicone lids, and a deeper compartment for larger tools. By grouping items according to frequency of use, you give yourself a visual cue each time the drawer is opened: the most‑used spatula sits at the front, the occasional cake‑decorating tip rests toward the back. This zoning strategy works best when the drawer is shallow; a very deep drawer may need an internal tier to keep zones accessible. If the drawer is unusually shallow, consider stacking a thin, removable tray instead of multiple zones.
2. Install Adjustable Dividers for Custom Fit
This image is by AI for inspiration only.
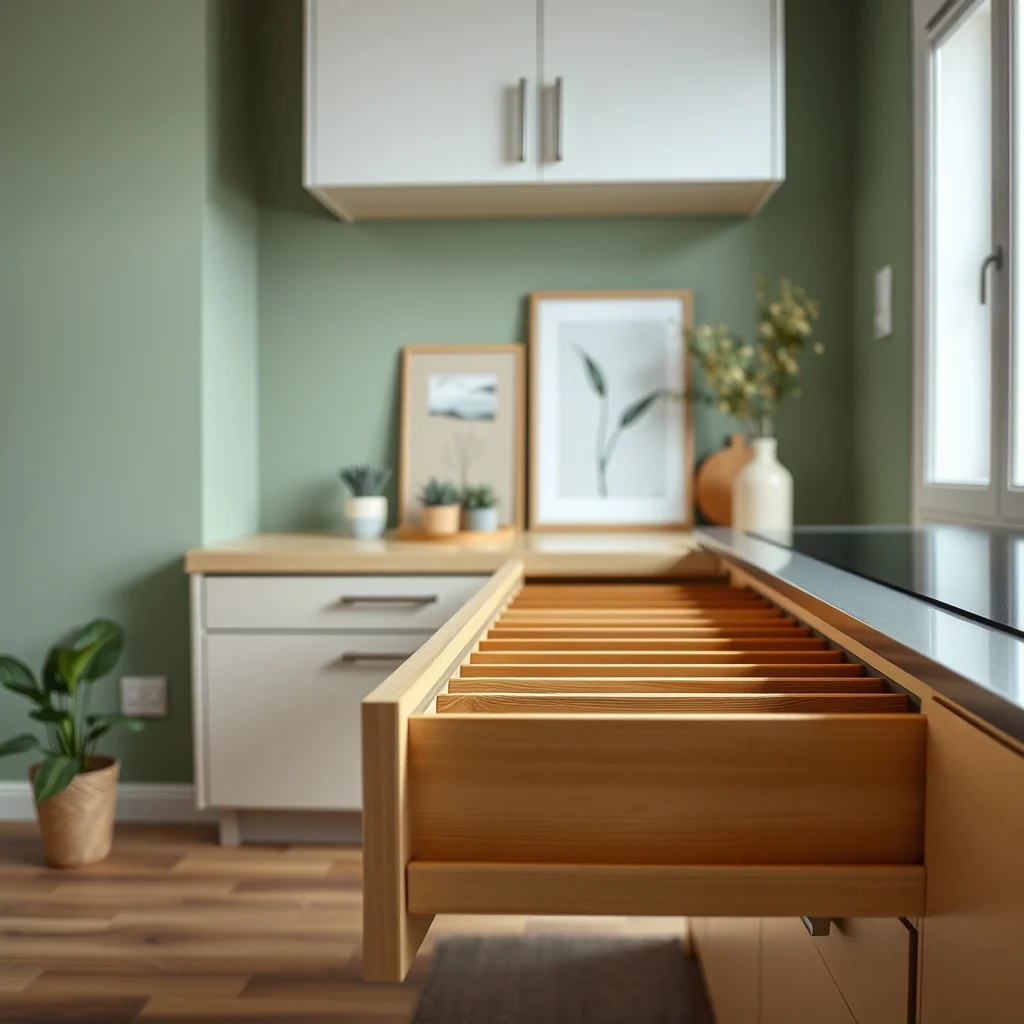
Adjustable dividers, whether crafted from bamboo, acrylic, or metal, provide the flexibility needed in a small drawer where every millimeter counts. They slide into pre‑drilled slots or rest on the drawer floor, allowing you to shift the width of each compartment as your utensil collection evolves. The benefit of a modular system is twofold: you can expand a section for a new set of wooden spoons without sacrificing space for the existing metal whisk, and you can collapse the divider when you need to store a larger baking sheet temporarily. Installation is usually as simple as snapping the divider into place, but be sure the material you choose resists moisture, as kitchen drawers are prone to humidity. For renters or those who prefer a non‑permanent solution, a set of silicone dividers that rest on the bottom and can be removed without tools works well, though they may shift slightly when the drawer is heavily loaded.
3. Add a Tiered Tray for Deep Drawers
This image is by AI for inspiration only.
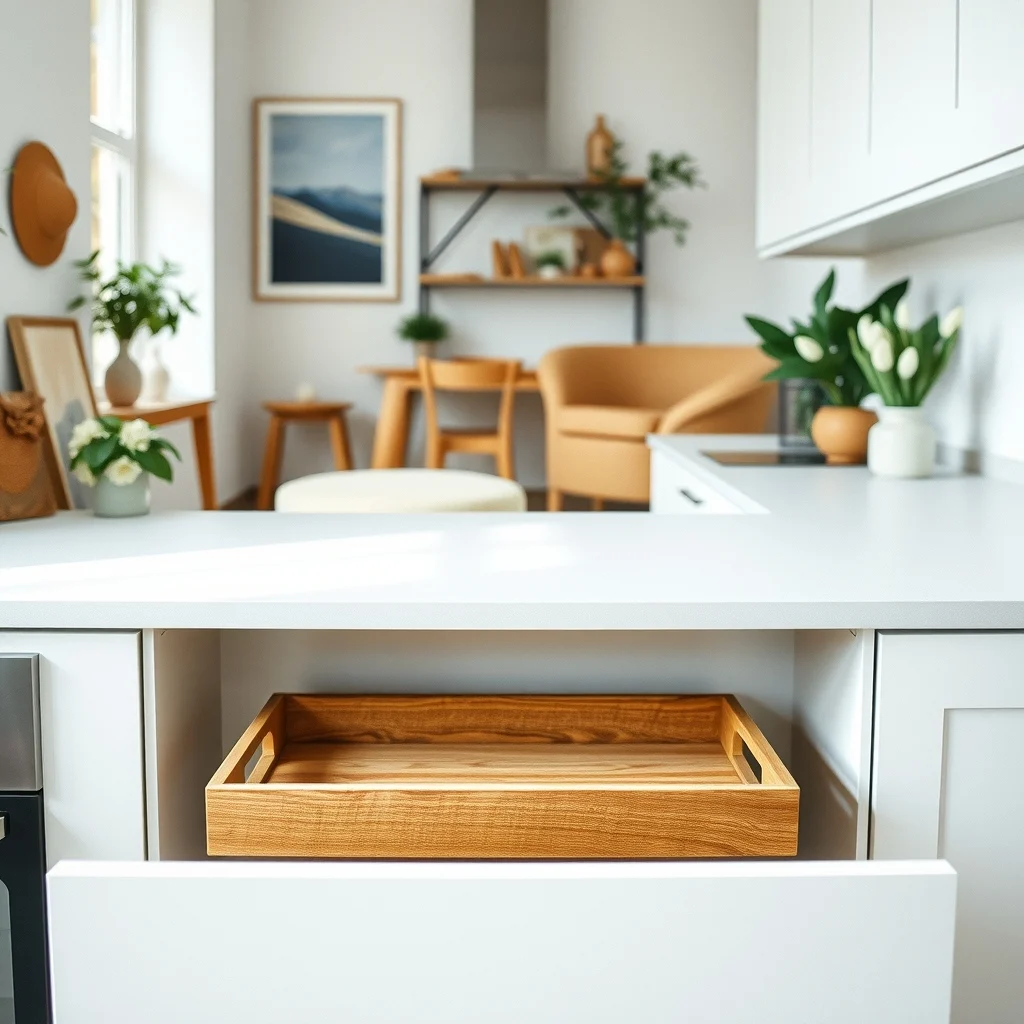
When the drawer depth exceeds the reach of your hand, a tiered tray creates a built‑in “second level” that keeps items visible and reachable. Think of a shallow wooden or melamine tray that slides into the back of the drawer, leaving a raised platform in front. This arrangement is perfect for placing larger tools—such as a ladle or a pizza cutter—on the lower tier while keeping smaller gadgets like garlic presses on the upper shelf. The visual separation reduces the need to dig through layers, which can damage delicate wooden handles over time. A downside to tiered trays is that they occupy a portion of the drawer’s floor space, so they are best used when the drawer is already deep enough to accommodate the extra height without compromising the overall capacity.
4. Repurpose Small Containers for Specialty Items
This image is by AI for inspiration only.
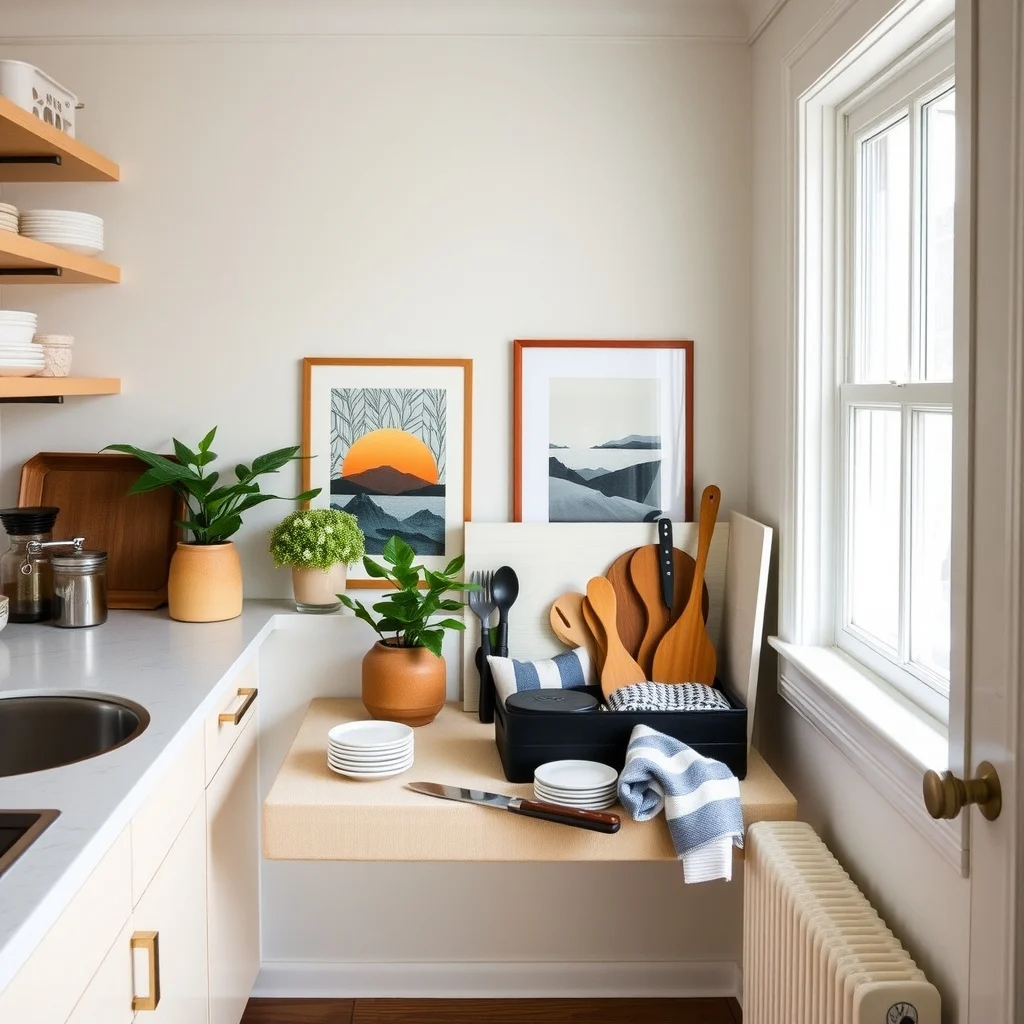
Many kitchen tools are too irregular for standard slots, but a set of small, uniform containers can bring order to the chaos. Clear silicone lids, for example, fit neatly into a row of recycled coffee‑bean jars, giving you a quick visual reference for each size. Mason jars with rubberized lids work well for storing measuring spoons, while a compact bamboo box can hold a collection of specialty peelers. The advantage of repurposing is twofold: you add a touch of texture—soft silicone against smooth glass—and you avoid purchasing specialty organizers that may never match your exact utensil set. However, be mindful of the weight; glass containers can become heavy when filled, and they may shift if the drawer is opened quickly. If stability is a concern, choose containers with a non‑slip base or line them with a thin piece of felt.
5. Integrate a Magnetic Strip for Metal Tools
This image is by AI for inspiration only.
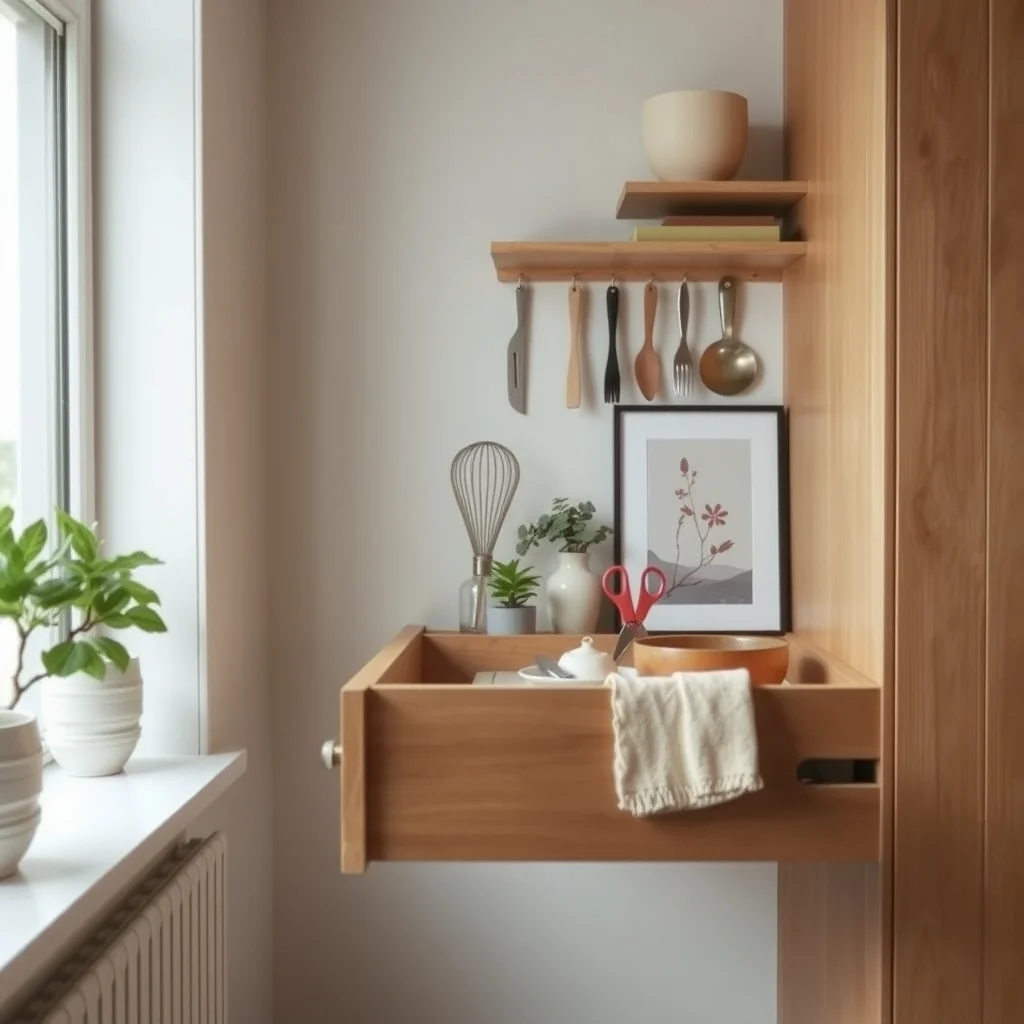
Metal utensils such as a stainless‑steel whisk, a metal peeler, or a set of kitchen scissors cling naturally to a magnetic strip, turning the side wall of the drawer into a functional display. A thin, self‑adhesive magnetic strip can be applied directly to the inner side of the drawer, allowing you to slide tools onto it without taking up floor space. This method works especially well in drawers that are shallow but wide, where a horizontal strip runs the length of the drawer, keeping tools upright and easy to grab. The magnetic solution does have a limitation: it only accommodates ferrous metals, so wooden or plastic tools will need an alternative slot. For drawers that open upward, be sure the magnetic strip is positioned low enough to stay hidden when the drawer is closed, preserving the clean look of the kitchen cabinetry.
6. Choose a Drawer Liner That Guides Placement
This image is by AI for inspiration only.
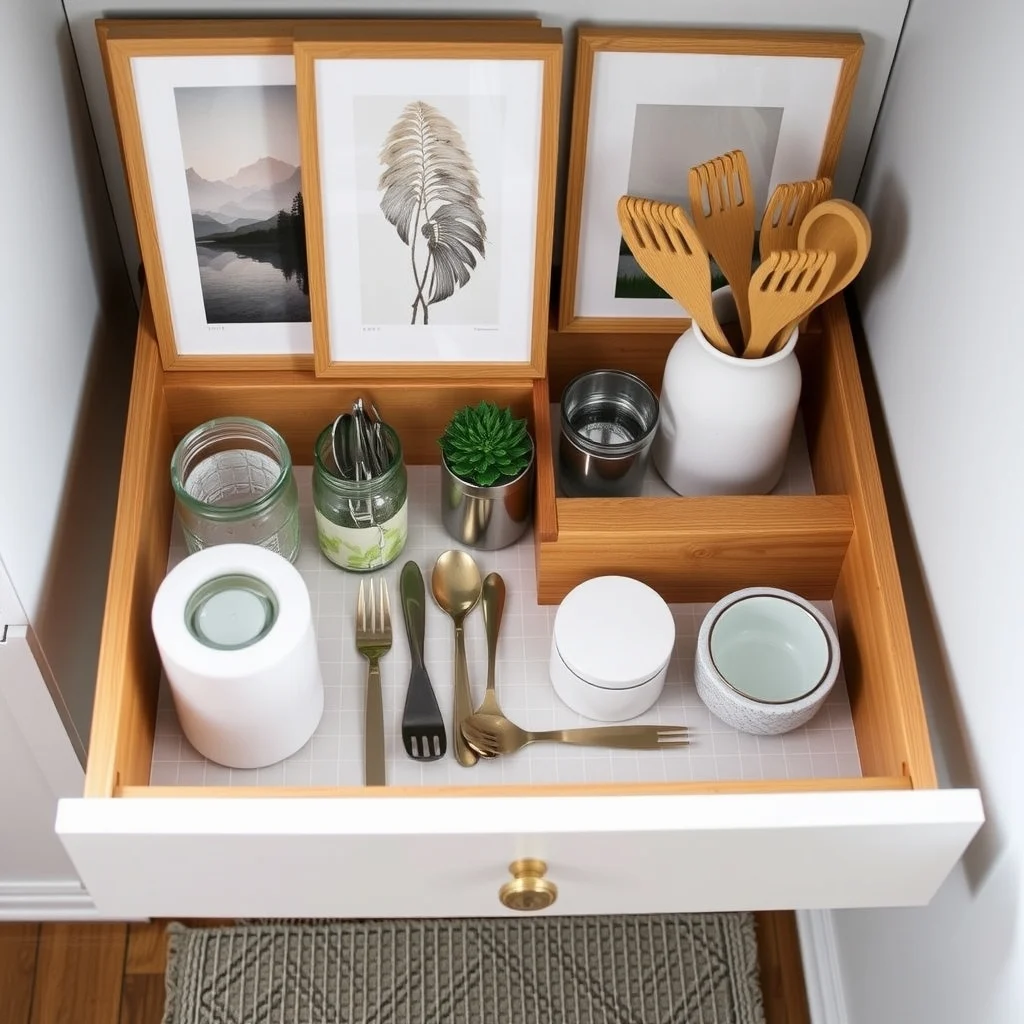
A well‑chosen drawer liner does more than protect the wood; it can act as a subtle guide for where items belong. A non‑slip silicone mat with a faint grid pattern provides tactile feedback, letting you feel the edges of each compartment without looking. Light‑colored liners, such as a soft ivory or pale sage, also make it easier to spot stray crumbs or spills, encouraging regular cleaning. When selecting a liner, consider a material that resists heat and moisture, especially if you frequently store hot pots or damp dishcloths. Vinyl liners are inexpensive and easy to replace, but they can become sticky in humid environments. A higher‑end option is a woven natural fiber mat, which adds a warm texture but may require occasional vacuuming to keep it free of crumbs.
7. Establish a Routine for Ongoing Maintenance
This image is by AI for inspiration only.
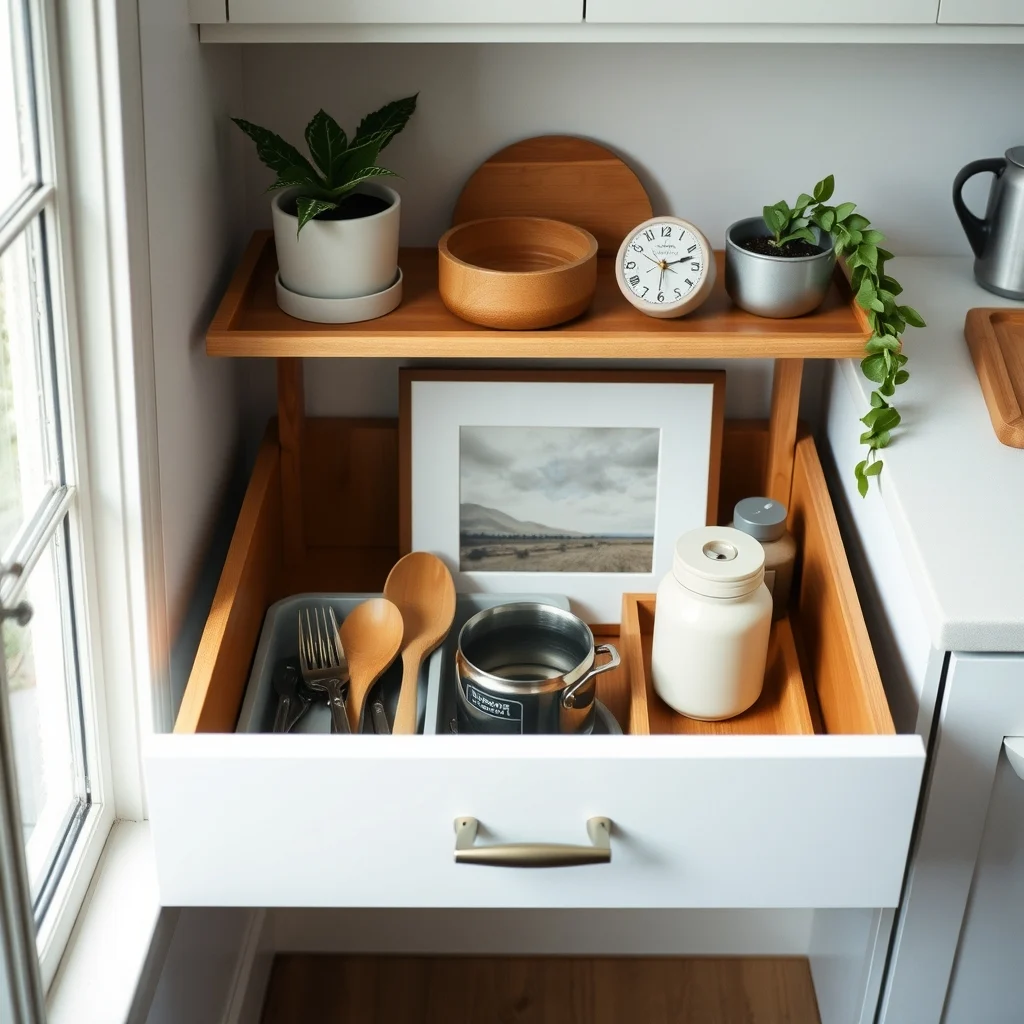
Even the most thoughtfully organized drawer can descend into disorder if it isn’t tended to regularly. Set a reminder—perhaps once a month—to empty the drawer, wipe the liner, and reassess the placement of each utensil. During this “reset,” check for items that are no longer used, such as a specialty cake slicer that sits untouched for months, and relocate them to a less‑accessible storage area. This habit prevents the accumulation of unnecessary pieces that crowd the drawer and erodes the visual order you’ve created. The trade‑off is the small time investment required each month, but the payoff is a drawer that consistently supports efficient cooking rather than hindering it.
Frequently Asked Questions
This image is by AI for inspiration only.
How can I stop my drawer from sliding out when it’s full?
Install a soft‑close drawer damper or a small rubber stop on the inner side of the cabinet. These devices absorb the momentum of a fully loaded drawer, keeping it securely in place while still allowing a gentle glide.
What’s the best material for a divider that won’t warp in a humid kitchen?
Bamboo or high‑density acrylic are both resistant to moisture and will retain their shape over time. They also add a natural visual contrast to metal utensils, making the drawer feel more curated.
Can I use a magnetic strip for wooden spoons?
No, magnetic strips only attract ferrous metals. For wooden spoons, consider a small wooden slot or a silicone pocket that holds them upright without taking up floor space.
Is it okay to mix different colors of utensils in the same drawer?
Mixing colors can add visual interest, but keep similar shades together if you want a cleaner look. Grouping by function—spatulas in one row, ladles in another—helps maintain order regardless of color.
How often should I replace a drawer liner?
Replace the liner whenever it shows signs of wear, such as tearing or persistent staining. In most kitchens, this means a new liner every six to twelve months, depending on usage.
Final Thoughts
This image is by AI for inspiration only.
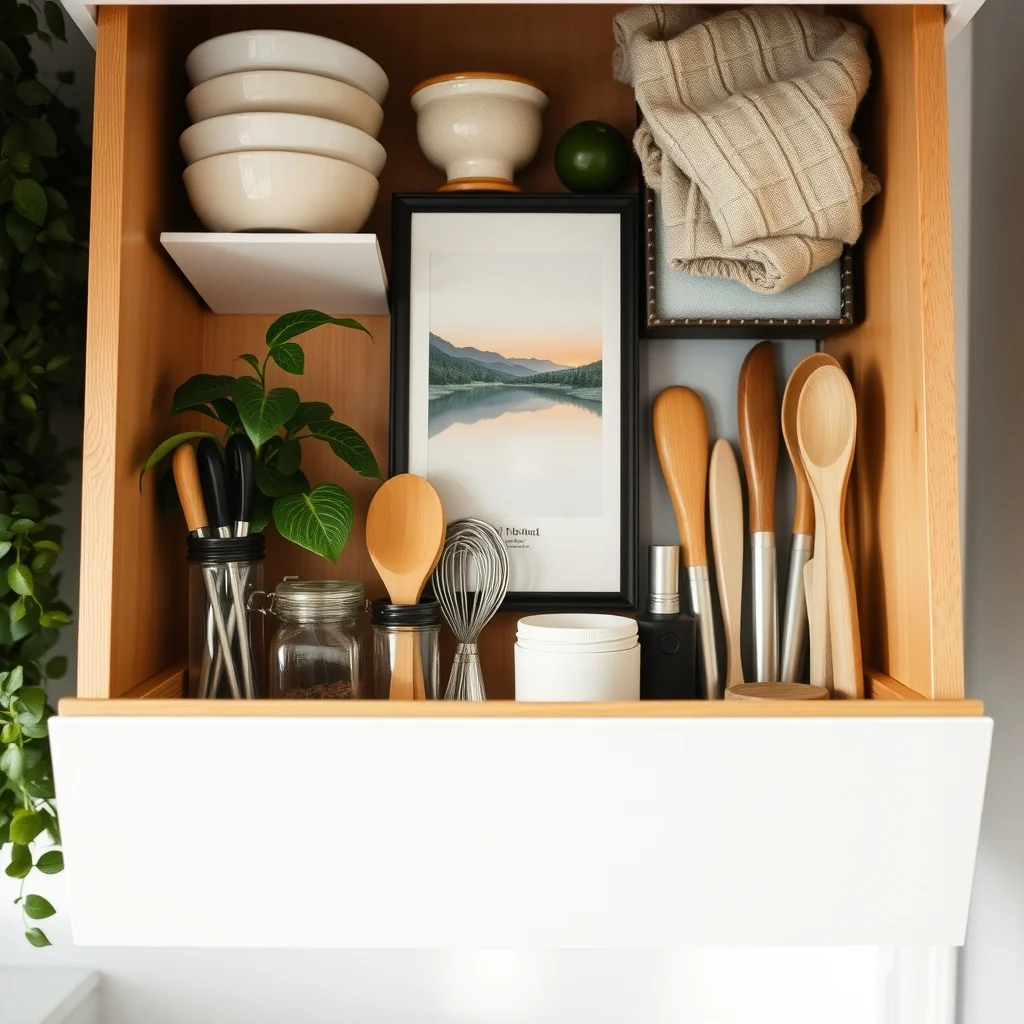
Organizing a small kitchen drawer is less about buying the latest gadget and more about understanding the space you have and the habits you practice. By measuring the interior, installing adaptable dividers, adding tiers where depth allows, repurposing containers, employing magnetic strips, selecting functional liners, and committing to a regular maintenance rhythm, you transform a cramped drawer into a purposeful extension of your cooking workflow. The result is a kitchen that feels orderly, inviting, and ready for the next recipe you decide to tackle.