How to Organize Baking Supplies in One Small Cabinet

A narrow cabinet tucked under the counter often feels like a black hole for flour bags, silicone spatulas, and that cherished stand mixer. The frustration of rummaging through a jumble of tins while the timer ticks can turn a simple batch of cookies into a stressful sprint. This guide walks you through seven thoughtful ways to tame that cramped space, giving each ingredient and tool a dedicated home without sacrificing style. By the end, you’ll see how a few intentional tweaks can turn a chaotic drawer into a tidy, inviting nook that invites you to bake more often.
1. Assess the Space and Categorize Your Essentials
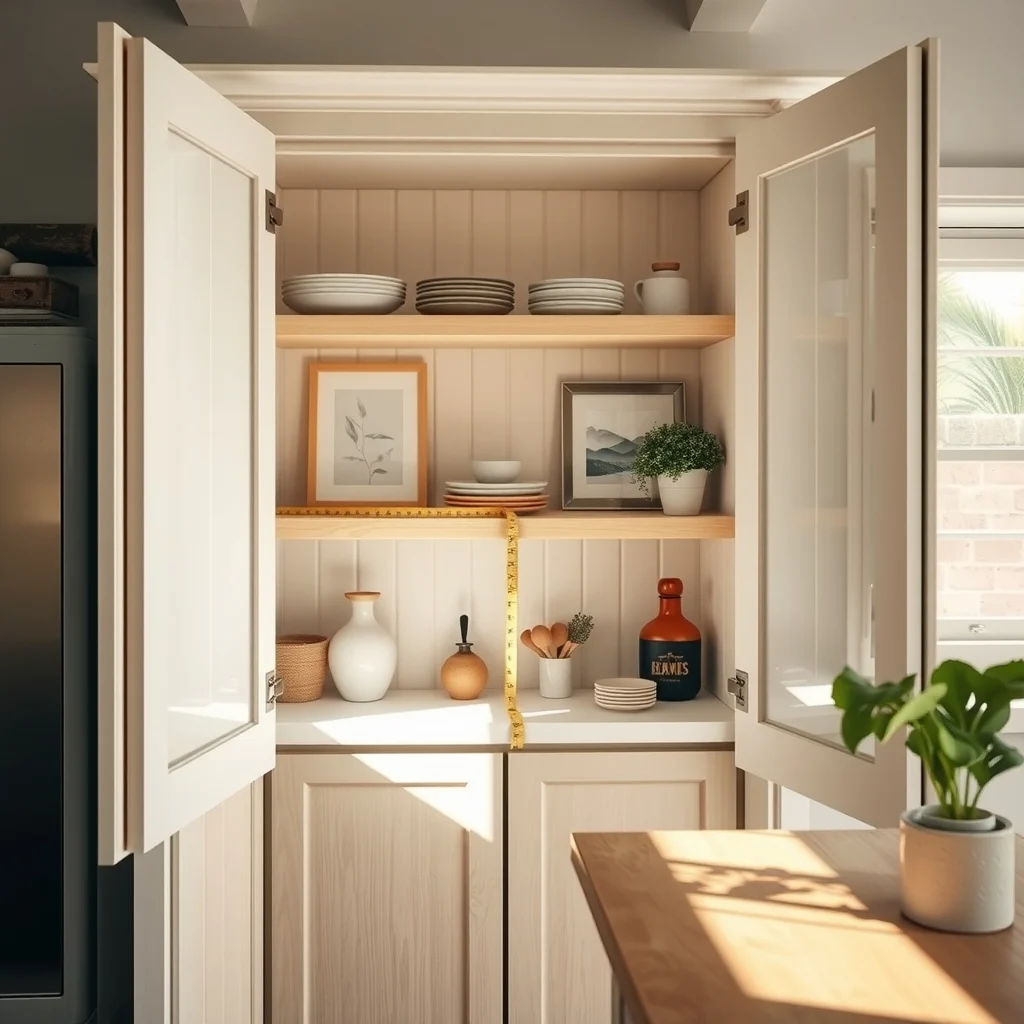
This image is by AI for inspiration only.
Before moving anything, take a moment to stand in front of the cabinet and note its exact dimensions, including the depth of the shelves and the clearance under the door. A quick inventory of what you truly need for a typical baking session helps you decide what stays and what can be stored elsewhere. Separate dry staples—flour, sugar, cocoa powder—from specialty items such as almond flour or colored sprinkles. Likewise, group tools by frequency: a whisk and measuring spoons belong together, while a pastry cutter sees occasional use. This categorization creates mental “zones” that guide the placement of containers and racks later on, ensuring that the most common items sit at eye level while rarely used pieces occupy the back corners. The process also reveals any redundant items that could be donated, freeing up precious inches.
2. Use Uniform Containers for Dry Ingredients
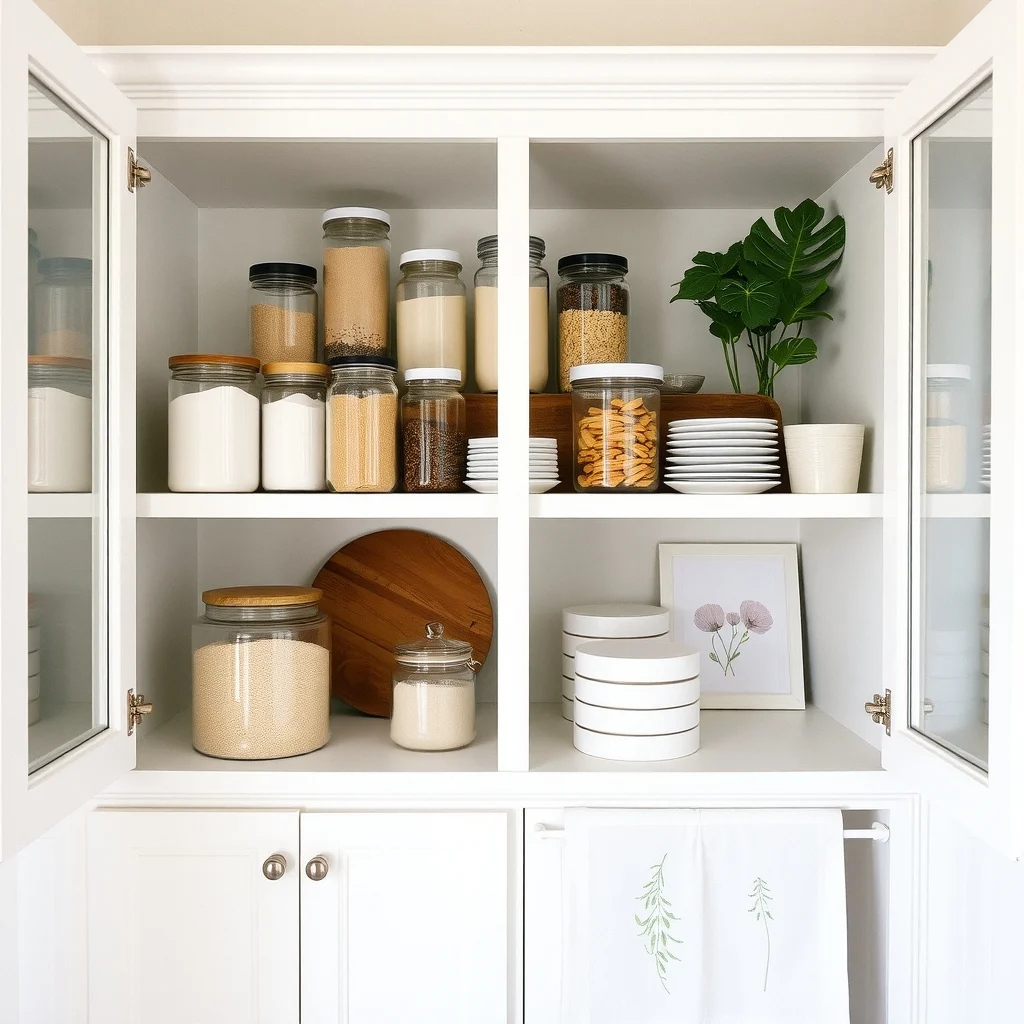
This image is by AI for inspiration only.
Mismatched tins and paper bags are the visual culprits behind a cluttered cabinet. Investing in a set of clear, airtight jars with matching lids creates a cohesive look and makes it easier to locate what you need. Choose containers that are slightly shorter than the shelf height so a thin strip of the cabinet wall remains visible, preserving the sense of depth. When the jars are uniform, you can line them up side by side, creating a tidy row that catches the light and highlights the soft pastel hues of the ingredients inside. The airtight seals protect flour and sugar from humidity, extending their shelf life—a practical benefit that goes beyond aesthetics. If a jar feels too tall for a lower shelf, consider a shorter version for items like baking soda or instant yeast, keeping the overall silhouette balanced.
3. Introduce Adjustable Shelf Risers for Height Variation
This image is by AI for inspiration only.
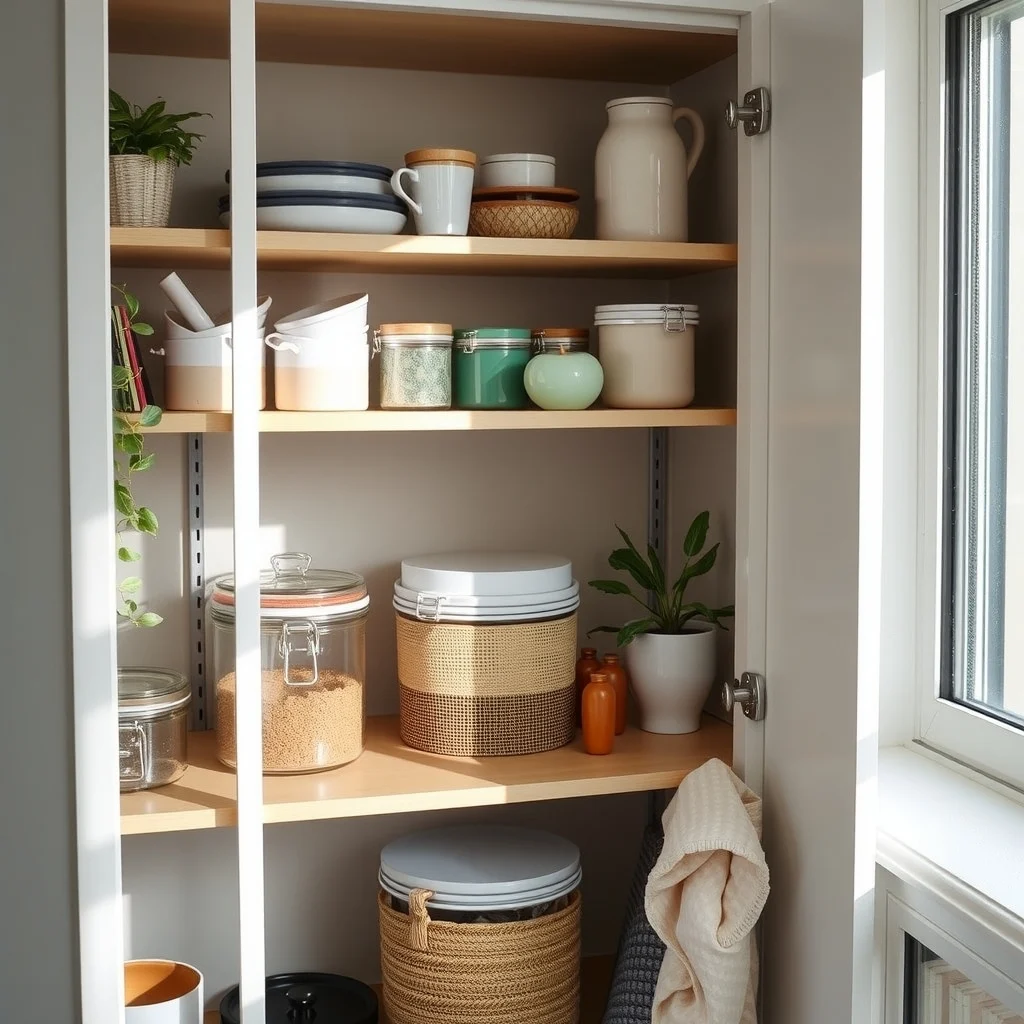
A single flat shelf forces everything to sit on the same plane, which quickly leads to a stacked mess. Small, removable risers made of brushed stainless steel or coated wood add a second tier without permanent alteration. Place a riser on the lower shelf to lift jars of heavy flour or sugar, freeing space beneath for lighter items such as silicone spatulas or a small whisk. Because the risers are adjustable, you can experiment with different configurations as your inventory changes. The added vertical dimension also draws the eye upward, making the cabinet feel larger than it is. Keep in mind that too many risers can reduce overall clearance, so use them sparingly and ensure the top of any container still leaves a few centimeters of breathing room.
4. Hang Small Tools on the Inside of the Door
This image is by AI for inspiration only.
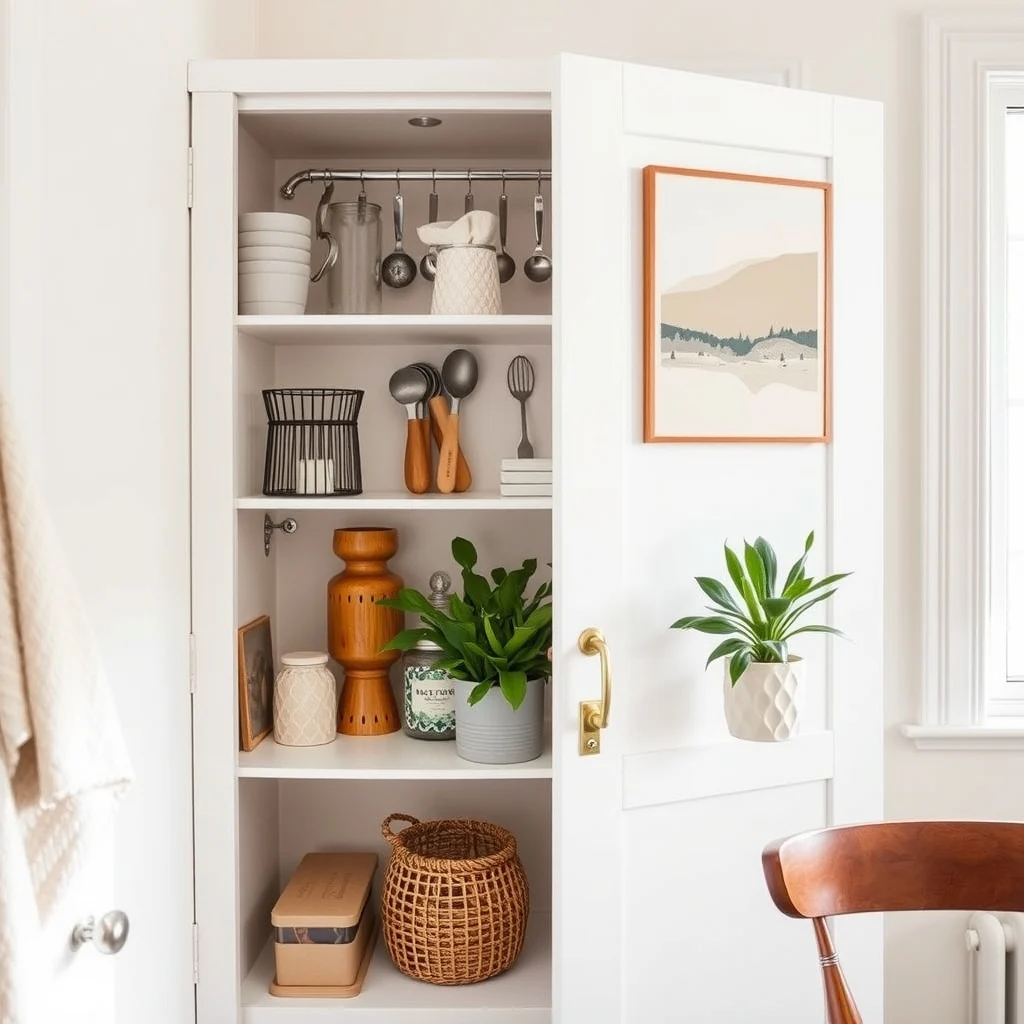
The interior of the cabinet door is often an overlooked real estate gem. Installing a thin metal or magnetic strip provides a discreet rail for hanging lightweight tools. A set of magnetic measuring spoons, a small silicone basting brush, and a pair of decorative wooden spoons cling neatly to the strip, keeping them visible without taking up shelf space. For non‑magnetic items, a row of small, shallow hooks can hold a whisk, a pastry brush, or a reusable silicone baking mat rolled tightly. This arrangement not only frees up shelf real estate but also adds a subtle decorative element—especially when the tools are in complementary colors like soft ivory or muted sage. Avoid overloading the strip; a few well‑chosen pieces are more functional than a crowded assortment.
5. Create a “Baking Day” Zone with a Portable Tray
This image is by AI for inspiration only.
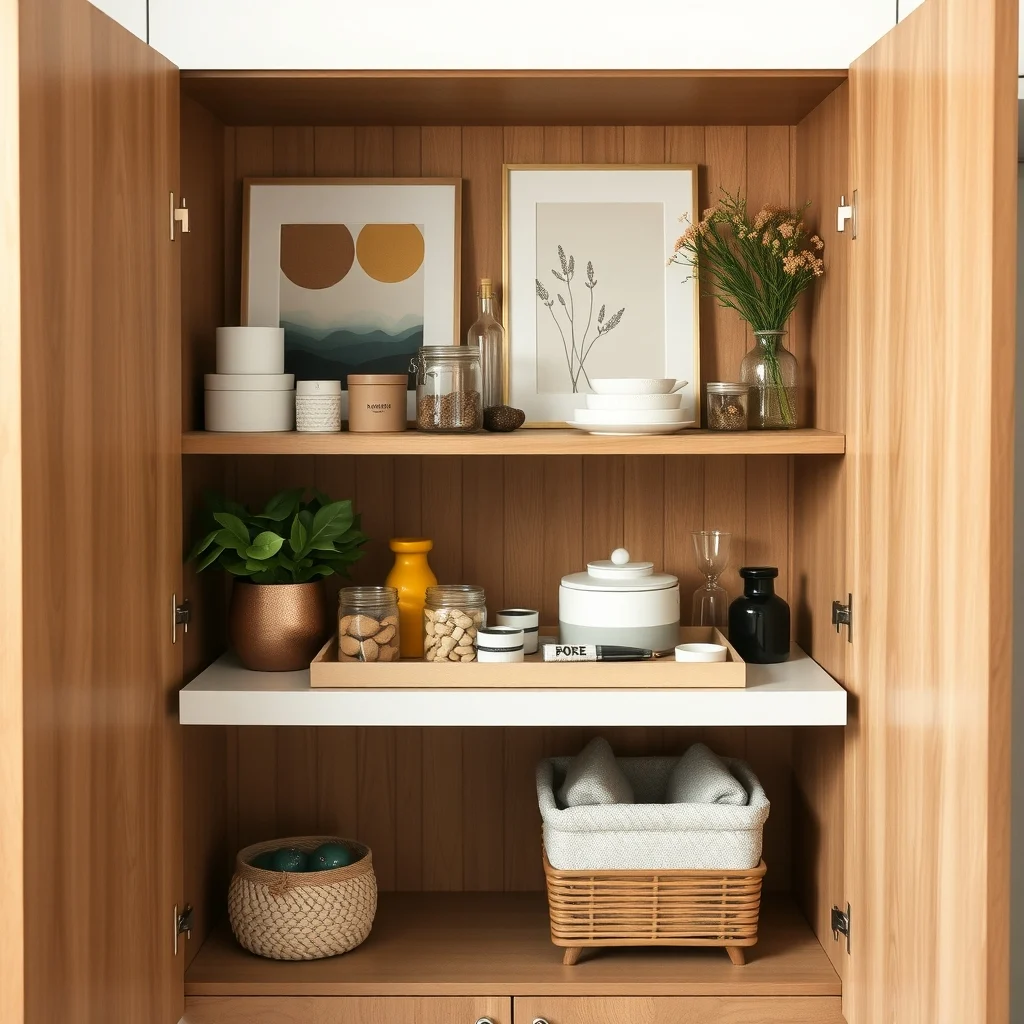
Even the most organized cabinet can benefit from a temporary staging area for the items you’ll use in a single baking session. A slim, removable tray that slides into the cabinet acts as a portable workstation. When you’re ready to bake, pull the tray out, line it with parchment paper, and place your measured ingredients, a rolling pin, and a small bowl on its surface. After the bake, the tray slides back in, containing any crumbs or spills and protecting the rest of the cabinet from mess. Choose a tray with a non‑slip surface and a finish that complements the surrounding wood or laminate, such as a matte walnut veneer. The downside is that the tray occupies a portion of the cabinet’s depth, so it works best in cabinets that already have a little extra room.
6. Incorporate a Pull‑Out Drawer for Frequently Used Items
This image is by AI for inspiration only.
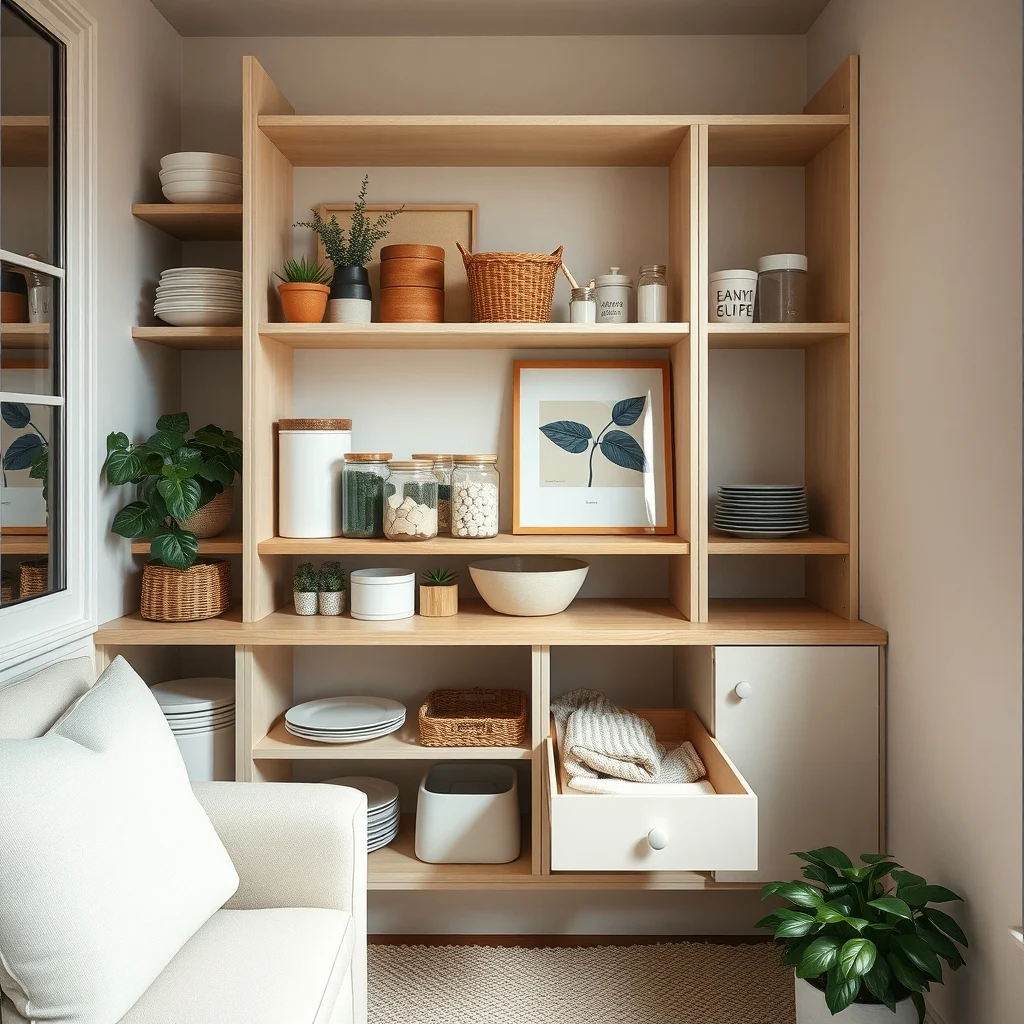
If the cabinet design permits, swapping one of the fixed shelves for a shallow pull‑out drawer can dramatically improve accessibility. A drawer that slides out fully exposes its contents, eliminating the need to bend or reach deep into the back. Store the most frequently used tools—measuring cups, a silicone spatula, a small whisk—in the drawer, arranging them in a way that mirrors the order you use them during a recipe. The drawer’s front can be fitted with a simple wooden face that matches the cabinet’s finish, maintaining a cohesive look. While a drawer adds convenience, it does reduce the vertical storage space on that level, so reserve it for items you need at hand rather than bulkier containers.
7. Keep the Cabinet Fresh and Easy to Clean
This image is by AI for inspiration only.
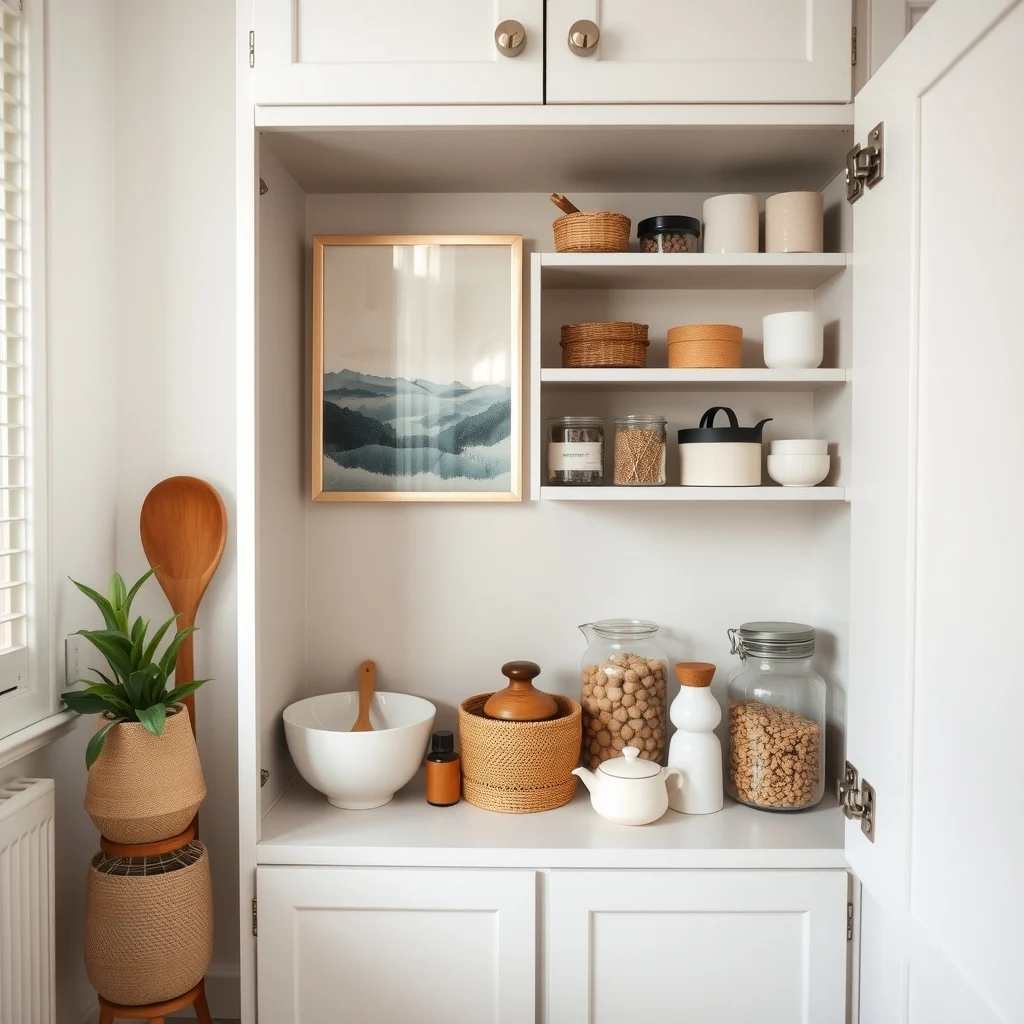
A tidy cabinet can quickly become a source of stale odors if crumbs and spills linger. Line the bottom of the cabinet with a thin, washable mat made of natural fiber or silicone; this protects the interior from crumbs and can be lifted out for cleaning. Periodically wipe the shelves with a damp cloth and a mild detergent, paying special attention to the edges of containers where sugar can accumulate. If you notice any lingering smells, place a small sachet of dried lavender or a cedar block on the top shelf to absorb moisture and add a faint, pleasant scent. The trade‑off is that a mat adds a thin layer to the shelf height, so choose a low‑profile option to avoid reducing clearance for taller jars.
FAQ
This image is by AI for inspiration only.
How can I fit a stand mixer in a tiny cabinet?
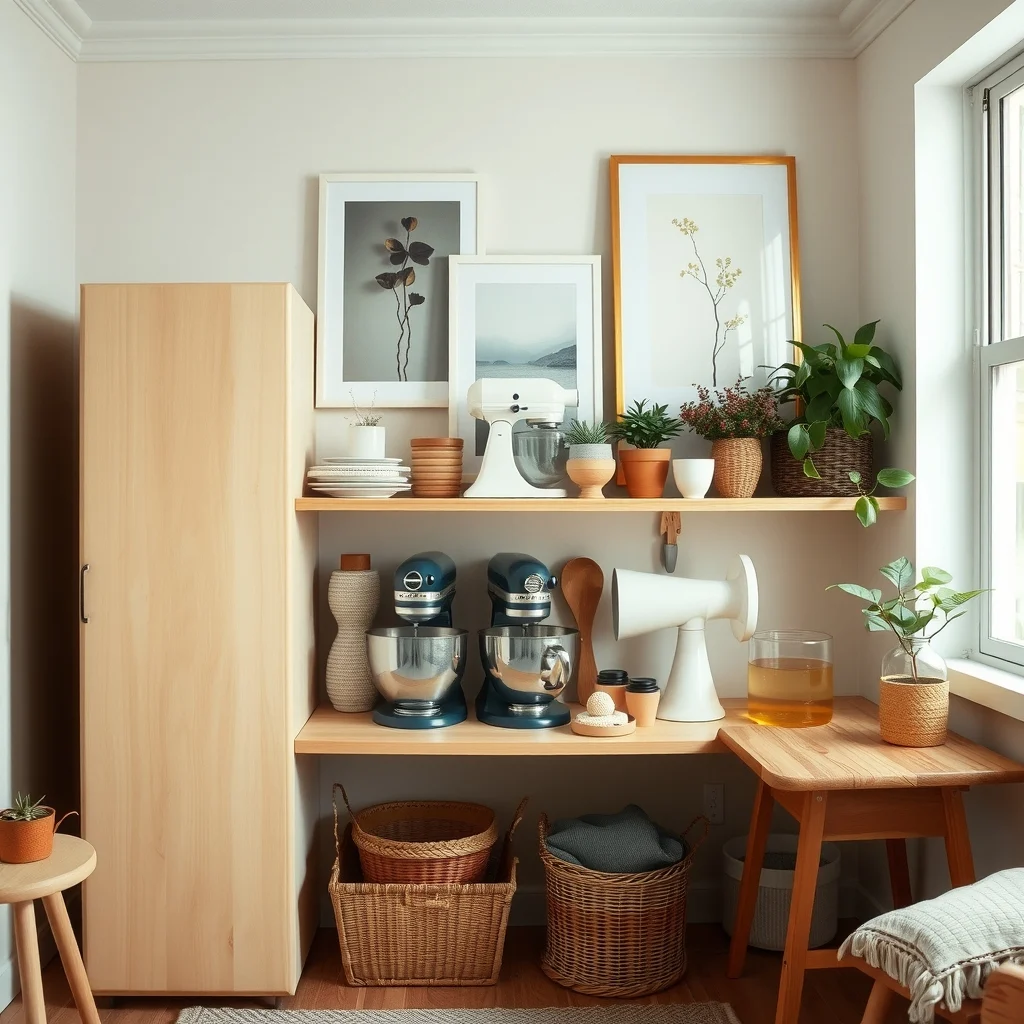
A compact stand mixer can sit on the top shelf if you clear the space by moving smaller items to the door or a pull‑out drawer. Measure the mixer’s height and width first, then adjust any shelf risers to create enough clearance while keeping the cabinet door able to close fully.
What’s the best material for airtight jars?
Glass jars with silicone gaskets and stainless‑steel lids offer a reliable seal and a clean aesthetic. They resist staining, are easy to clean, and allow you to see the contents at a glance, which helps with inventory management.
Can I use adhesive hooks on a painted cabinet door?
Yes, but opt for removable adhesive hooks designed for painted surfaces to avoid damage. Test a small area first, and choose hooks that can support the weight of the tools you plan to hang.
Is a magnetic strip strong enough for metal measuring spoons?
A high‑strength magnetic strip, typically rated for at least 5 kg, will hold metal spoons securely. Ensure the strip is firmly attached and that the spoons have a magnetic base; otherwise, they may slip when the door is opened.
How often should I reorganize my baking cabinet?
A quick re‑assessment every few months helps you stay on top of seasonal baking trends and prevents forgotten items from taking up space. A deeper overhaul once a year, perhaps after the holiday season, keeps the cabinet functional and fresh.
Final Thoughts
This image is by AI for inspiration only.
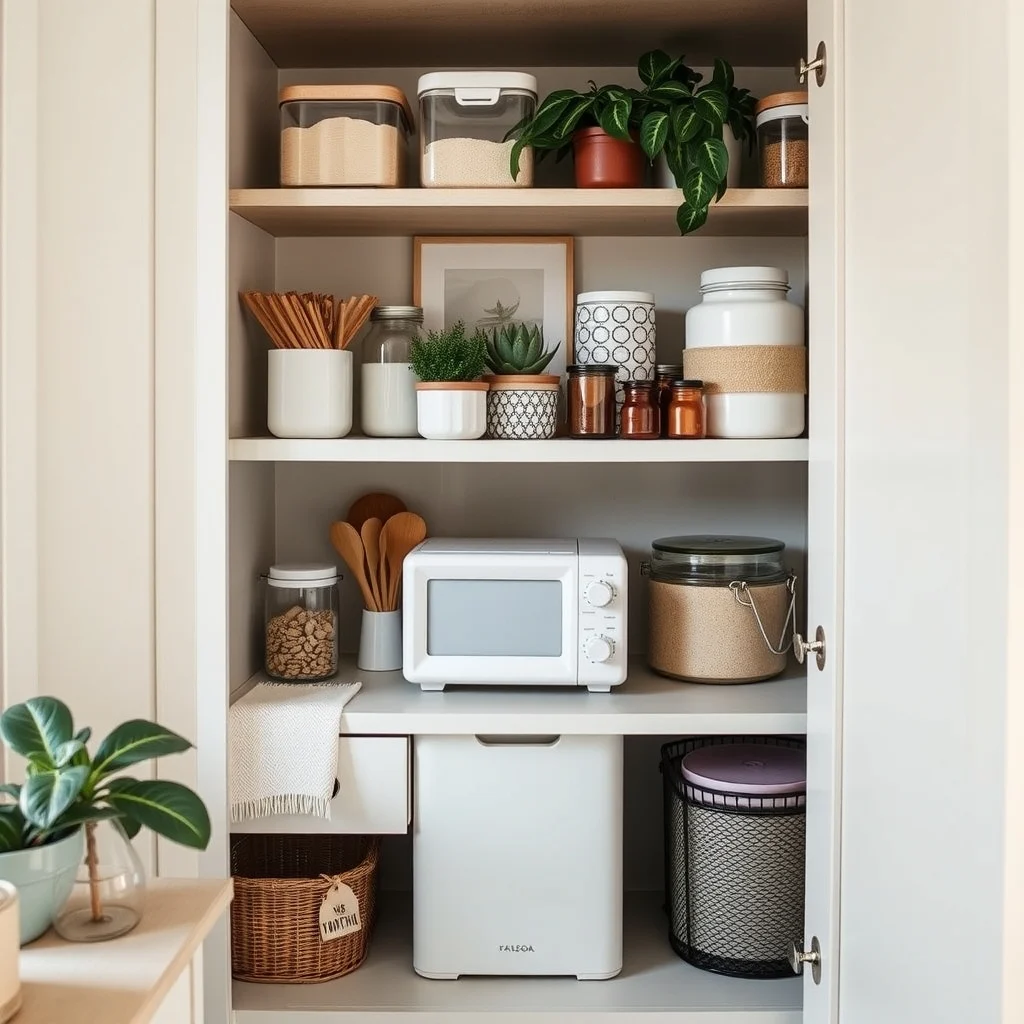
Organizing baking supplies in a small cabinet is less about cramming everything in and more about creating purposeful spaces that respect both function and style. By assessing the cabinet’s dimensions, unifying containers, adding subtle vertical elements, and making use of often‑ignored door interiors, you can transform a chaotic nook into a streamlined hub that encourages you to bake with confidence. Remember that every adjustment—whether a riser, a drawer, or a simple mat—should serve a clear purpose and fit comfortably within the limited footprint. With a little planning and the right accessories, even the tiniest cabinet can become a well‑ordered, inviting corner of your kitchen.