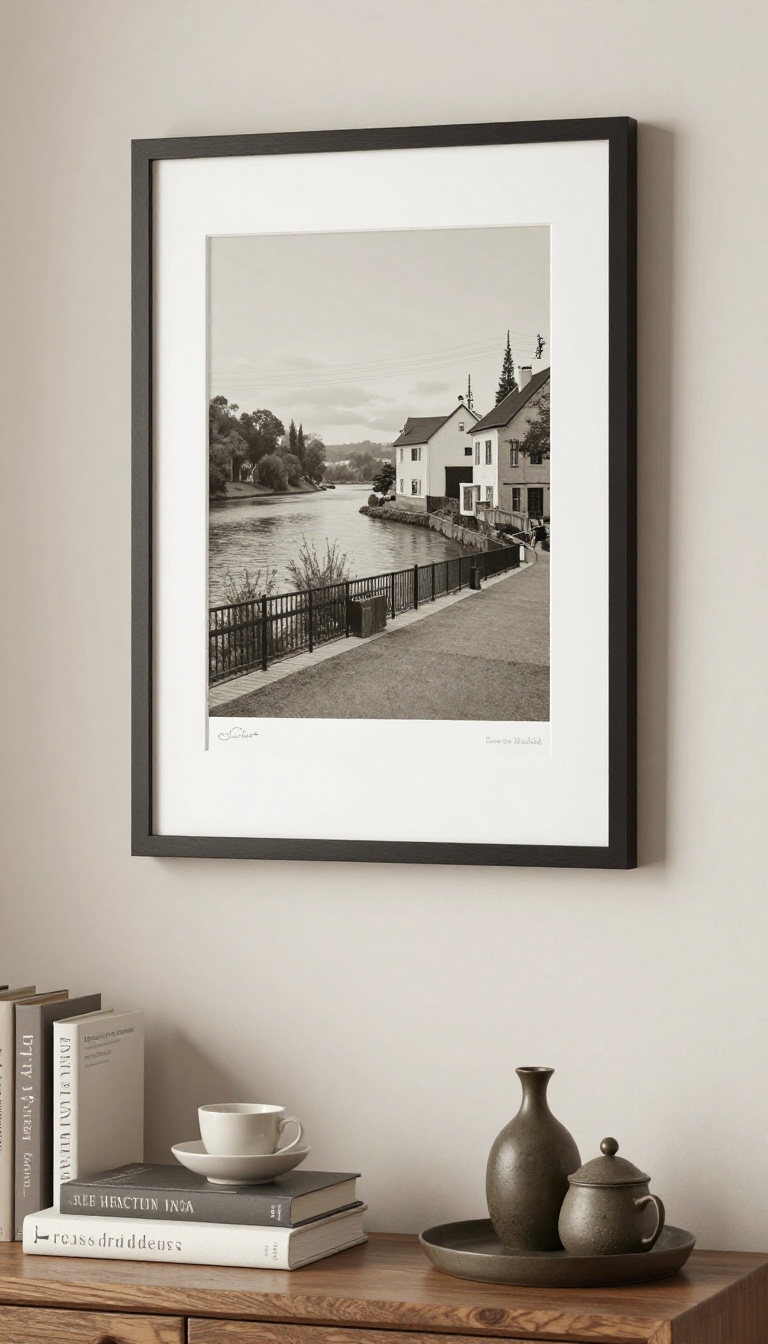
Open Kitchen Shelving Styling Tips That Look Chic (without Trying Too Hard)

You know that effortless, “I woke up like this” vibe for kitchens? That’s the magic of open shelving when it’s styled right. Done well, it looks curated, airy, and chic. Done wrong, it’s a visual junk drawer. Let’s make yours the former—with simple, stylish moves you can pull off in an afternoon.
1. Edit Like a Minimalist, Display Like a Maximalist
Here’s the truth: what you don’t display matters as much as what you do. Open shelves are not storage—they’re a curated moment. Hide the mismatched mugs and plastic smoothie cups behind closed doors.
What Makes The Cut?
- Everyday heroes: Favorite plates, bowls, and glasses you actually use.
- Pretty workhorses: Neutral ceramics, wood boards, glass jars with dry goods.
- A few gems: Vintage pieces, an heirloom teapot, or sculptural salt cellars.
Then style with intention. Group like with like so your eye rests: stacks of plates together, all the glasses in one zone, cookbooks in a tidy row. Variety is fun; chaos is not.
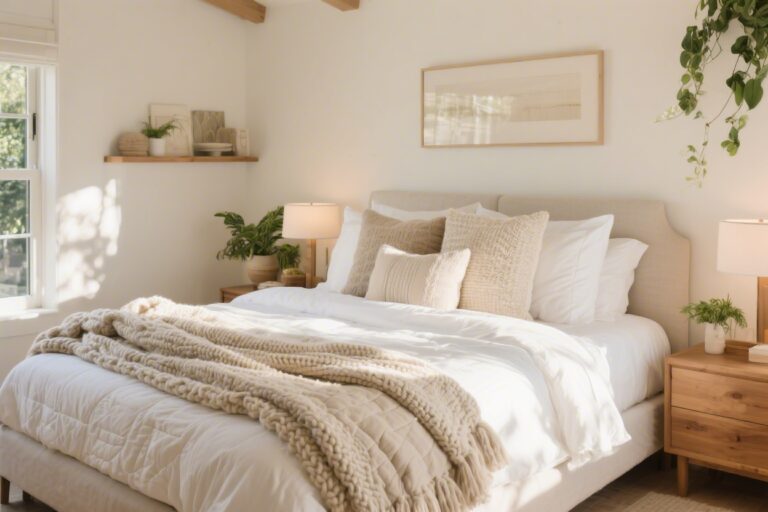
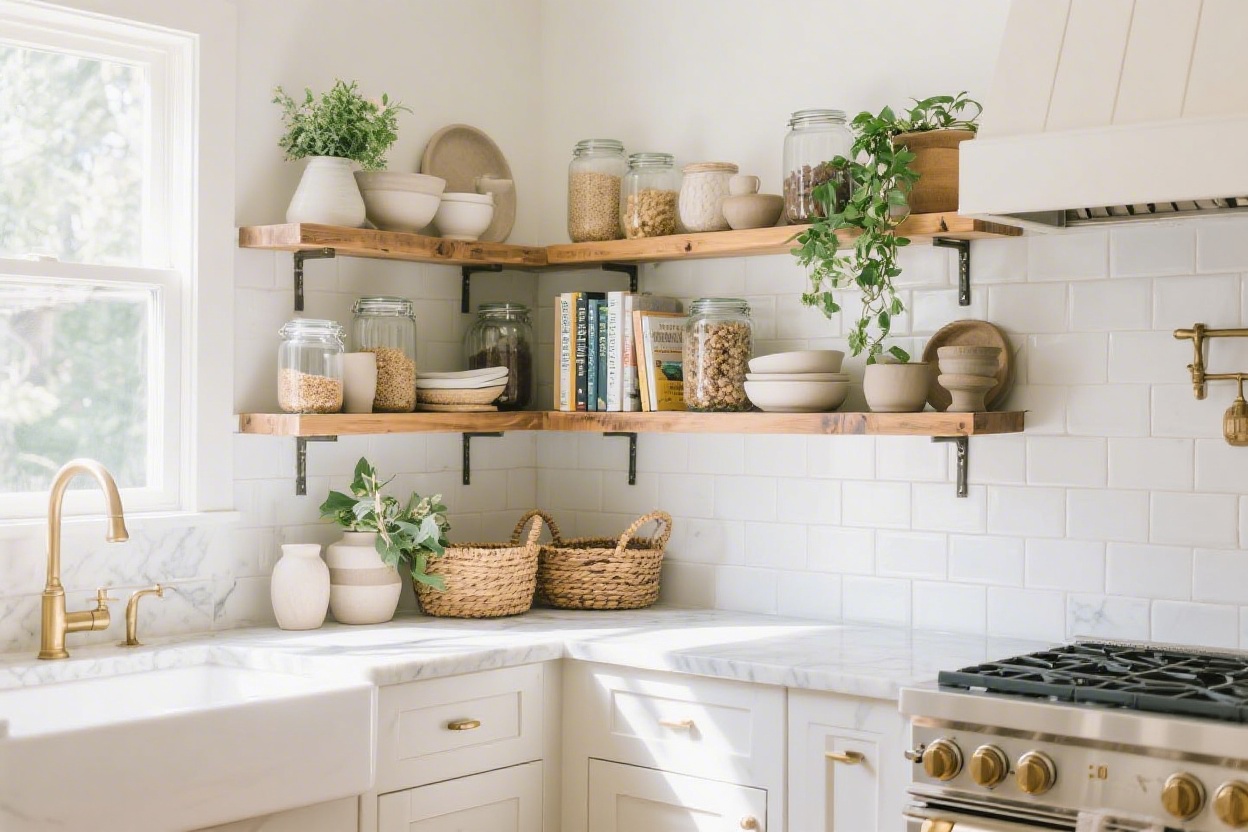
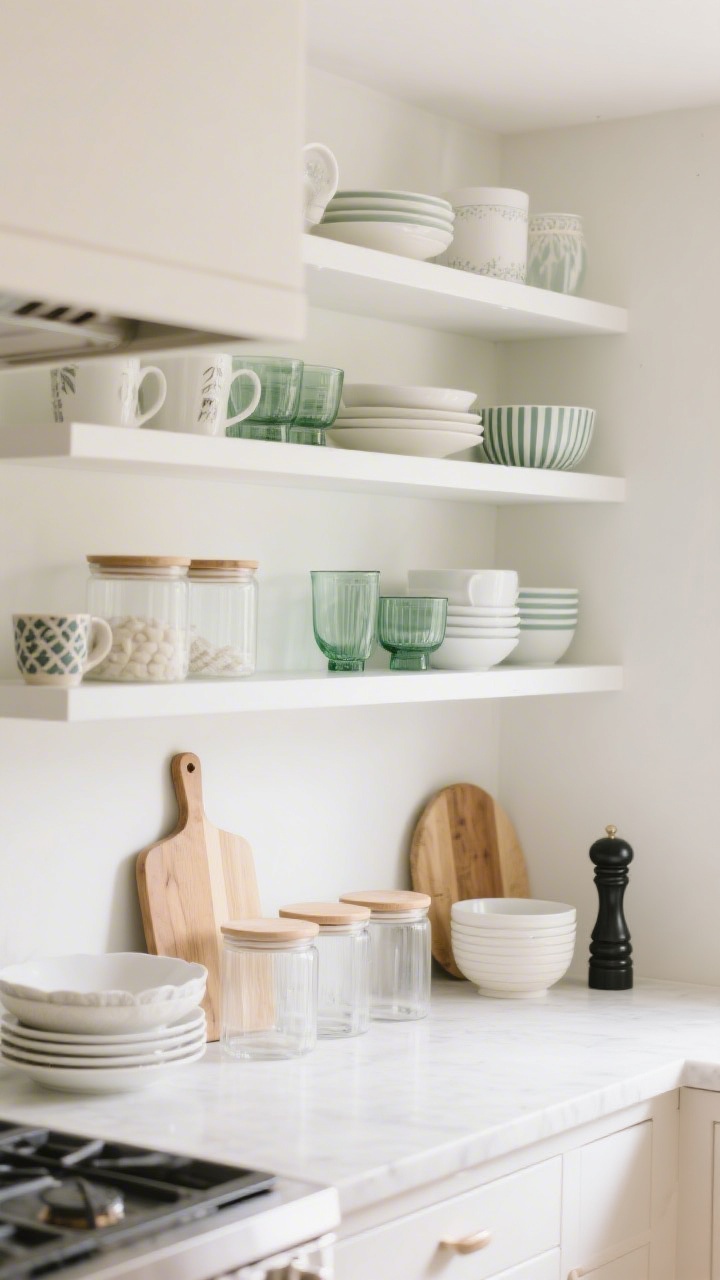
2. Color Palette: Keep It Tight, Add One Pop
This image is by AI for inspiration only.
Chic shelves are basically a mood board. Pick a base palette (think white, cream, wood, clear glass) and stick to it like it’s your life mission. Then add one accent color for energy—sage green, smoky blue, or terracotta always play nice.
Easy Palette Formulas
- Warm + Neutral: White dishes, maple boards, linen textures, pop of burnt orange.
- Cool + Modern: Matte black accents, white ceramics, eucalyptus green glassware.
- Earthy + Collected: Stoneware in sand tones, walnut wood, olive green patterns.
FYI: Pattern should be the spice, not the soup. One striped bowl or two patterned mugs is plenty unless you’re going full maximalist (in which case, commit and own it).
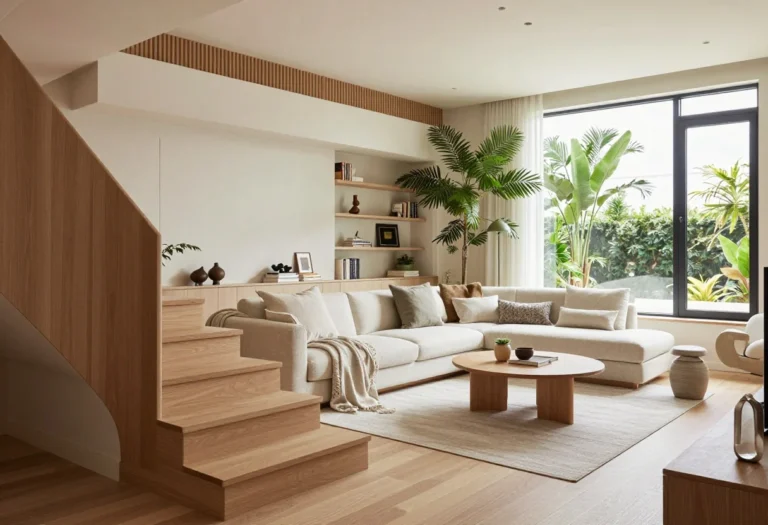
3. Layer Heights, Shapes, and Textures
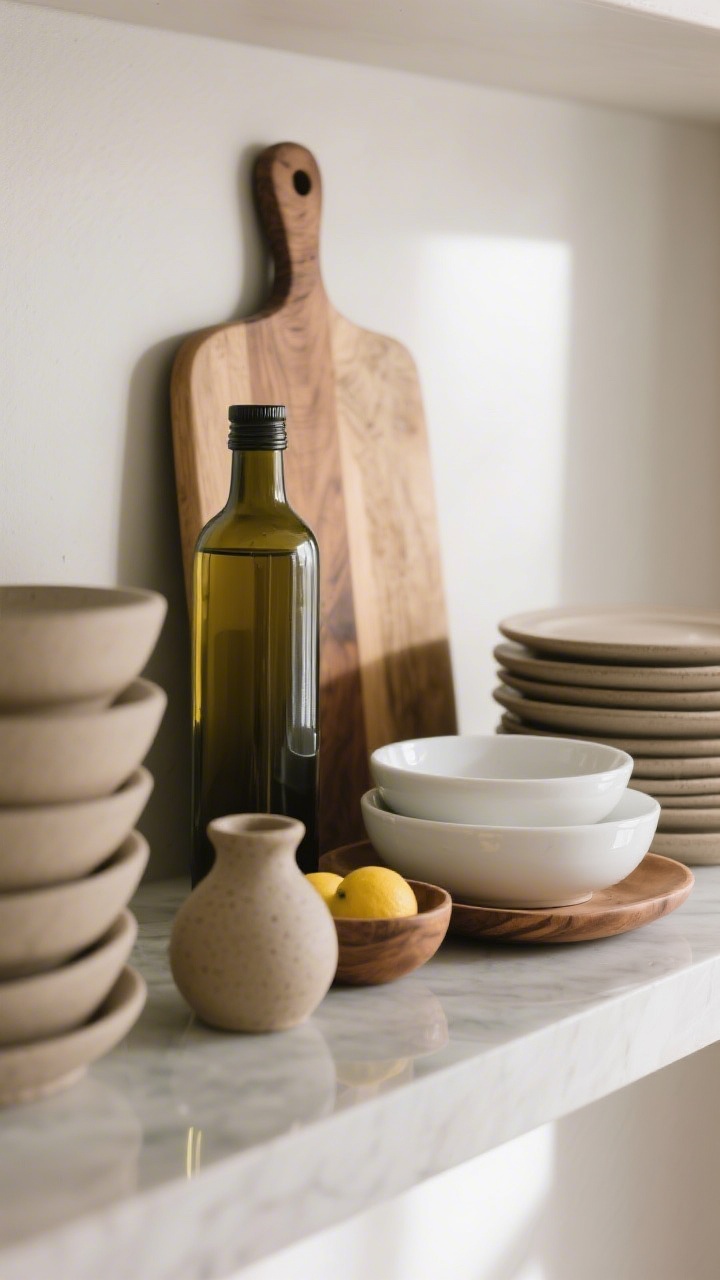
This image is by AI for inspiration only.
Flat shelves look flat. You want height, depth, and dimension. Mix tall bottles with mid-height stacks and small accents. A little layering creates that “styled by a pro” look—even if it’s just you in pajamas.
How To Build A Vignette
- Back anchors: Prop a cutting board or framed recipe against the wall for height.
- Middle ground: Stack plates, line up bowls, corral bottles on a tray.
- Front detail: Add a small bowl of citrus, a pinch pot, or a petite plant.
Mix textures for depth: matte stoneware + glossy ceramic + warm wood + clear glass. It’s the visual version of a great playlist—varied, but cohesive.
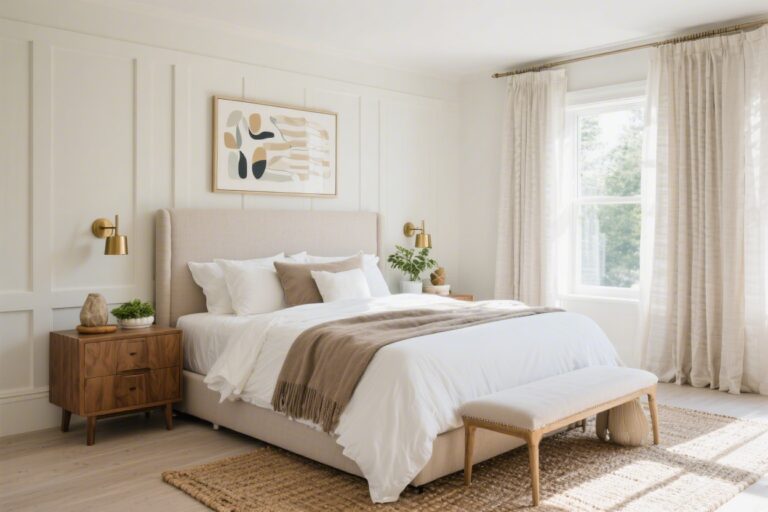
4. Style In Thirds: Stacks, Lines, and Little Moments
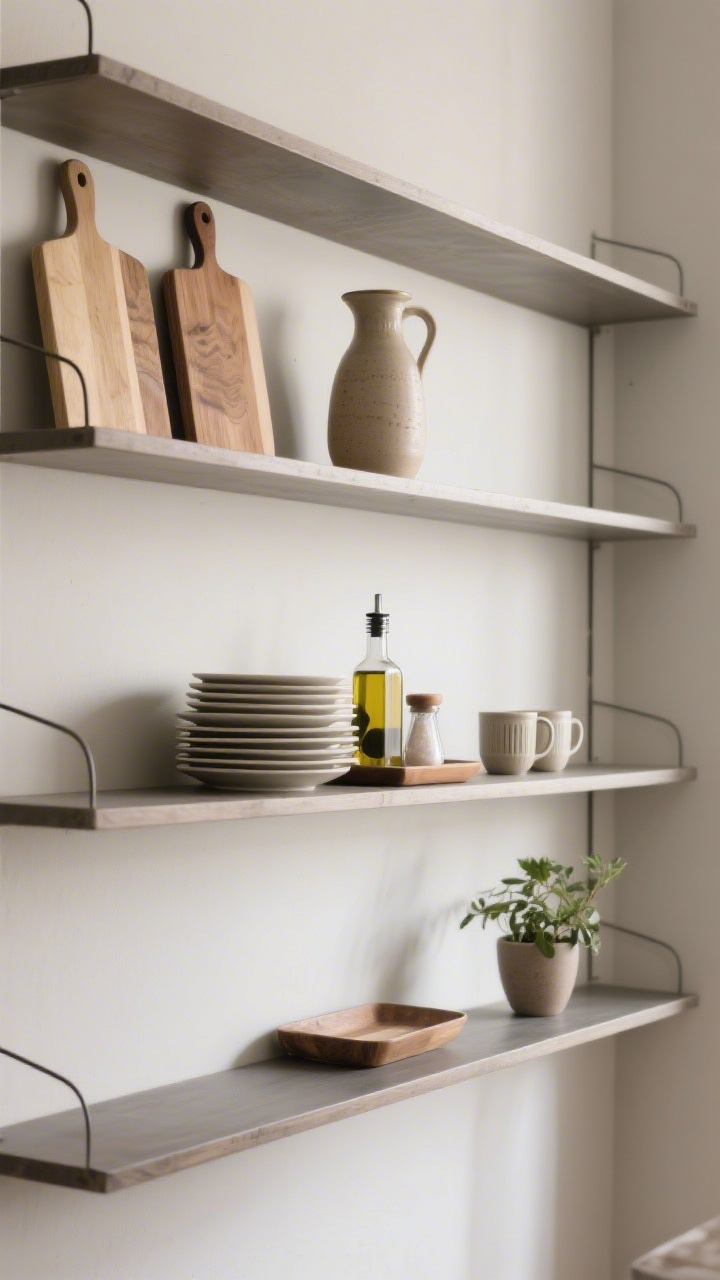
This image is by AI for inspiration only.
When in doubt, style in thirds. It keeps things balanced without looking copy-paste. Think of each shelf as three zones with different roles.
Your Three-Part Formula
- Left: A vertical moment (tall vase, pitcher, or two cutting boards layered).
- Center: A stable stack (plates, bowls, or a tray with oils and salt).
- Right: A small cluster (mugs, a plant, or a lidded jar).
Rotate the “hero” piece on each shelf so your eye travels: big on the left up top, big in the middle on the next, big on the right below. Easy rhythm. Seriously effective.
5. Make It Functional: Pretty, But You Can Cook
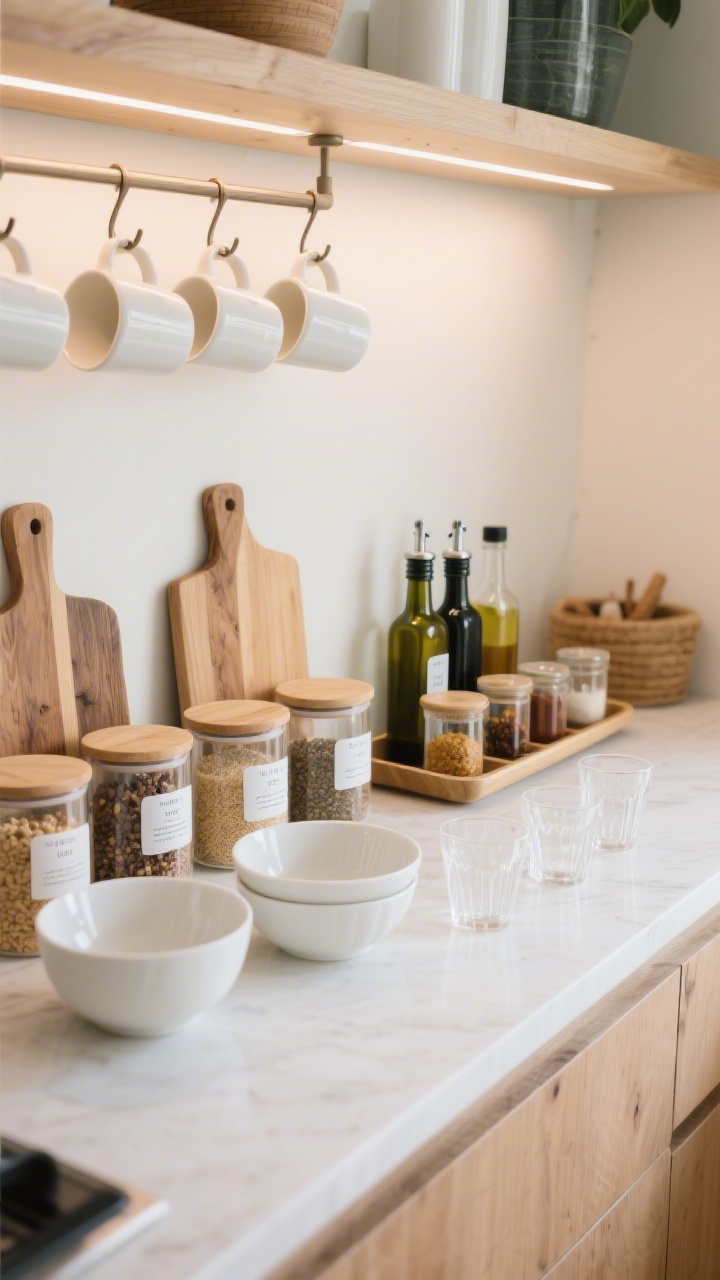
This image is by AI for inspiration only.
Open shelves should work as hard as they look. Place high-use items within easy reach and tuck the occasional-use pretties up top. Your future self (mid-pasta boil) will thank you.
Smart, Stylish Storage
- Decant dry goods into clear or frosted canisters with matching lids. Labels in a clean font = chef’s kiss.
- Use trays and risers to corral olive oils, vinegars, and spices—instant tidy.
- Hang mugs under a shelf with minimal hooks to free up surface space.
- Keep a color rule for packaging: buy refills and decant to keep the palette calm.
Basics you reach for daily—white bowls, clear glasses, wood boards—deserve front row seats. Fancy cake stand? Top shelf, still stunning.
6. Add Life: Plants, Art, and Something Unexpected
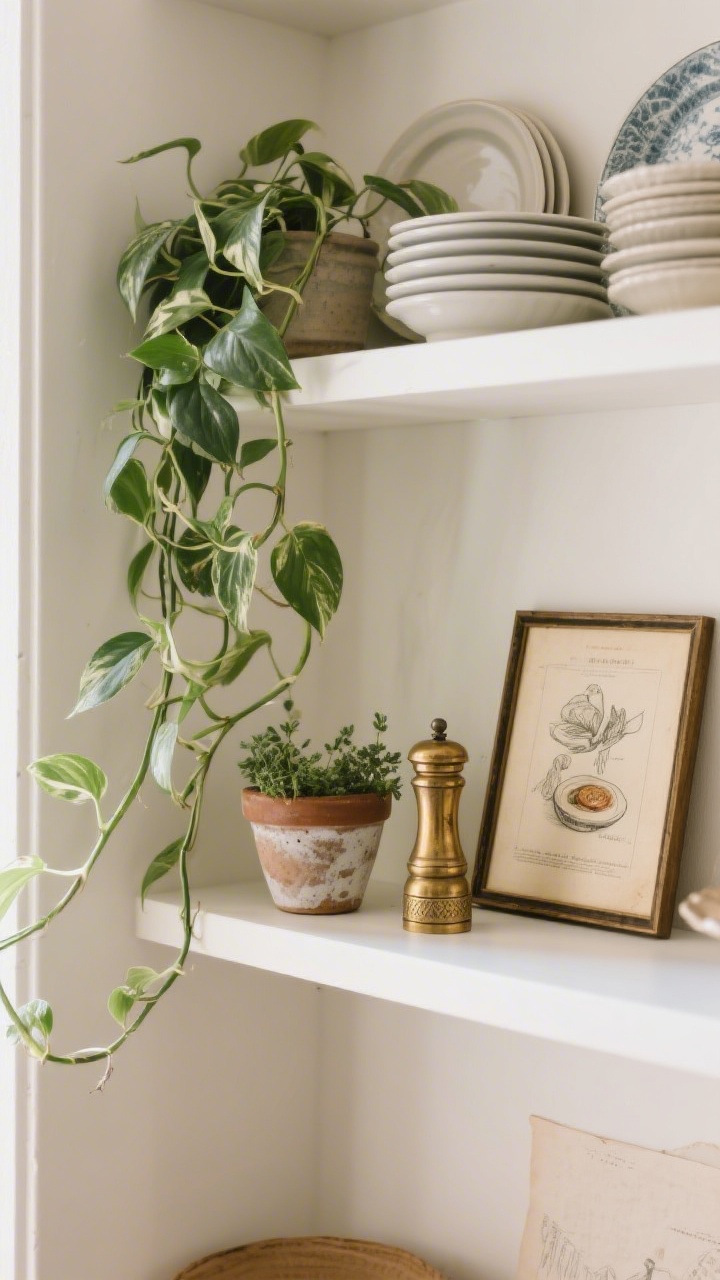
This image is by AI for inspiration only.
Want instant warmth? Greenery and art. A trailing pothos softens hard lines, and a tiny frame with a vintage print makes your shelves feel curated, not showroom-y.
Layer In Personality
- Plants: Pothos, philodendron micans, or a petite herb pot. Low-maintenance wins.
- Art: Lean a small painting or print behind plates. Food sketches? Adorable.
- Unexpected: A sculptural candle snuffer, brass pepper mill, or woven basket.
IMO, one “conversation piece” per shelf is the sweet spot. It keeps things interesting without shouting for attention.
7. Maintain The Chic: Dust-Proofing And Reset Rituals
This image is by AI for inspiration only.
Let’s talk maintenance—because open shelves have opinions about dust. The trick is to choose display-worthy items you actually use, so they get rinsed and rotated naturally.
Keep It Fresh Without Stress
- Weekly wipe-down: Quick microfiber swipe, especially around oil zones.
- Monthly reset: Remove everything, wipe, re-stack, and edit. Swap a color or prop.
- Grease control: If your stove runs hot, keep the splatter zone reserved for washable ceramics and glass—save wood and art for outer shelves.
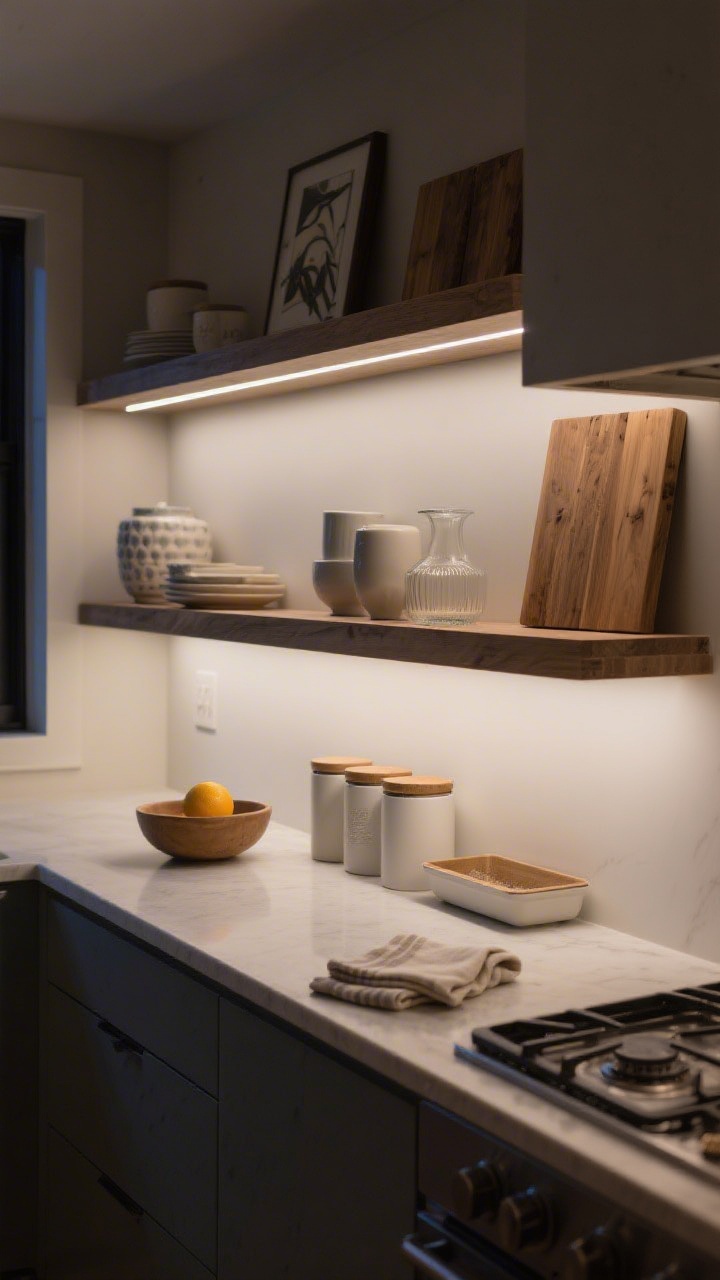
- Lighting glow-up: Add a slim LED strip under the shelf. Instant ambiance, minimal effort.
FYI: If you’re a “set it and forget it” person, pick closed canisters and low-lip trays. They catch dust, you keep your sanity, everyone wins.
Quick styling refresh when guests are coming? Add a citrus bowl, snip herbs into a tumbler, and stack a linen napkin or two. Five minutes, big payoff.
Open shelves are basically your kitchen’s Instagram grid—curate, edit, and let your personality show. Keep the palette tight, play with height and texture, and remember: if it’s useful and beautiful, it belongs. Now go style those shelves like the chic, functional supermodel kitchen they were meant to be.
Image Credits:All images are used for informational or inspiration purposes only. Some images used in this post are sourced from royalty-free websites like Pixabay or created using Canva Pro. If you are the copyright owner of any image used here and would like it removed or credited, please contact me.