How to Install Wall Sconces Without Hard Wiring

Install Wall Sconces Without Wiring
You ever move into a new place, and it’s just, well… lacking? That was me a year ago when I took the plunge into a rented two-bedroom apartment that was desperately yearning for some personality. The walls were painted this drab beige—like, who chose that color? You can almost hear it whispering, “I’m boring.” Seriously, it felt like a blank canvas, but one that was stained with a lack of love and character. Every time I’d walk in after a long day, I couldn’t shake that feeling of meh enveloping me.
When I stumbled onto the idea of installing wall sconces, I thought, “This might be it!” But then came the dreaded realization: no wiring? No outlets where I wanted these beauties? I was heartbroken—truly, I felt the weight of my lighting dreams crashing down like a wall of text you don’t want to read. But, friends, I wasn’t about to give up. I dug deep and actually found out you can totally install plug-in wall sconces without wiring. Yes, you read that right!

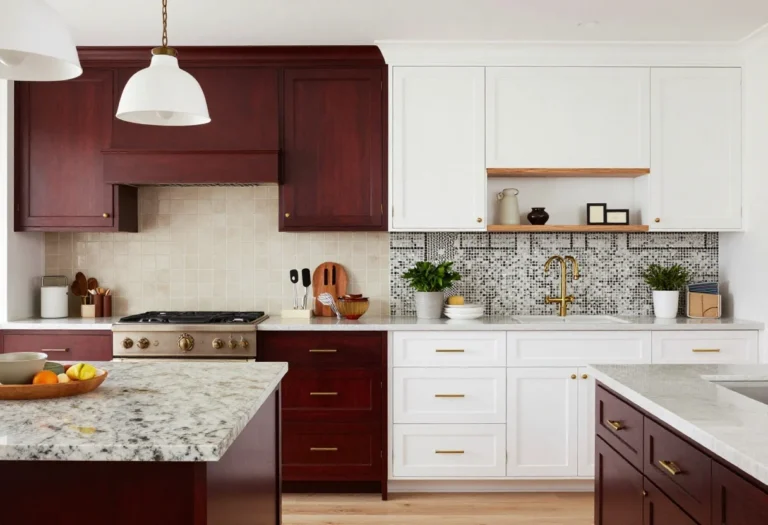
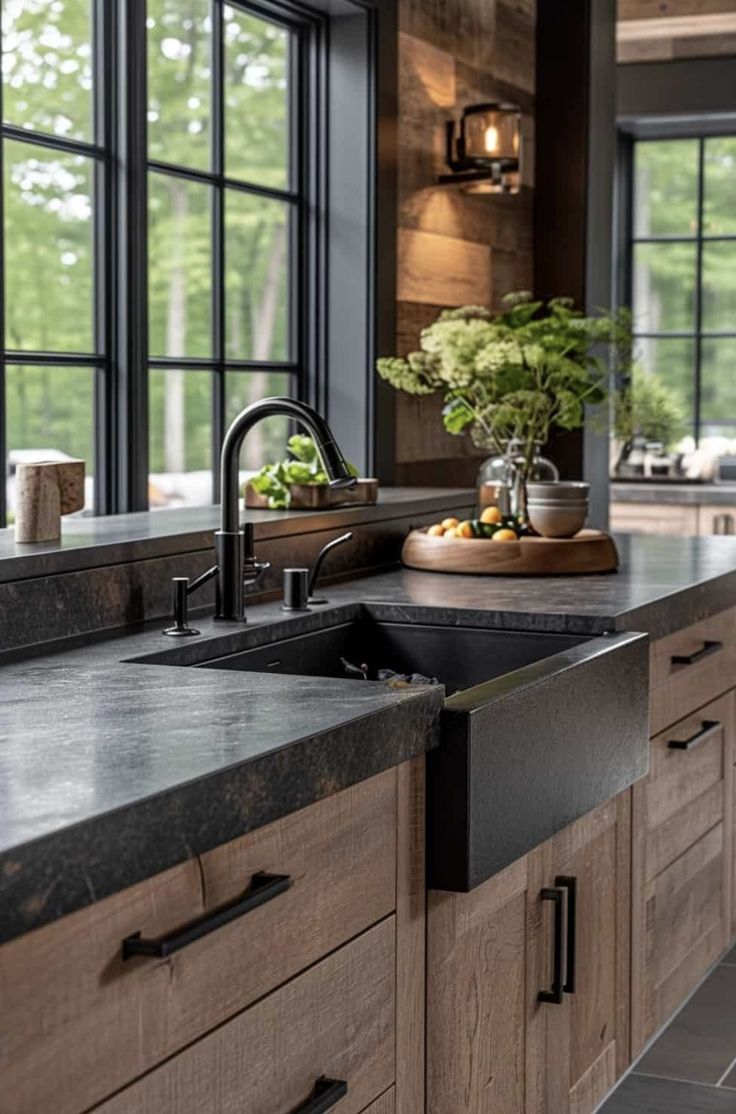
This image is by AI for inspiration only.
So, if you’re also stuck in a lighting rut—wondering how to brighten your space without breaking the bank or calling an electrician—here’s what actually worked for me. Let’s dive in!
Find the Right Sconces for the Job
Okay, let me spill the tea right away: not all wall sconces are created equal. You’ll want to look for plug-in wall sconces that fit your aesthetic—think about how they’ll mesh with the rest of your decor. I remember feeling a vision of chic, modern pieces that would suit my minimalist style. But, of course, I found myself drawn to some rustic, vintage-looking fixtures that whispered sweet nothings about warmth and charm. Can you blame me?
Here’s the kicker: I didn’t realize that you can find sconces in all sorts of styles. I went with a beautiful brass finish that felt like it had a story to tell. It was perfect against those drab beige walls. When you find the right ones, trust me; it sparks joy (no Marie Kondo required).
Some tips for finding your favorite:
- Style Matters: Is it modern, rustic, or perhaps eclectic?
- Size Anxiety: Consider how they’ll look on your wall—too small, and you’ll lose that impact; too big, and your space feels cramped.
- Finish and Texture: Think about materials—brass, ceramic, wood—is there a texture that calls your name?
Once you’ve locked in those sconces, it’s time to move onto the fun part — the installation!
Setting the Scene: Tools and Basics
Before you jump into the actual installation, a little checklist is in order. I almost made the mistake of diving right in without gathering my gear. One time, I was halfway through a project when I realized I’d forgotten my tape measure. Major facepalm moment, right? Don’t do that.
Follow our WhatsApp Channel for easy bedroom ideas, small-space tips, storage tricks, and budget decor fixes.
Follow on WhatsAppHere’s what you need:
- Plug-in wall sconces (drumroll, please!)
- Command Hooks or adhesive strips: These are the unsung heroes for renters. They hold strong without leaving marks.
- Measuring tape (seriously, grab this one first).
- Level (you want to make sure it doesn’t tilt; you know, like how I lean toward the couch after a long day).
- Pencil: For marking where your sconces will go.
Now that you’re equipped, it’s time to find the perfect spot for your sconces. Picture walking into your home—where do you want that delicious glow? By your reading nook? Perfect for diving into a good book after a long day at work.
Measuring and Positioning Like a Pro
Here’s where I had my first hiccup. I was super excited but kind of just eyeballed it. Let’s just say my first placement looked like a toddler had decided where to put the wall art. Not a great call.
It’s vital to get the measurements right. I’m talking:
- Measure the distance from the floor to where you want your sconces. Aim for about 60-66 inches above the floor for an average height.
- Use the level to ensure everything is straight. No one wants a crooked lampshade when they’re trying to create an atmosphere, am I right?
Take a moment to visualize! Imagine the warm, inviting glow lighting up your evenings. Oh, just thinking about it gives me chills.

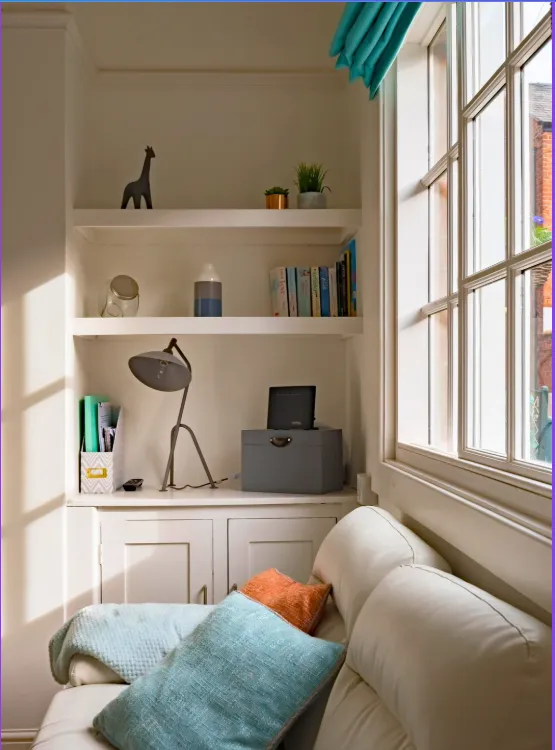
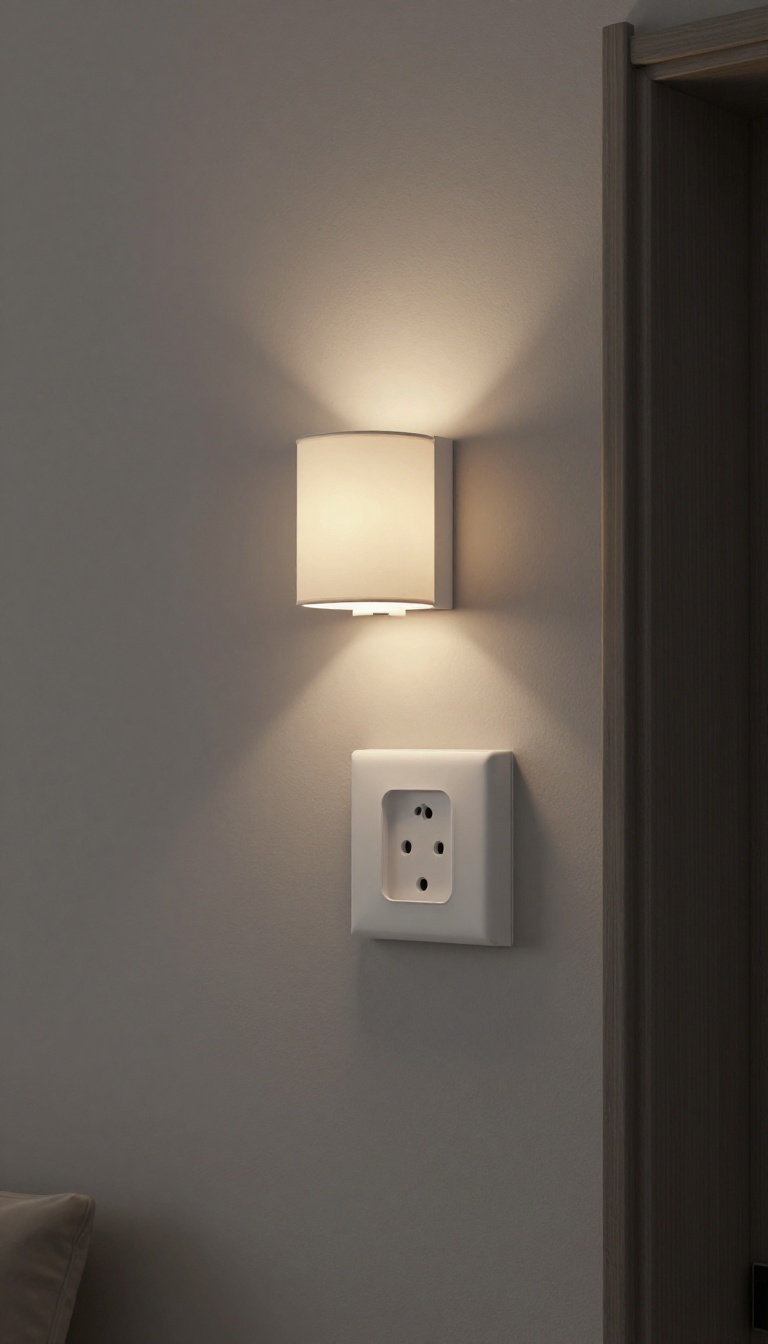
This image is by AI for inspiration only.
Securing Your Sconces
Once the measurements are good, grab those Command Hooks. I can’t express how much of a game-changer these babies were for me. I was hesitant at first—like, can they really hold the weight? But they did!
Peel and stick those hooks where you marked, press firmly, say a little prayer (okay, maybe I’m the only one who did that), and then hang your sconces. It’s Magic. Just like that, they’re up! Feel free to take a step back and admire your handiwork. I did a little victory dance at this moment. Don’t judge.
Plugging Them In
Now comes one of the best parts—plugging them in! If you already have an outlet nearby, consider yourself lucky. If not, don’t sweat it. You can use extension cords. Just be sure to choose the least obtrusive cord possible and maybe run it along the baseboards or behind the furniture to keep everything neat.
Here’s a thought: does it mess with the vibe if there’s a cord running across the floor? Maybe! I leaned into it and told myself it was just part of my bohemian-chic look. I mean, it is a little chaotic cool, right?
Mistakes I Almost Made (or Actually Made)
Honestly, I almost didn’t go for a plug-in option because I thought it would look tacky. Here’s the thing: you’ll find lower-quality pieces if you don’t do your homework. That could lead to flickering bulbs or ugly cords! I remember the first sconces I almost bought—let’s say they weren’t the statement pieces I dreamed of; they were more like stunted whispers in the corner of the room.
The biggest lessons learned? It’s all about keeping your aesthetic in mind and choosing quality over quantity. Something that’s cheap may not last, and then you’re back to square one, grumbling.
What I’d Do Differently If I Started Over
If I had a do-over (wouldn’t that be nice?), I think I would’ve opted for a pair of sconces with dimmable options. You know, for those evenings when all you want is a soft glow while sipping tea under a fuzzy blanket. Instead of slapping the “hey, let’s party!” brightness. But hey, that’s part of the journey, right?
And if you’re serious about how they fit with your space, spending that extra bit on fixtures that really scream “you” is totally worth it. I tried to convince myself that cheaper sconces would do, but they didn’t hold a candle—figuratively speaking—to the ones I eventually picked.
Balancing Aesthetics with Functionality
Is this worth it? Oh, a million times yes. After all was said and done, I stood back, and my heart soared. In a way I didn’t expect, my home was finally… a home. Warm and inviting, the sconces lit up the drab walls and made it feel like “me.”
But I wouldn’t just put them up haphazardly. Adjusting the spacing took a little bit of trial and error. I played around with positioning for a few hours, and honestly, I think I enjoyed the process more than I thought I would! Don’t forget that small decisions can make a huge impact.
One More Touch of Magic
And let’s not skip the little details! Those little bulbs can come in all sorts of styles—globe, Edison, or even something wild and funky. I opted for a warm, LED glow. It’s the kind of light that draws people in, makes them feel welcome, and honestly, makes me feel all cozy when the sun dips below the horizon. You know what I mean?
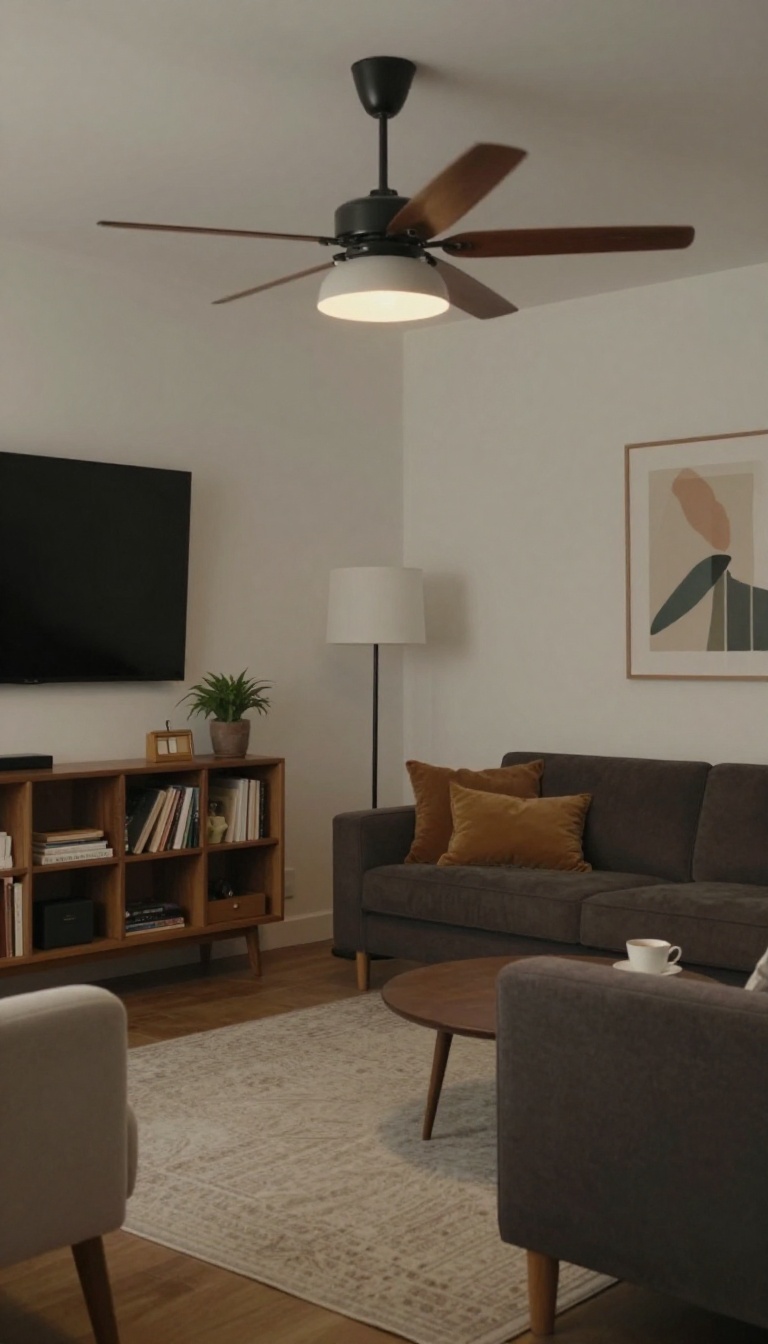
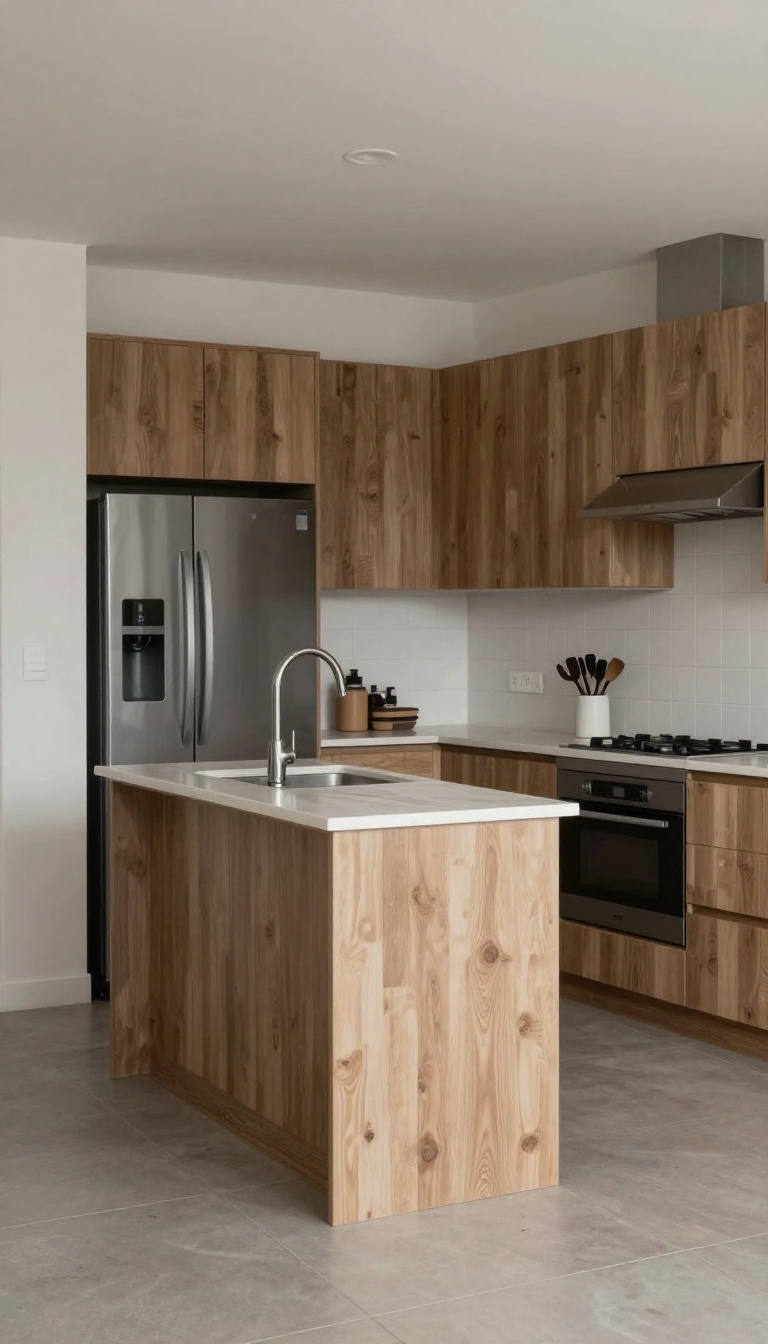
This image is by AI for inspiration only.
Final Thoughts
At the end of this all, I realized it’s these little changes in decor that make a big difference in how a space feels. Plugging in those wall sconces without wiring has opened up a new world of coziness for me. I find myself inviting friends over just to show them how flipping great my decor game is now.
If you’re still figuring out your space and feeling like it’s screaming for a little love, remember, even small changes matter. They can transform your living space and your mood—it’s true!
And if you’re curious about more of my décor journey, well, you might also like tips on how to choose the perfect plant or exploring ways to maximize small spaces. There’s so much more to share, and I hope to inspire you as you navigate your home decorating adventures.
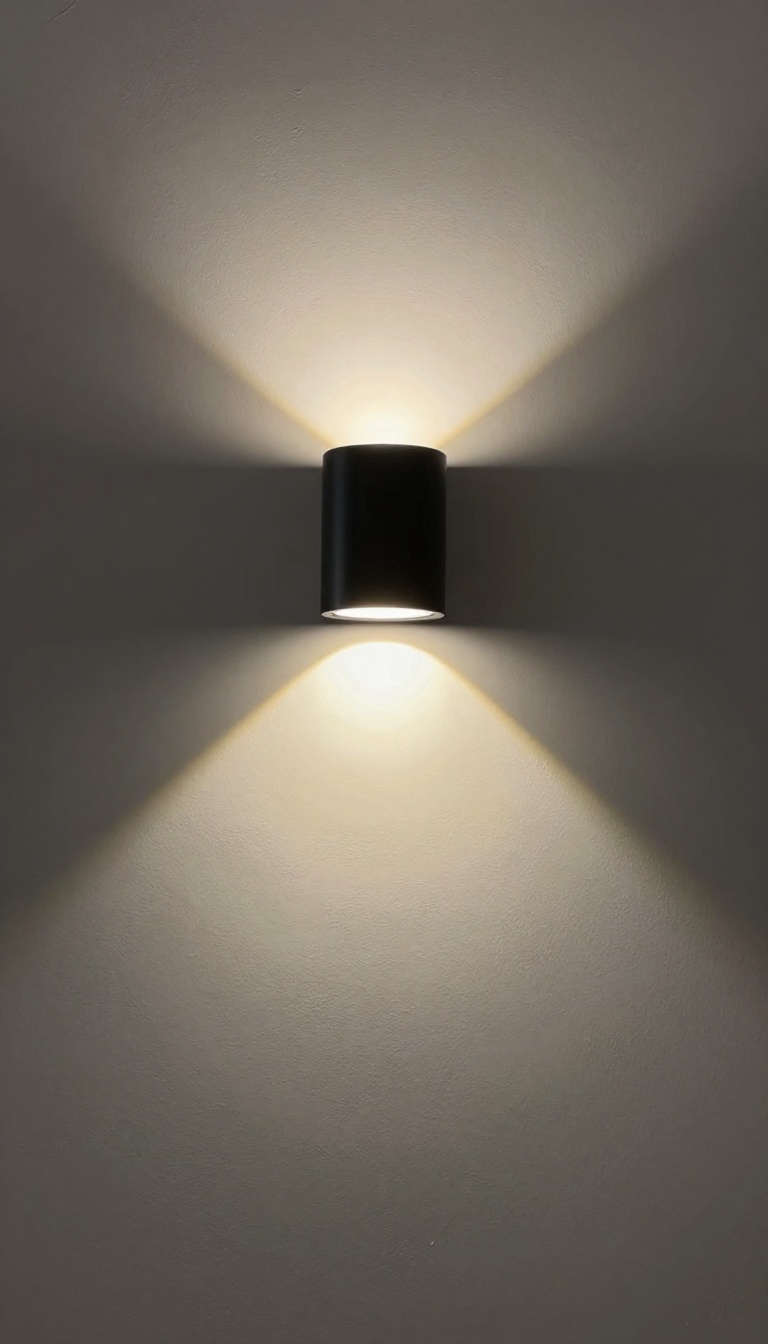
This image is by AI for inspiration only.
Image Credits:All images are used for informational or inspiration purposes only. Some images used in this post are sourced from royalty-free websites like Pixabay or created using Canva Pro. If you are the copyright owner of any image used here and would like it removed or credited, please contact me.