
Awkward Corner Storage Ideas That Actually Look Good

You know that weird corner that mocks you every time you walk by? Mine used to hoard dust bunnies and one very confused houseplant. Now it’s a hardworking storage zone that looks intentional—dare I say chic. Here’s exactly how I transformed it without a contractor or a meltdown.
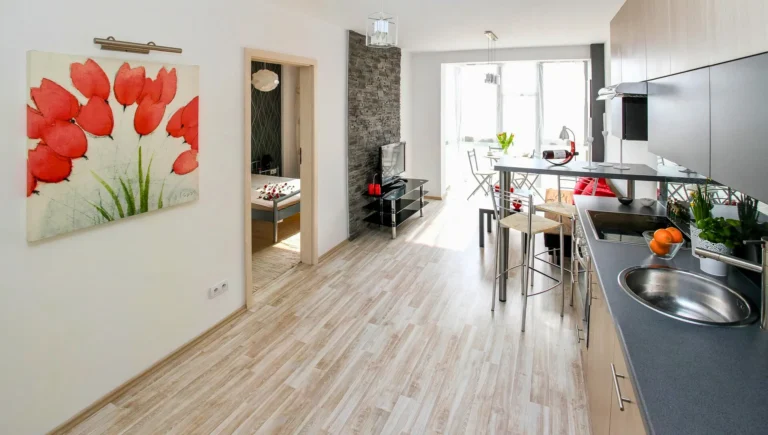
1. Diagnose The Awkwardness (Before You Buy Anything)
This image is by AI for inspiration only.
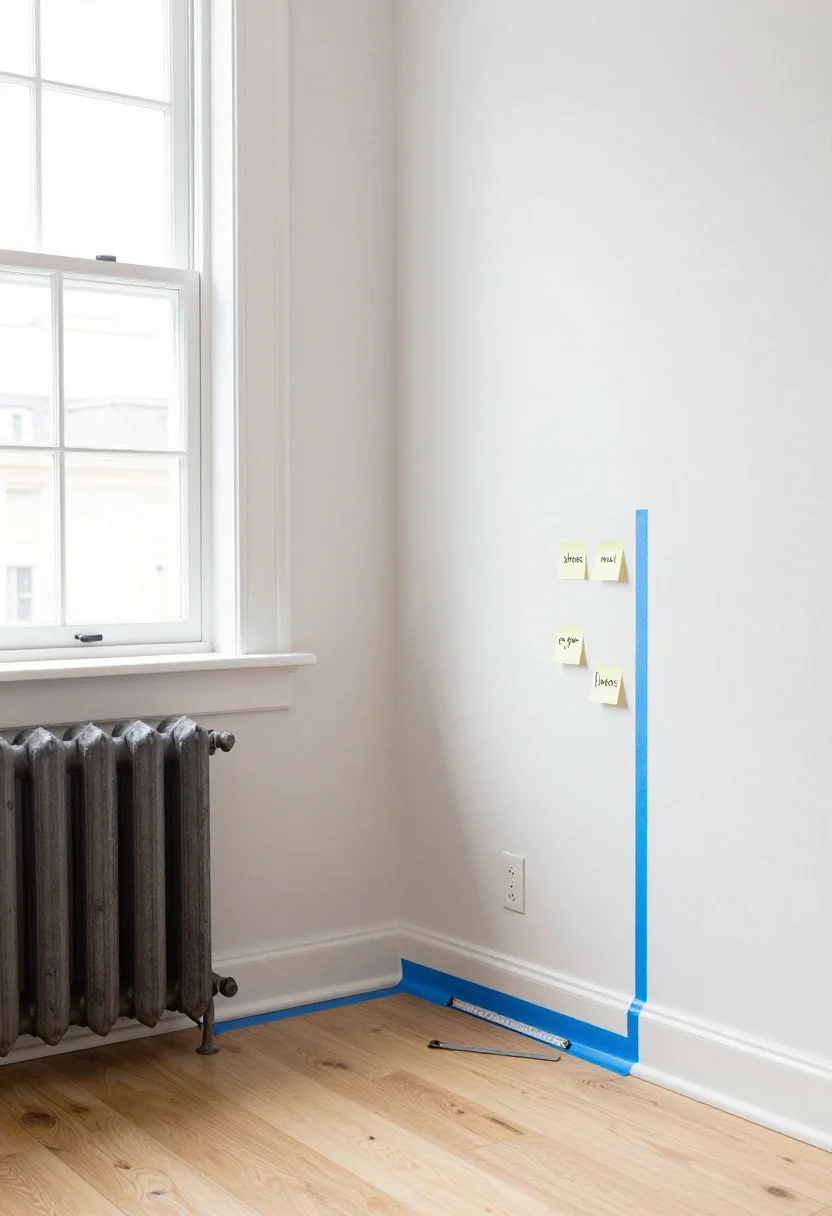
Not all corners are created equal. Some are narrow wedges; others are deep angles behind doors; mine was a sliver between a window and a radiator—prime “I’ll deal with it later” territory. Step one: figure out why your corner isn’t pulling its weight.
Measure Like You Mean It
- Width, depth, height: Measure to the nearest quarter inch. Corners lie.
- Obstacles: Note outlets, vents, baseboards, window trim, and door swing.
- Traffic flow: Can someone pass by with a laundry basket? If not, rethink depth.
Then define the job. Do you need to stash shoes, mail, craft supplies, pet gear, or extra linens? The more specific the function, the better your storage will behave.
What to shop for: Measuring tape, sticky notes (to label zones), blue painter’s tape to outline potential footprints.
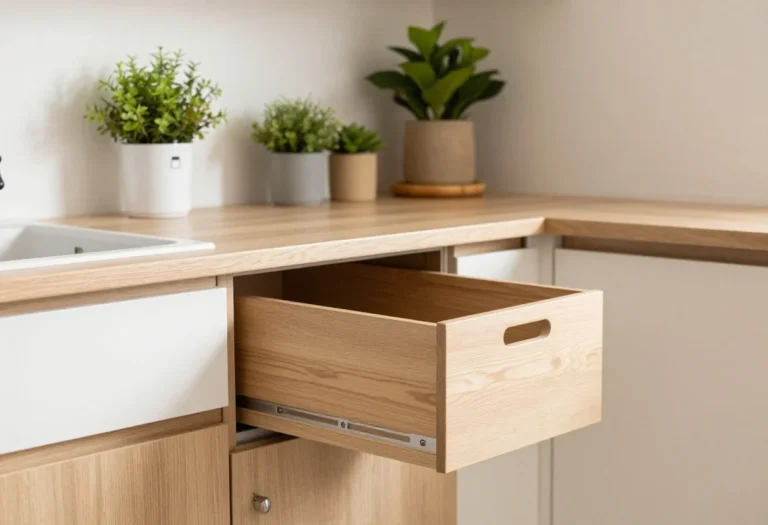
2. Choose A Storage Strategy That Fits The Footprint
This image is by AI for inspiration only.
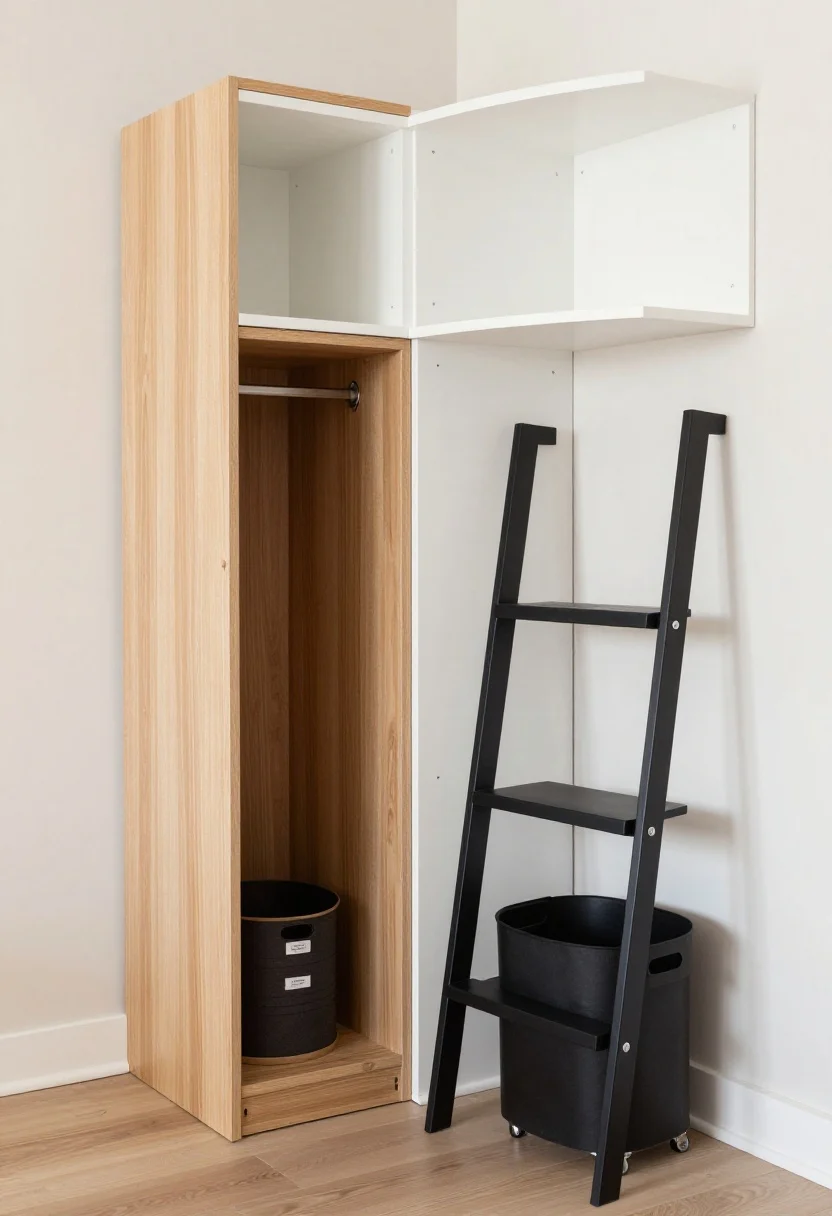
You’ve got options—don’t force a square peg into a triangular corner. Match the idea to your awkwardness profile.
Small Corner, Big Impact
- Tall corner tower: Vertical shelves or a ladder shelf for books, plants, or baskets.
- Floating corner shelves: Minimal depth, maximum style. Great for light items.
- Swivel or tiered organizer: Round profiles soften sharp angles and save space.
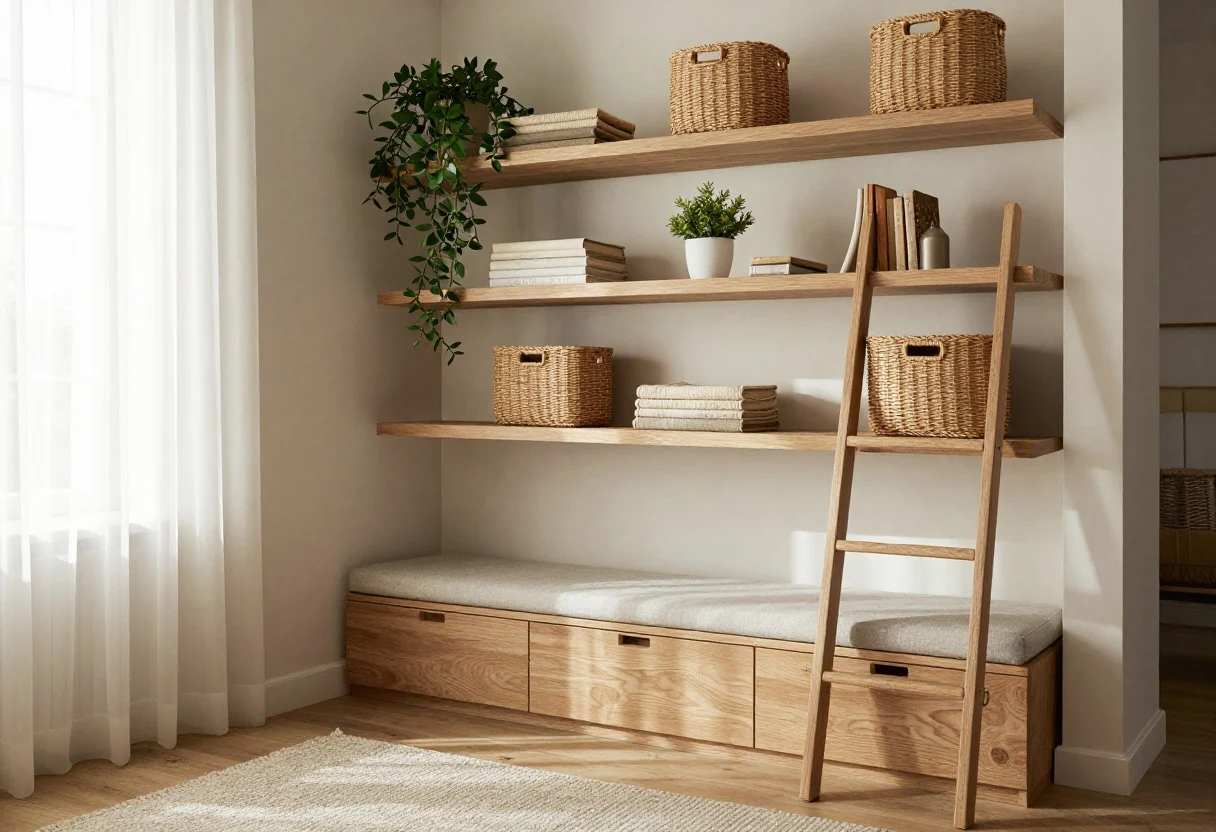
Deep Nook, Hidden Gold
- Closed base cabinet + open shelves: Hide the messy stuff, display the pretty.
- Tuck-in bench: Seating with storage if you’re near an entry or window.
- Rolling bins: Slide out when needed. Label and thank yourself later.
FYI, modular systems beat one-and-done pieces if your needs change. I combined a narrow cabinet with a floating shelf—instant layered look.
What to shop for: Corner shelves, ladder shelves, narrow cabinets, rolling bins, storage benches.
3. Layer Vertical Storage Like A Designer (Not A Packrat)
This image is by AI for inspiration only.
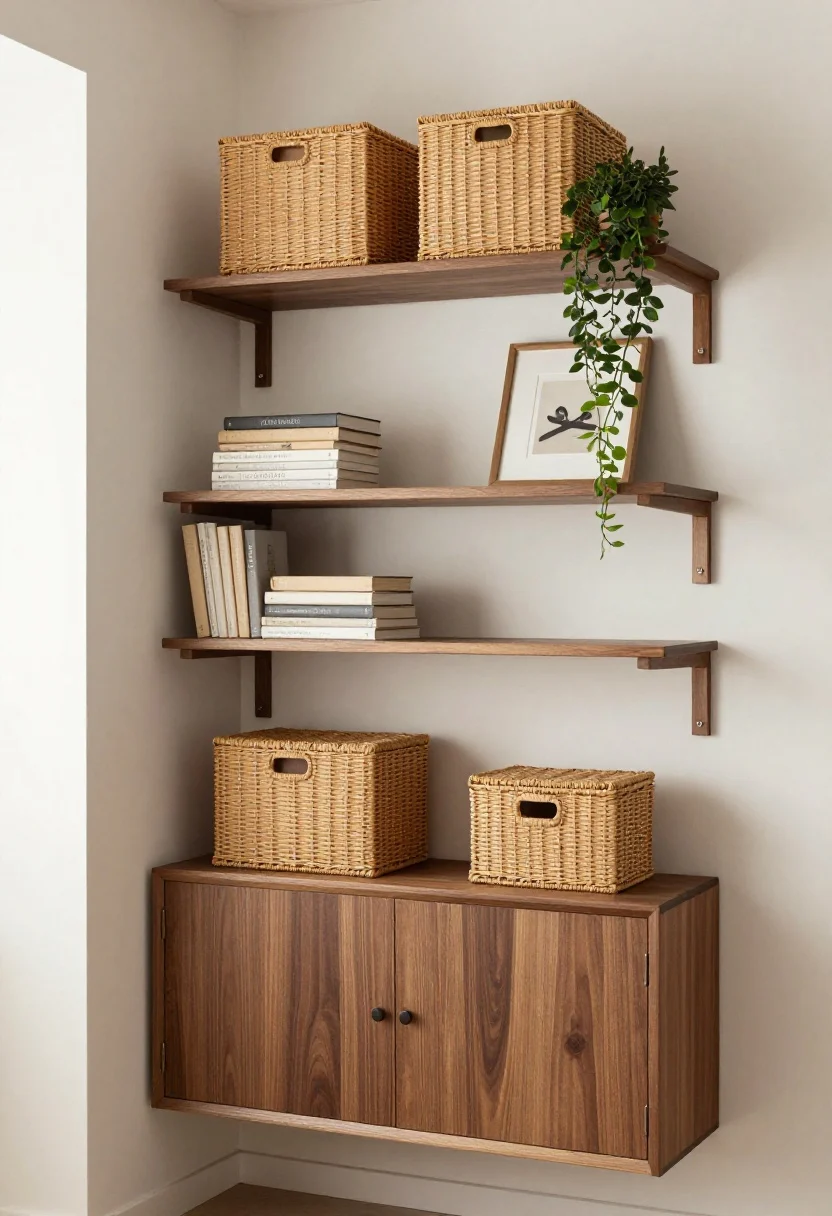
Vertical space is free square footage—use it wisely. The trick is mixing closed and open so it doesn’t scream “utility closet in the living room.”
The 60/30/10 Rule
- 60% closed storage: Doors, drawers, baskets with lids.
- 30% open display: Books, framed art, a plant or two.
- 10% negative space: Let a shelf breathe so it looks curated.
Mount shelves slightly off-center if the corner is tight; asymmetry feels intentional. And if you go tall, anchor the piece to the wall. Your cat will test gravity—trust me.
Follow our WhatsApp Channel for easy bedroom ideas, small-space tips, storage tricks, and budget decor fixes.
Follow on WhatsAppWhat to shop for: Wall anchors, L-brackets, woven baskets, magazine files, lidded boxes.
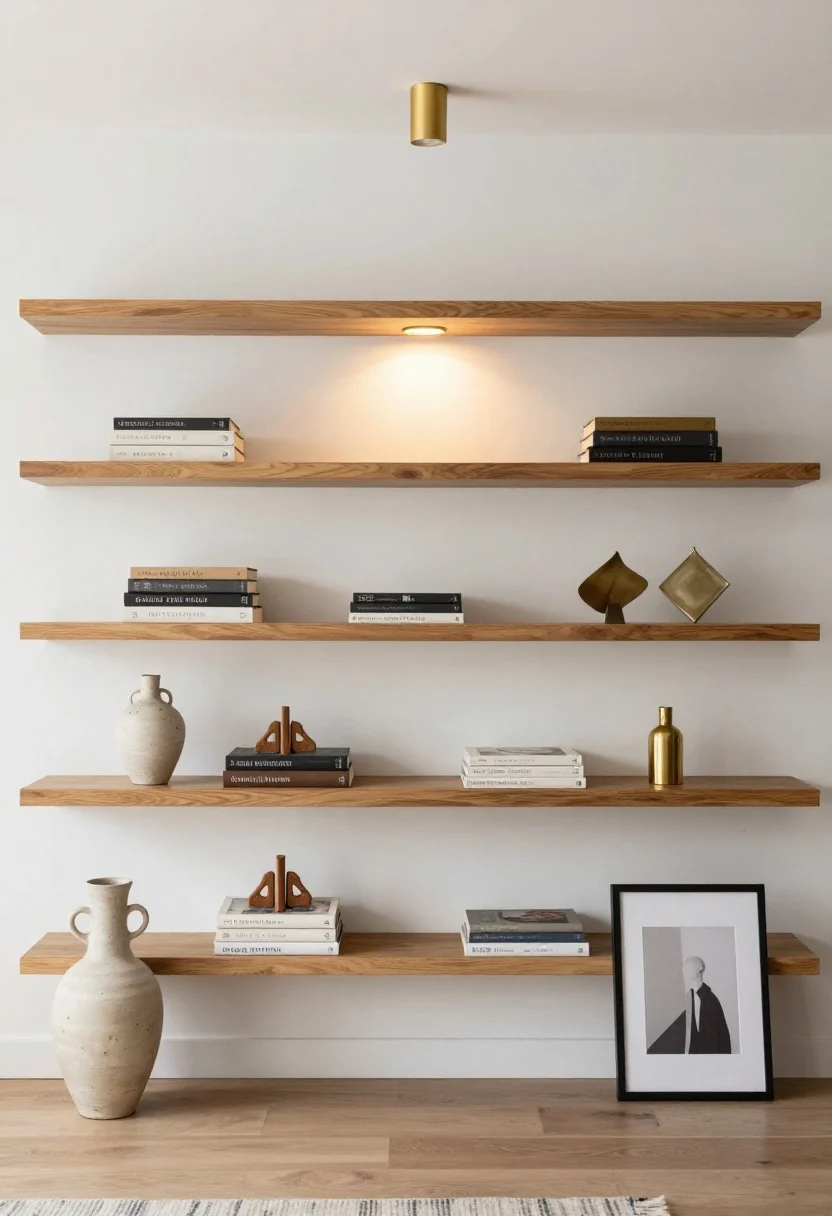
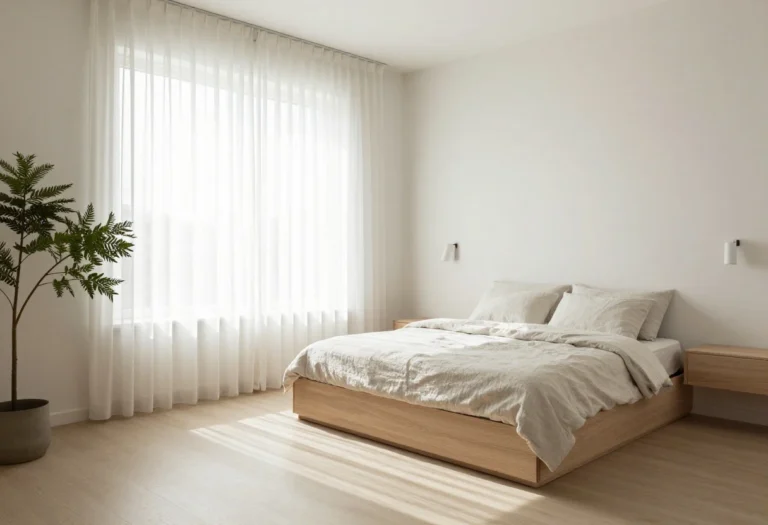
4. Style It So It Looks Built-In (Even If It’s Not)
This image is by AI for inspiration only.
Storage can be gorgeous. The goal is to disguise function with finish so the nook reads as part of the room.
Finish Tricks That Work
- Color match or contrast: Match shelves to your wall color to fake built-ins, or choose a bold contrasting tone to make it a moment.
- Repeat materials: Echo wood tones or metals already in the room—consistency = calm.
- Visual triangle: Place taller decor on one side, medium in the center, small on the other. The eye relaxes.
Personal tip: I added a slim picture light above the top shelf—instant “custom” vibe. A framed print leaning against the wall softened the angle, and boom, the corner suddenly had presence.
What to shop for: Peel-and-stick paint swatches, picture lights, framed prints, decorative bookends.
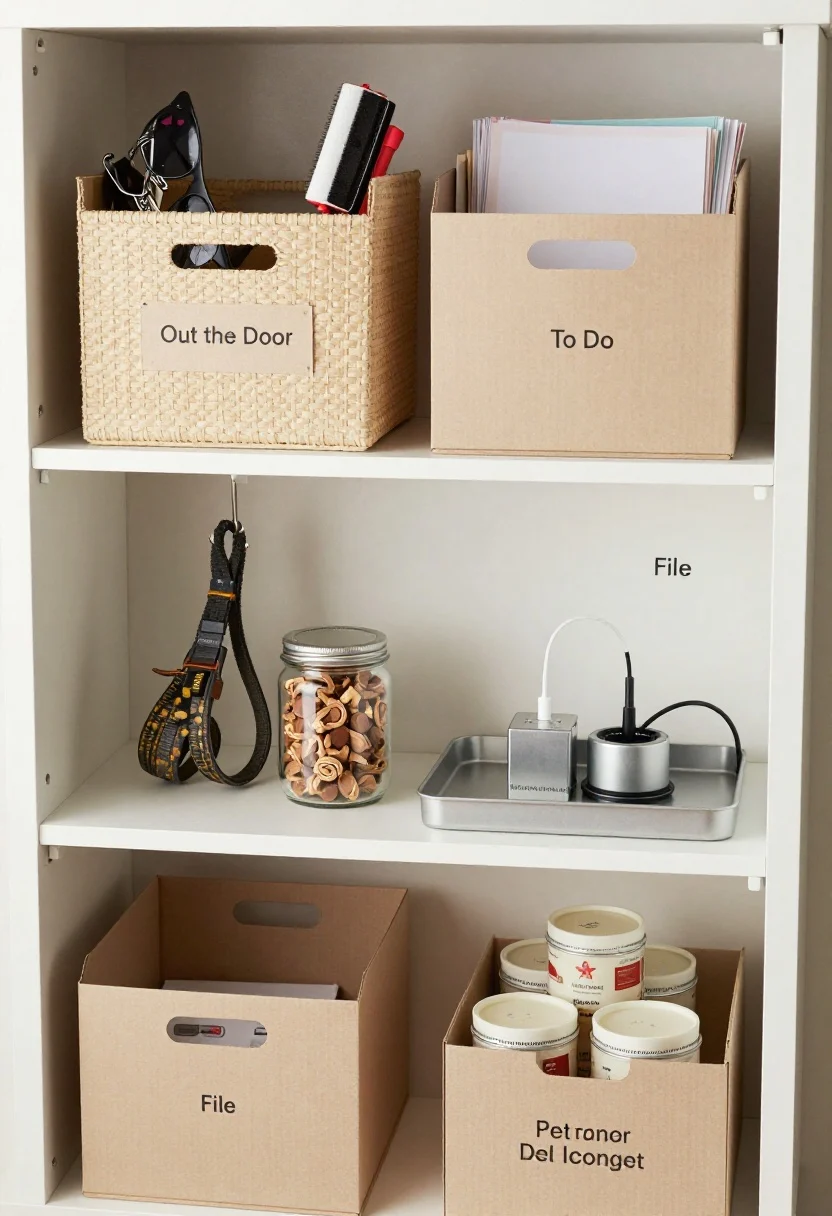
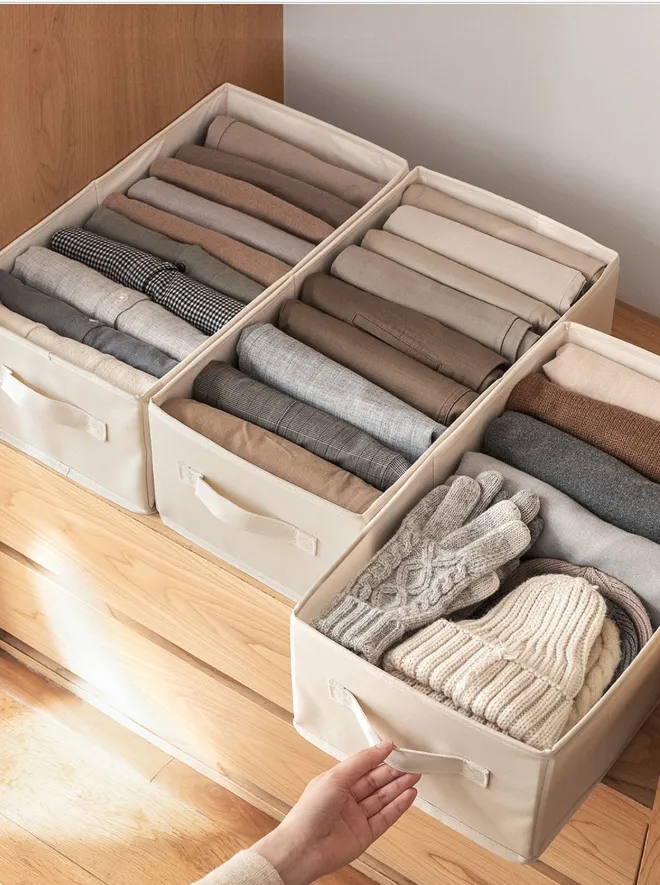
5. Make It Multi-Task With Smart Zones
This image is by AI for inspiration only.
I gave each shelf and bin a job title. When everything has a spot, the corner stays neat all week (well, most weeks—let’s be honest).
Zone Ideas You’ll Actually Use
- Grab-and-go: Top basket for keys, sunglasses, lint roller. Label it “Out the Door.”
- Paper pipeline: One magazine file for “To Do,” another for “File.” No mystery piles.
- Pet command center: Leash on a hook, treats in a jar, waste bags in a tin.
- Tech dock: Slim tray with a multi-device charger and a cord corral.
- Seasonal swap: Highest shelf = least used. Holiday candles live here rent-free.
IMO, labels are the unsung heroes. Keep them minimal—clear, small, and uniform. They’re like tiny traffic cones for your brain.
What to shop for: Label maker or adhesive labels, cable trays, small hooks, catchall trays.
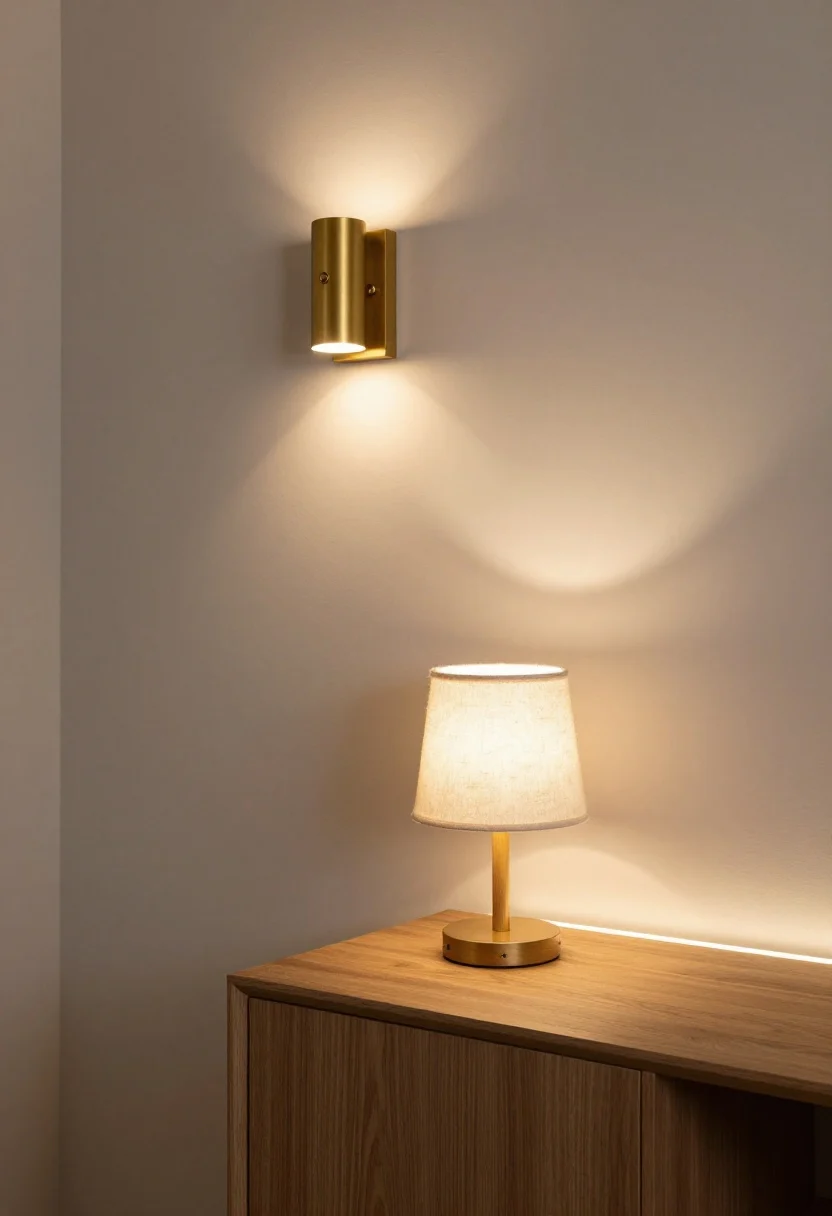
6. Light It Right So It Feels Inviting (Not Like A Closet)
This image is by AI for inspiration only.
Bad lighting makes any nook feel sketchy. Add layers so the corner reads as a destination, not an afterthought.
Lighting Layers
- Ambient: A plug-in sconce or picture light to wash the wall.
- Task: A small lamp on a cabinet for sorting mail or tying shoes.
- Accent: LED strip under a shelf for a subtle glow. Dimmer = magic.
If outlets are scarce, go plug-in or battery-powered with remote controls. Warm white bulbs (2700–3000K) keep things cozy; cooler temps make it feel like a break room. No thanks.
What to shop for: Plug-in sconces, LED light strips, dimmable bulbs, cord covers.
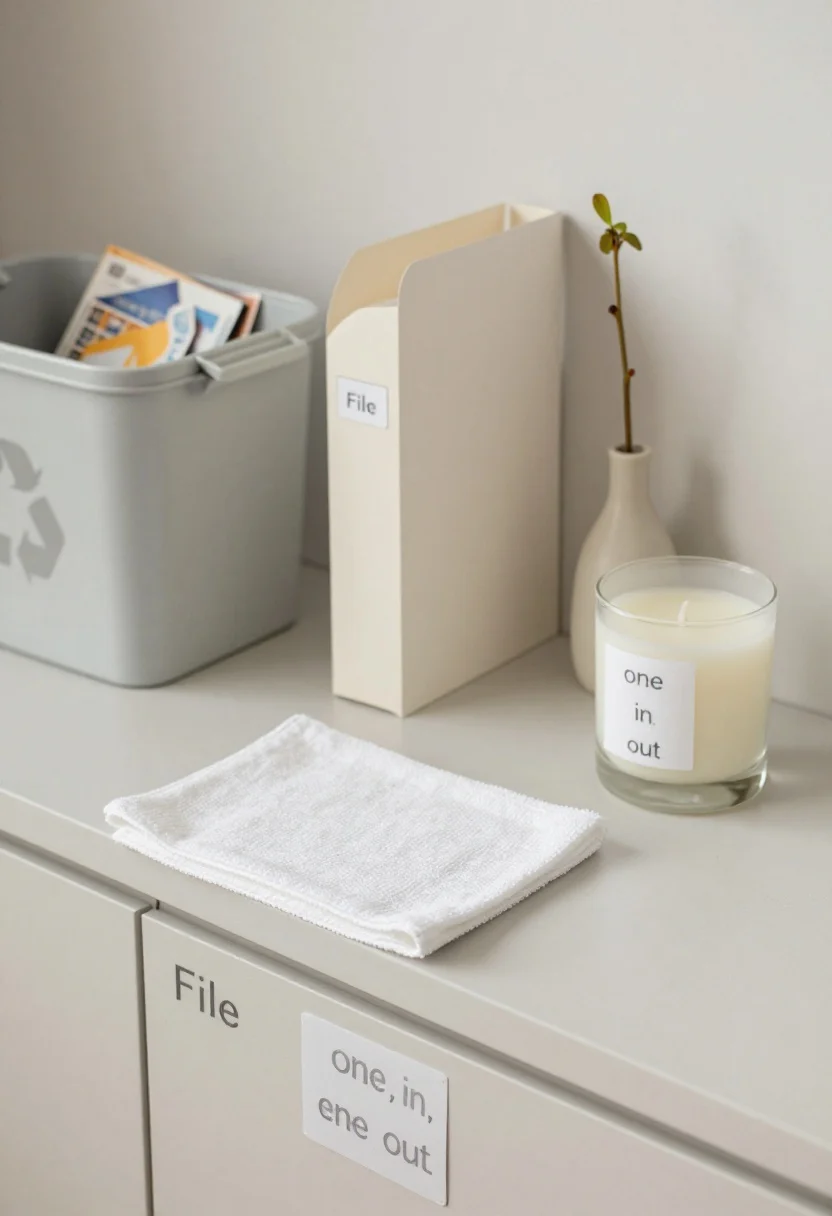
7. Keep It Tidy With A 10-Minute Reset Routine
This image is by AI for inspiration only.
The difference between “styled corner” and “black hole” is maintenance. I do a quick reset every Sunday, and it honestly saves my week.
My 10-Minute Checklist
- Return floaters to their labeled zones.
- Recycle the junk mail; file the bills.
- Wipe the shelf dust (corners collect it like it’s a hobby).
- Swap a stem or candle to keep it feeling fresh.
Bonus habit: One in, one out. If a new basket moves in, something else moves out. Tiny rule, huge impact.
What to shop for: Microfiber cloths, small recycling bin, scented candle or diffuser.
Before-And-After Mindset Shift
Your corner isn’t a problem; it’s potential that needed a plan. Once it’s working, you’ll start eyeing every odd nook like a storage superhero. Proceed with (stylish) caution.
Quick Takeaways
- Measure obsessively and plan zones before you buy anything.
- Mix closed and open storage to keep it practical and pretty.
- Lighting and finishes sell the “built-in” illusion.
- Labels and a weekly reset keep the corner functional long-term.
FAQ
Q: How do I avoid a cluttered look in a tiny corner?
A: Stick to the 60/30/10 rule, repeat two materials tops, and leave at least one shelf partially empty. Closed baskets corral visual noise fast.
Q: What’s the best depth for corner storage in a high-traffic area?
A: Aim for 10–12 inches max. It’s enough for files, baskets, and decor without hip-checking your guests every time they walk by.
Q: Can renters pull this off without drilling?
A: Yes. Use tension poles, leaning ladder shelves, heavy-duty command strips for small shelves, and rolling bins. Choose plug-in or battery lights and hide cords with adhesive channels.
You’ve got this. That awkward corner is about to be your home’s hardest-working square footage—and it’ll look good doing it.
Shop the Look on Amazon
Disclosure: As an Amazon Associate, this site may earn from qualifying purchases.
These product categories fit this article and give readers an easy next step when they are ready to shop.
- Floating storage — Fits tight corners and displays light items attractively.
- Vertical tower — Uses height for books, plants, and baskets efficiently.
- Closed storage — Hides clutter while fitting slim awkward spaces.
- Seating plus bins — Adds hidden storage and seating for entries or windows.
- Ambient lighting — Warms the nook and avoids drilling or hardwiring.
Image Credits:All images are used for informational or inspiration purposes only. Some images used in this post are sourced from royalty-free websites like Pixabay or created using Canva Pro. If you are the copyright owner of any image used here and would like it removed or credited, please contact me.

One Comment