

The Tiny Closet Fix That Helped Me Maximize Storage Space—without a Renovation

You know that moment when a sweater avalanche knocks you backward and you swear your closet is plotting your demise? Same. I spent months wrestling hangers and losing shoes to the void. Then I made one tiny change—and it unlocked a surprising amount of storage. Spoiler: it wasn’t custom cabinetry or a pricey system. It was a smart tweak that snowballed into seven easy wins.
Shop the Look on Amazon
Disclosure: As an Amazon Associate, this site may earn from qualifying purchases.
These product categories fit this article and give readers an easy next step when they are ready to shop.
- Double hanging — Create two levels for tops and skirts without renovation.
- Space-saving hangers — Maximize rod capacity and keep clothes from slipping.
- Vertical add-ons — Capture unused space for scarves, clutches, and belts.
- Door storage — Use back-of-door space for accessories and small items.
- Closet lighting — Brighten shelves and rods for quick, frustration-free access.
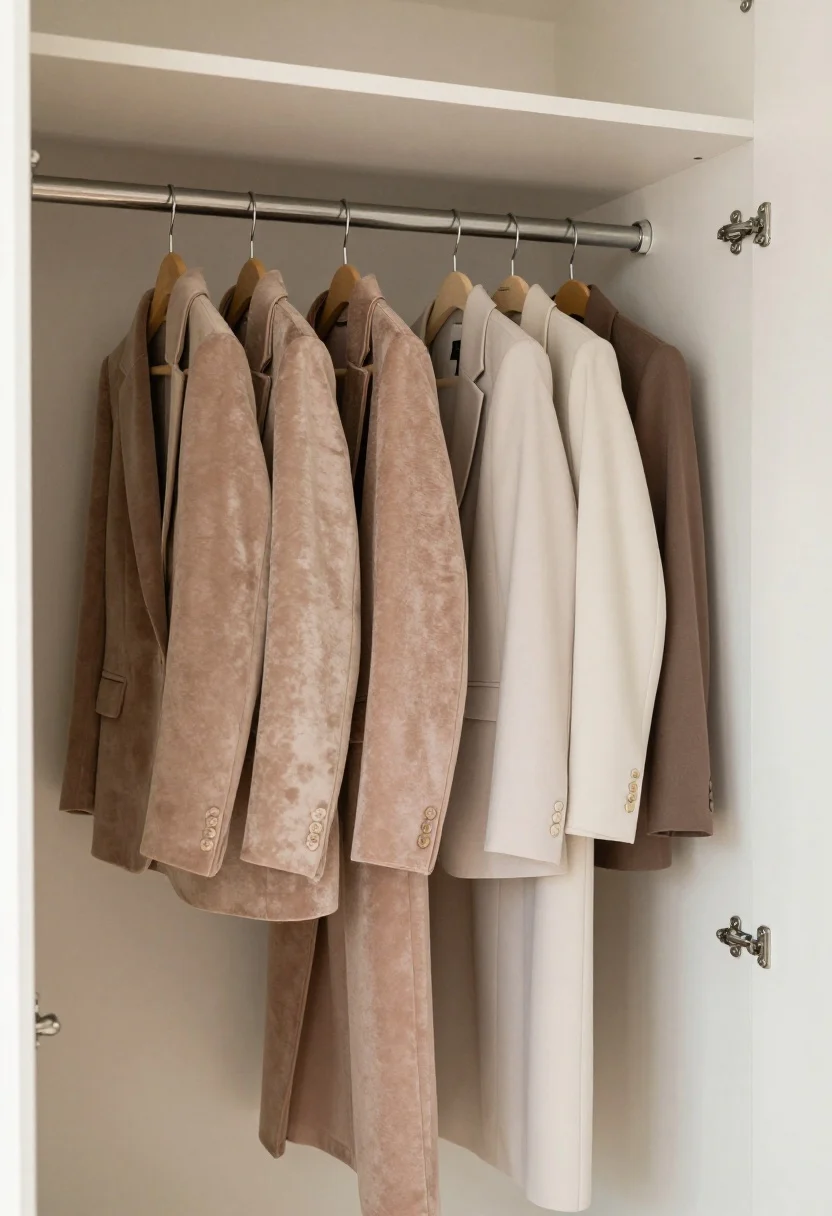
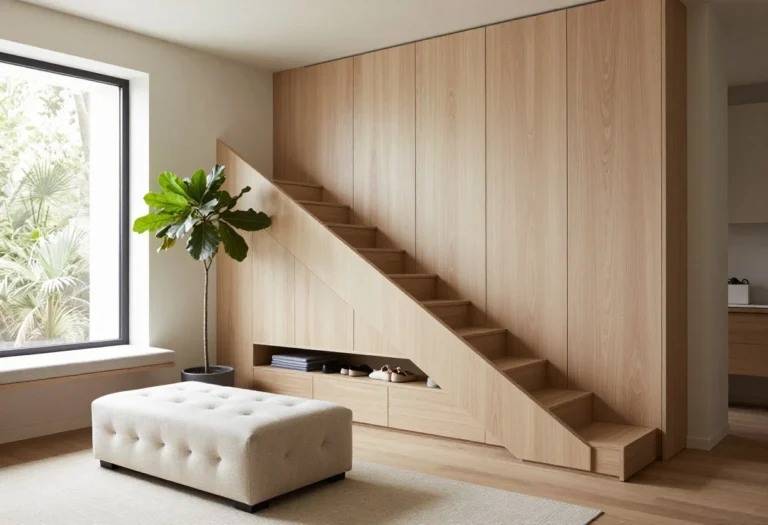
1. Swap The Rod Height And Double Your Hanging Space
This image is by AI for inspiration only.
Here’s the tiny fix that started it all: I lowered my existing hanging rod by a few inches and added a second tension rod above it. That tiny shift turned one sad rail into a double-decker situation for short items.
Now tops and skirts live on the lower rod, and blazers and light jackets hang above. Long dresses shift to one narrow section to keep the flow clean.
How to Do It Right
- Measure first: Leave at least 40 inches for dresses or coats if you need a long-hang zone.
- Install securely: Use wall anchors if you’re not into studs (FYI: safety > drama).
- Match hangers: Slim velvet hangers keep everything flat and uniform, which visually calms the chaos.
What to shop for: Adjustable tension rods, slim velvet hangers, basic wall anchors.
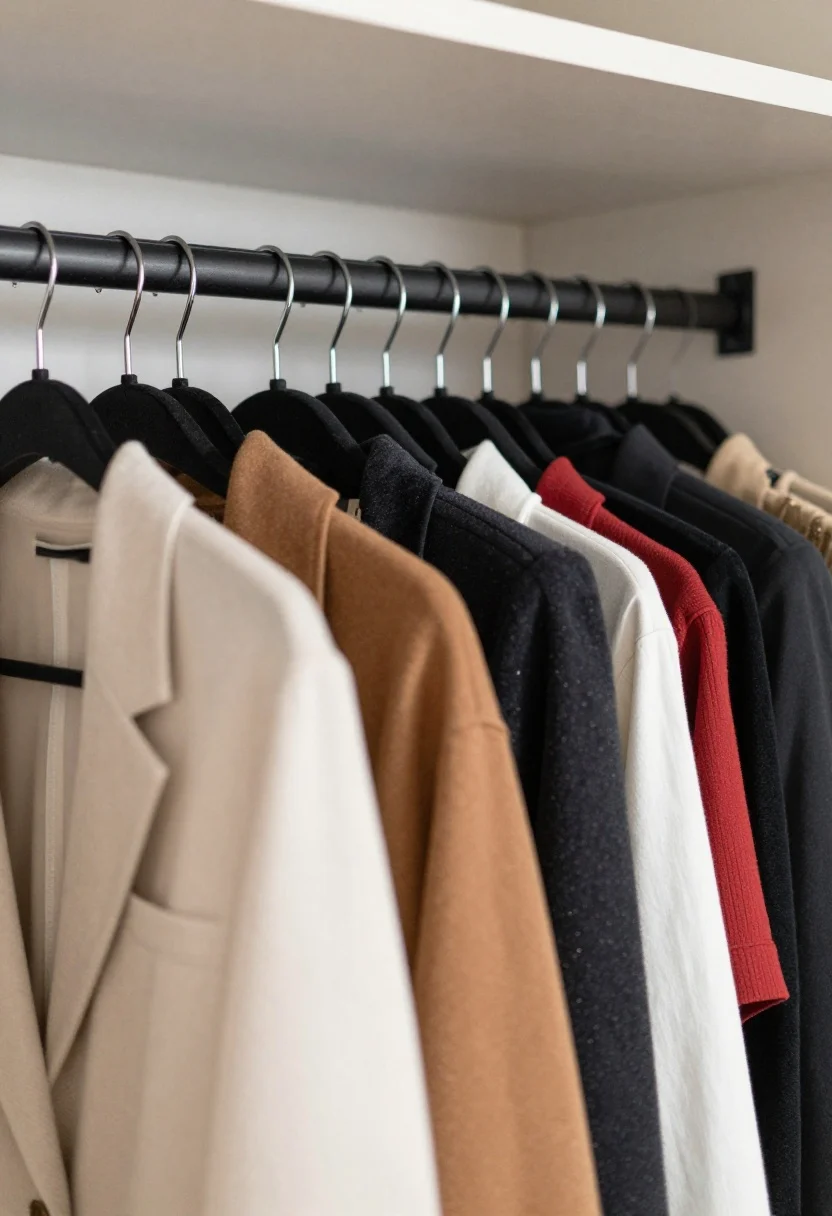
2. Slim Down Hangers And Gain Instant Inches
This image is by AI for inspiration only.
Bulky wooden hangers are gorgeous—until they hoard space like dragons on gold. I swapped mine for ultra-slim nonslip hangers and gained a shocking 20–30% more room on the rod. It also nudges you to edit because you can actually see what you own.
Bonus: Matching hangers make even a tiny closet look couture. It’s like giving your clothes a uniform so they stop fighting for attention.
Quick Tips
- Color code lightly: Neutrals together, brights together. You’ll find things faster.
- Front-face favorites: Turn go-tos forward and lesser-worn pieces backward for a month. Rotate after.
What to shop for: Slim hangers, clip hangers for skirts, hanger cascaders if you’re short on rod length.
Follow our WhatsApp Channel for easy bedroom ideas, small-space tips, storage tricks, and budget decor fixes.
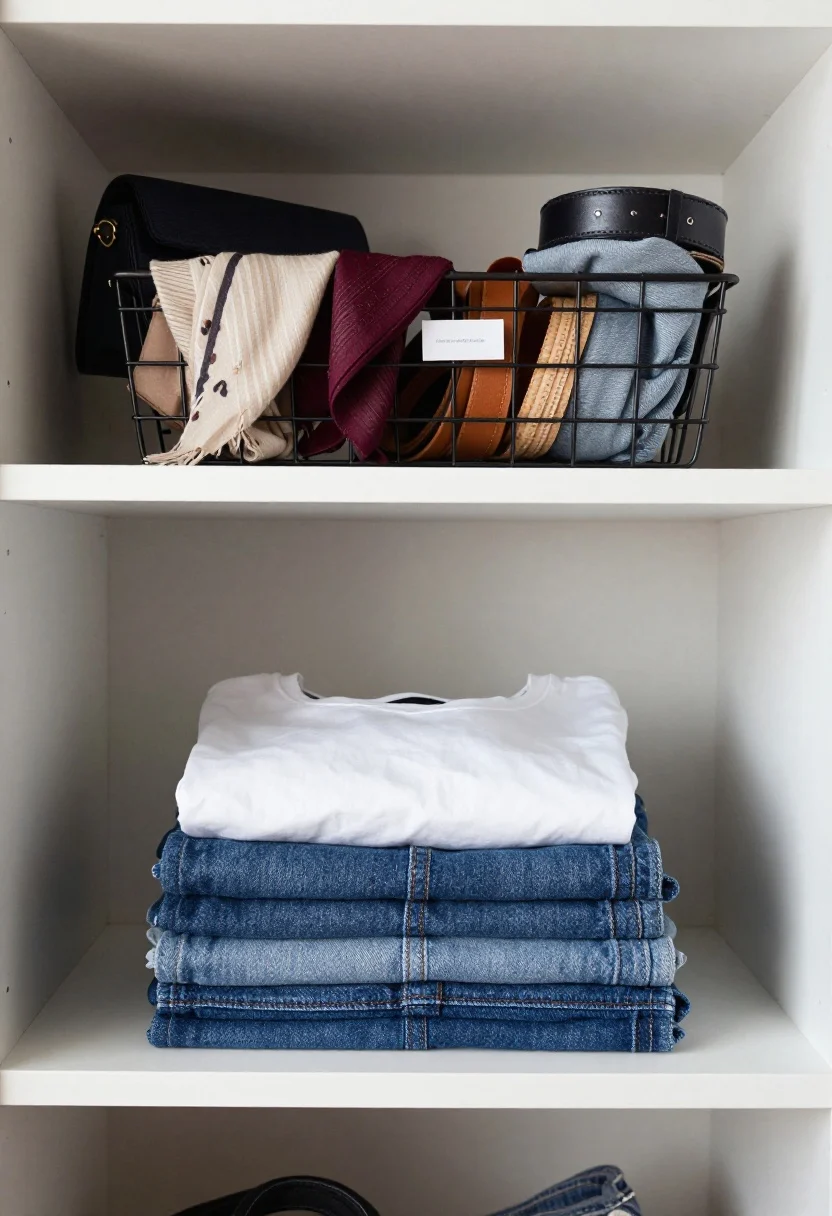
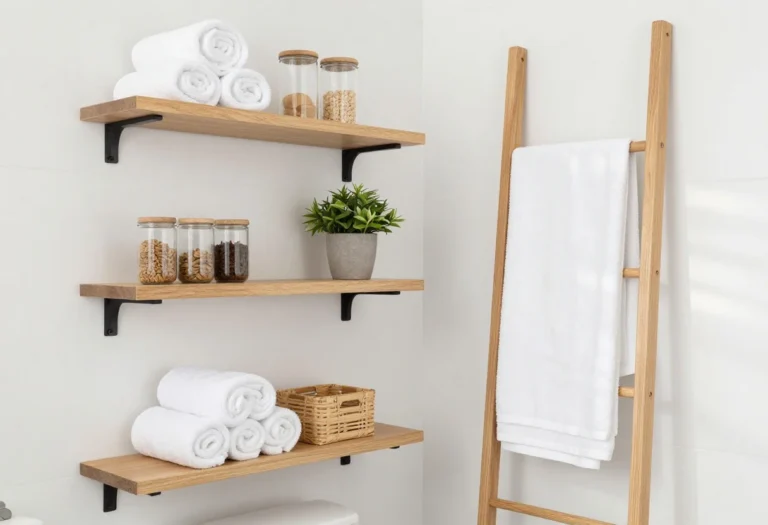
Follow on WhatsApp3. Use The Vertical Slice: Shelf Risers And Under-Shelf Baskets
This image is by AI for inspiration only.
Closet shelves are usually tall and underused. I added stackable shelf risers and slid in under-shelf baskets to catch scarves, clutches, and belts. Suddenly, every vertical inch earned its keep.
Think in layers: a folded denim stack on the base, tees on a riser, then a slide-in basket underneath for soft accessories. It’s like Tetris with better fabric.
Set It Up
- Map categories to heights: Bulky knits low, small accessories high, everyday items at eye level.
- Label sparingly: A small tag on baskets keeps you honest without visual clutter.
What to shop for: Metal shelf risers, wire or acrylic under-shelf baskets, simple adhesive labels.
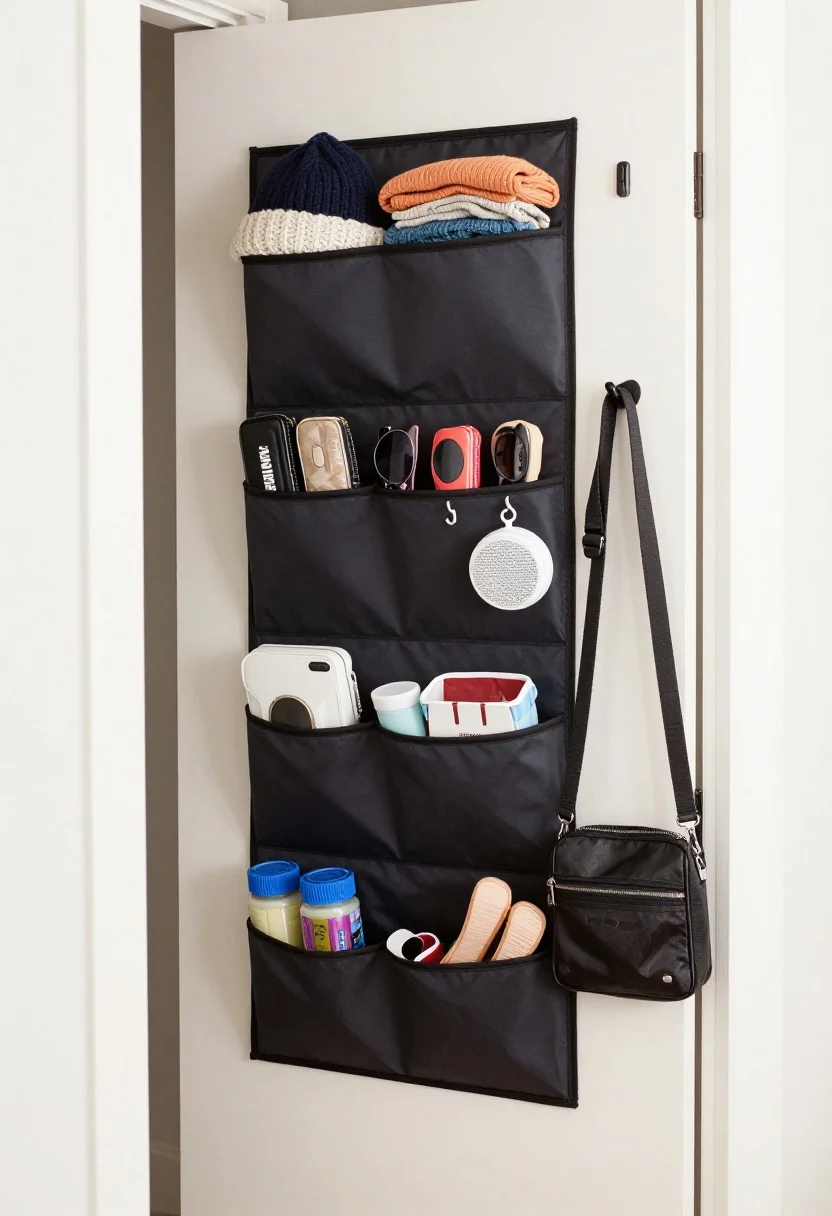
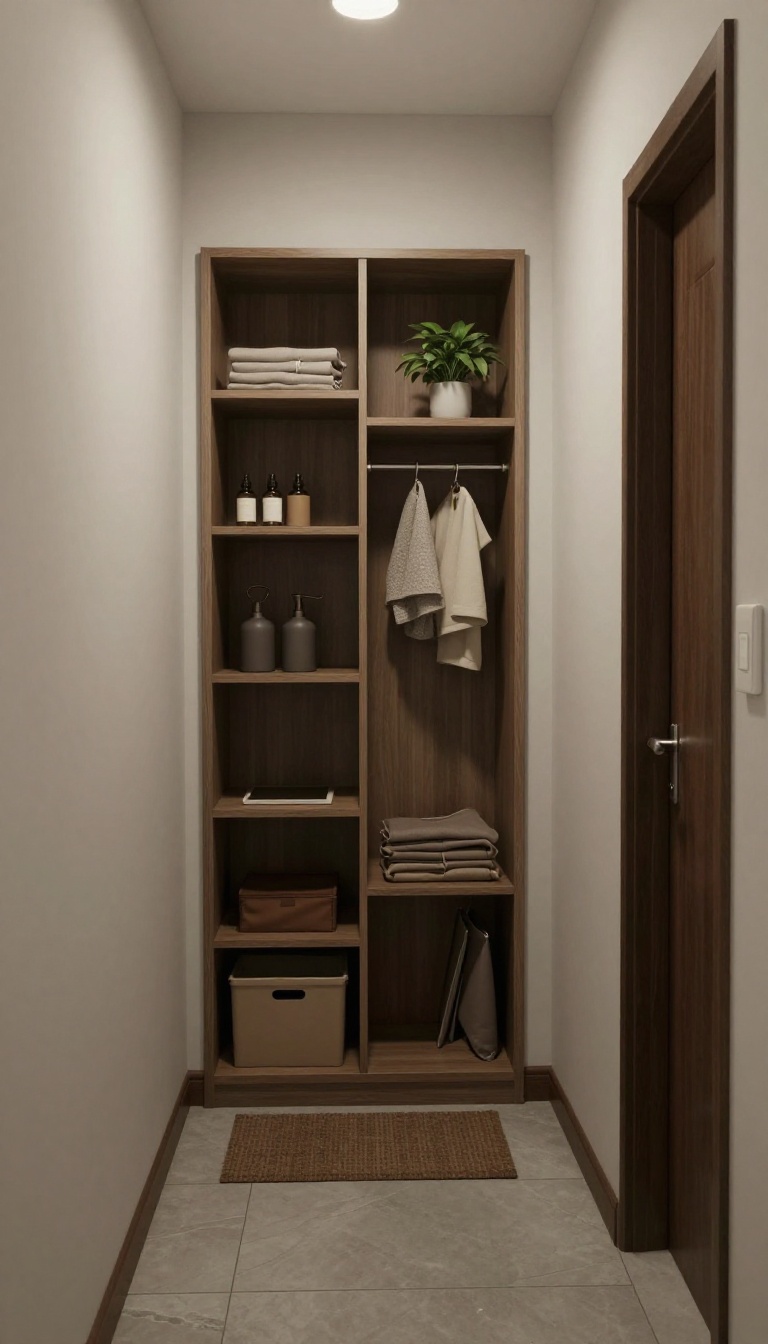
4. Go Door-To-Done With Over-The-Door Organizers
This image is by AI for inspiration only.
The back of your closet door is basically free real estate. I hung an over-the-door organizer and instantly found homes for hats, gloves, and stray tech—plus a sneaky pocket for my lint roller because cat hair respects no one.
If you don’t love the pocket look, try a slim rack with hooks for bags and belts. Keep it shallow so the door still closes smoothly—been there, slammed that.
Smart Configurations
- Top tiers: Seasonal extras you don’t grab daily.
- Middle tiers: Small bags, sunglasses cases, travel-sized steamer.
- Bottom tiers: Workout bands, socks, or shoe-care kits.
What to shop for: Over-the-door pocket organizers, hook racks, slim belt/bag hooks.
5. Corral Shoes Like A Boutique (On A Budget)
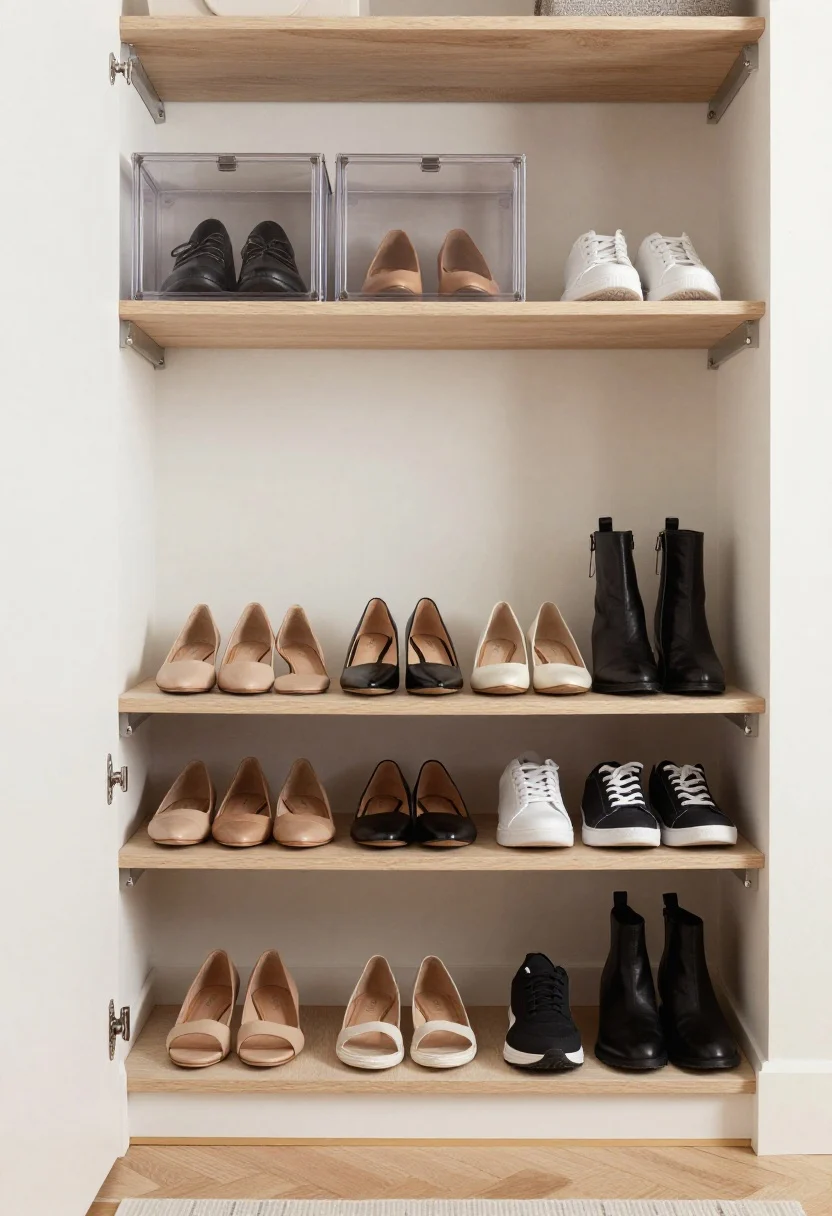
This image is by AI for inspiration only.
Shoes are sneaky space thieves. I ditched the pile and added a two-tier shoe rack on the floor with a slanted shelf above. Flats and sneakers below, heels or ankle boots on the angle—zero digging required.
For truly tiny closets, use shoe slots that stack pairs vertically, or store out-of-season shoes in labeled boxes on the top shelf. Clear fronts = no guessing game.
Pro Moves
- Create zones: Daily shoes front and center; occasion shoes to the side or up high.
- Protect the floor: Add a washable mat under racks to catch dust and drips.
What to shop for: Two-tier racks, shoe slots, clear-front shoe boxes, washable mats.
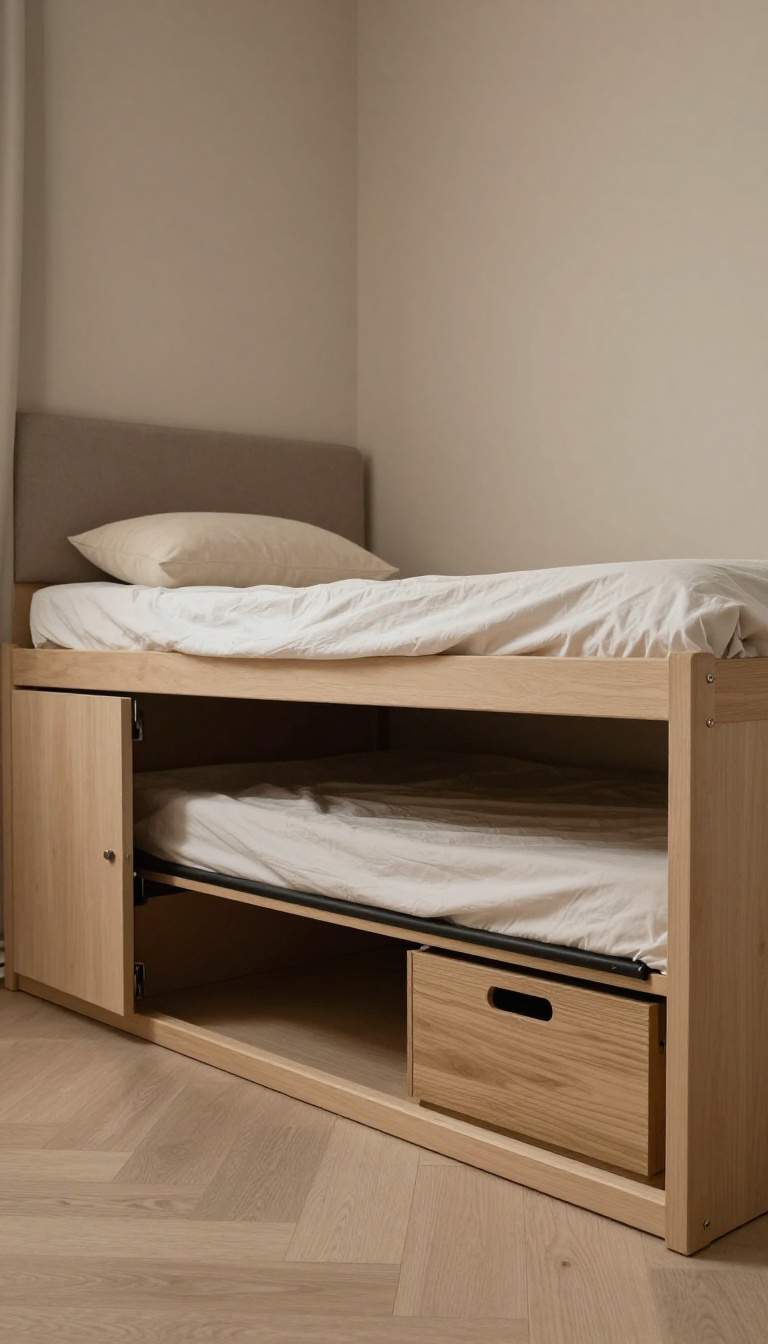
6. Add Pull-Out Bins For The “Small Stuff Spiral”
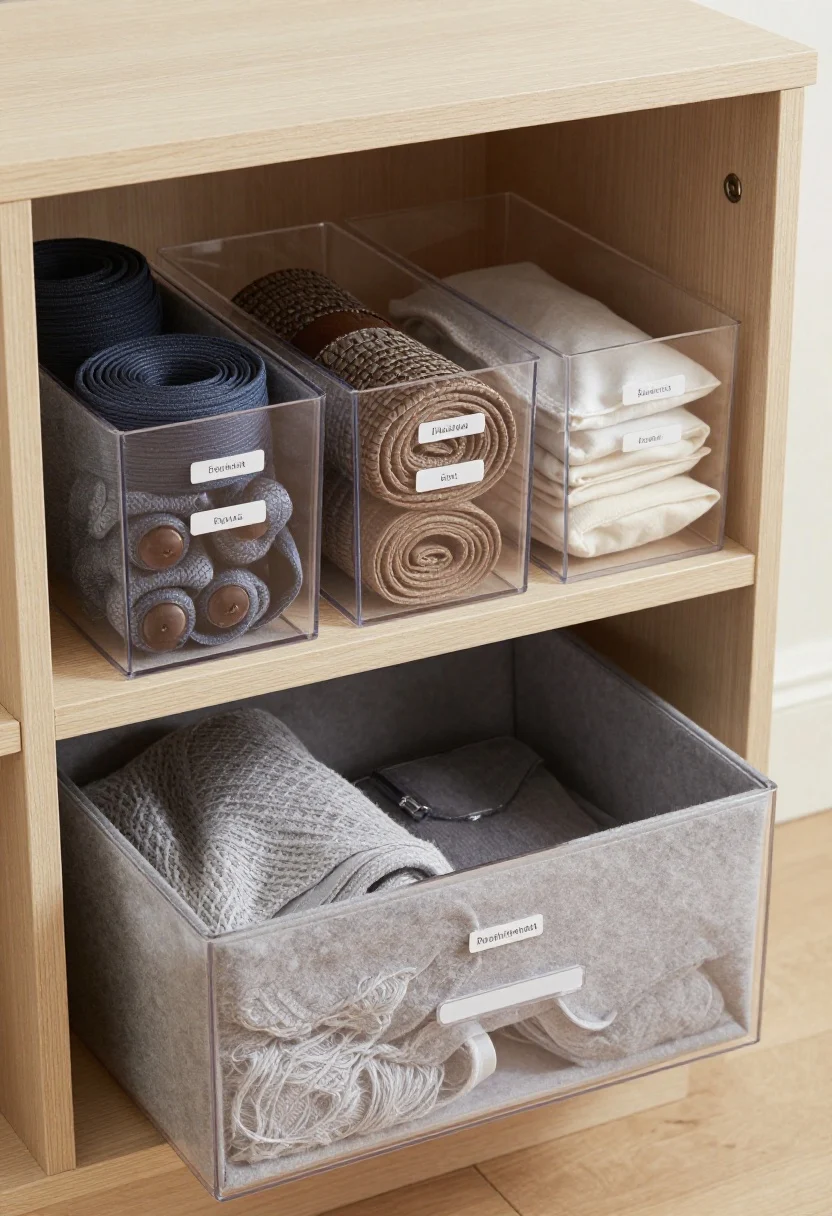
This image is by AI for inspiration only.
Belts, scarves, and random accessories will stage a coup if you let them. I added shallow pull-out bins on the low shelf and one drawer-style bin on the floor. Everything small gets a landing pad, which means I no longer wear the same belt every day out of laziness (growth!).
Use dividers to keep categories tight. If you wear it on your body, it gets a bin. If you wear it on your face, it gets its own. Simple.
Bin Strategy
- One bin, one purpose: Belts, tights, travel gear, lint/defuzz kit.
- Transparent or labeled: Your future 7 a.m. self will thank you.
What to shop for: Shallow bins, drawer organizers, felt or acrylic dividers.
7. Light It Up And Set A Simple Reset Routine
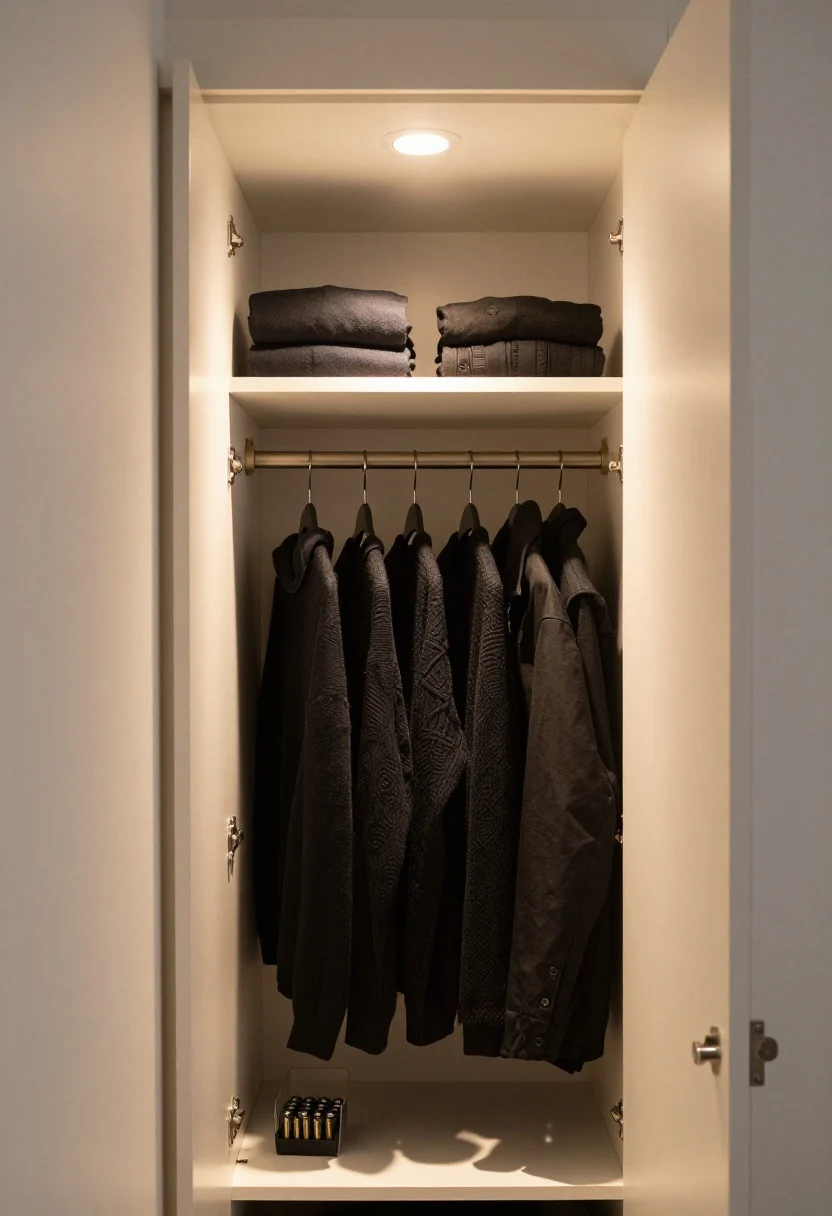
This image is by AI for inspiration only.
Closet lighting is the underrated MVP. I stuck motion-sensor LED strips along the door frame and a puck light above the top shelf. Suddenly, I could see all my black sweaters (which, plot twist, are not identical).
Then I added a tiny routine: every Sunday night, five minutes to rehang, reshuffle, and return wanderers to their bins. IMO, maintenance is the real space maximizer because it keeps clutter from creeping back.
Keep It Glowing
- Battery-powered LEDs: No wiring, no drama.
- Warm temperature: Clothes look truer to life and feel luxe.
- Reset ritual: 5 minutes weekly; 15 minutes seasonally to rotate pieces.
What to shop for: Motion-sensor LED strips, adhesive puck lights, rechargeable batteries.
Quick Recap: The Domino Effect
- The tiny fix: Adjust rod height and add a second rod.
- The upgrades: Slim hangers, vertical risers, door organizers, shoe zoning, pull-out bins.
- The finish: Better lighting and a five-minute reset. Done.
Once that first tweak clicked, the rest fell into place. No construction, no meltdown, just a smarter layout that works with what I’ve got. Your closet can absolutely do more—it just needs a better plan and a few small, strategic moves.
FAQ
Q: How do I decide what gets hung versus folded?
A: Hang anything prone to creasing (blazers, dresses, trousers) and daily tops you reach for often. Fold knits to prevent stretching, plus denim and tees if space is tight.
Q: What’s the best small-closet lighting if I rent?
A: Battery-operated, motion-sensor LED strips or puck lights with adhesive backs. They’re bright, removable, and landlord-friendly.
Q: How do I keep the system from falling apart in a month?
A: Give every category a dedicated spot, label lightly, and set a weekly five-minute reset. Seasonal edits (donate, store, rotate) keep things lean and easy to maintain.
You don’t need a walk-in to feel organized. Start with the rod trick, layer in a few smart helpers, and watch your closet go from chaos to collected. Small fix, big payoff.
Image Credits:All images are used for informational or inspiration purposes only. Some images used in this post are sourced from royalty-free websites like Pixabay or created using Canva Pro. If you are the copyright owner of any image used here and would like it removed or credited, please contact me.


One Comment